
 I’ve written about how to move:
* An FCP 7 project to Premiere Pro
* An FCP 7 project to FCP X
* An FCP X project to Audition
* An FCP X Project to Premiere Pro CC
So, in this article, I want to show you how to move a Premiere Pro CC project to Final Cut Pro X.
We do this in three steps:
However, there are some cautions in this process: Not everything transfers perfectly. I’ll talk more about this at the end.
INSIDE PREMIERE
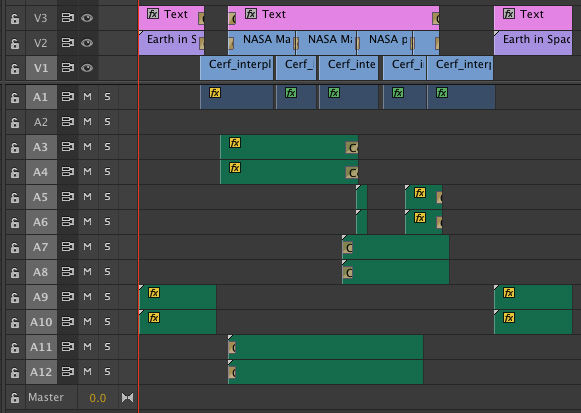
Here’s a typical project inside Premiere. There are several things to note here:
Notice that all stereo audio starts on an odd-numbered track. This is important. Most software assumes that stereo pair audio will be on two separate tracks and further assumes that the left channel starts on an odd track. I have found that I get the most reliable transfers when working with multi-track stereo audio when the left channel is placed on an odd-numbered track. (Premiere does not care if there are gaps between audio clips, nor if an entire audio track is left blank.)
NOTE: This project is based on an older Premiere project, where stereo audio spanned two tracks. In the current version of Premiere, stereo audio can appear as a single clip in a single track. When moving projects between Premiere and FCP X, whether stereo audio is on one or two tracks does not make a difference; as long as when audio spans multiple tracks, the left channel is placed on an odd-track.
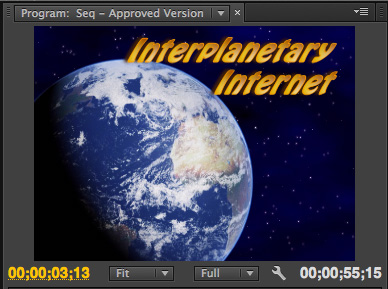
Thinking about text, notice the text color and formatting in this opening title…
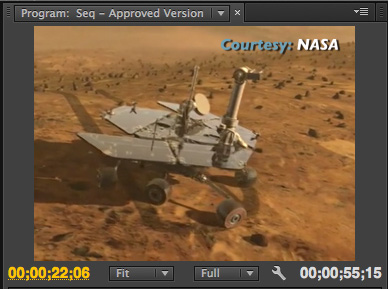
…and the formatting of this locator text.
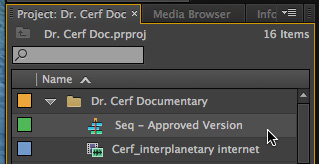
To transfer a project from Premiere, select the project in the Project panel. Then, choose File > Export > Final Cut Pro XML.
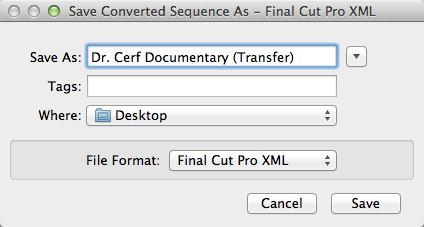
Give the XML file a name and storage location. Here, I’m calling it “Dr. Cerf Documentary (Transfer)” and storing it to the Desktop.
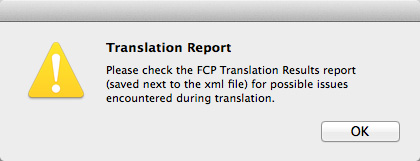
A warning message appears, indicating if Premiere had any problems with the transfer.
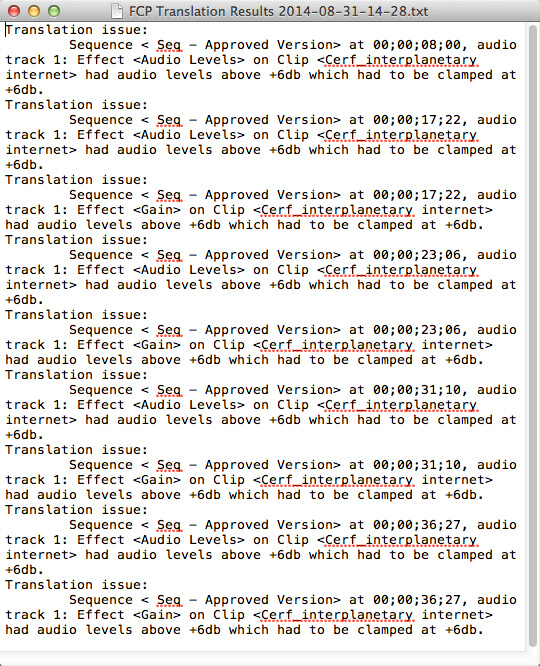
In this case, all problems relate to audio levels. (This is the Translation Results report from this export. Different projects will generate different reports.)
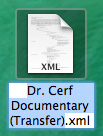
After a few seconds, the XML file appears on the Desktop.
NOTE: XML files are very small – generally, just a few hundred KB. They are only needed to transfer information from one program to another. Once the data has been transferred, the XML file can be deleted. For this reason, I tend to store them to the Desktop to make them easy to find and delete when this process is complete.
CONVERTING FOR FINAL CUT PRO X

FCP X and Premiere use different versions of XML, so we need to convert the XML file so that Final Cut can read it. This requires a utility from Intelligent Assistance called: “7toX” — it’s available in the Mac App Store for $9.99. Here’s the link.
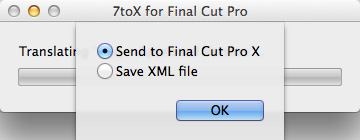
Either start the application and select the XML file, or, much easier, simply drag the XML file on top of the application icon. This dialog asks what you want to do with the converted XML file.
While sending the file to FCP X is the fastest, when it comes to transferring files, I tend to be a “belt-and-suspenders” kind of guy. I prefer to do this in two steps:
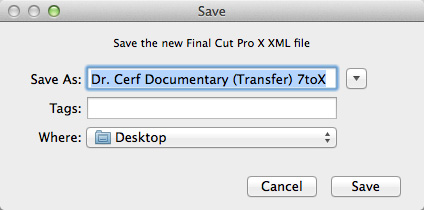
So, I chose the “Save XML File” option, gave it a name and storage location and clicked Save. The translation process starts and only takes a few seconds.
IMPORT INTO FINAL CUT PRO X
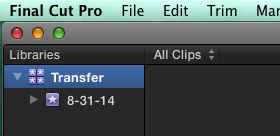
Start Final Cut and create a new Library.
NOTE: Creating a new Library is optional, as you’ll see in a minute, but I prefer to transfer projects to their own library.
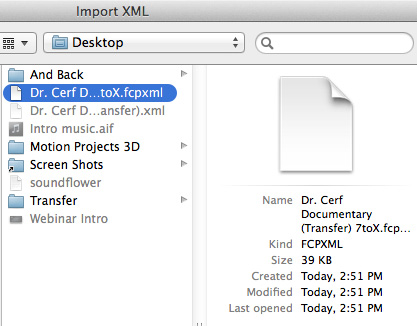
Choose File > Import > XML. Select the converted XML file and click Import.
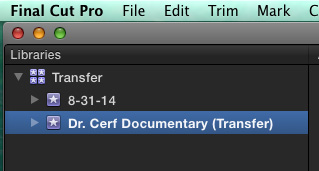
The transferred project is imported as its own event, with the sequence and media inside. (This is why creating a new library is optional.)
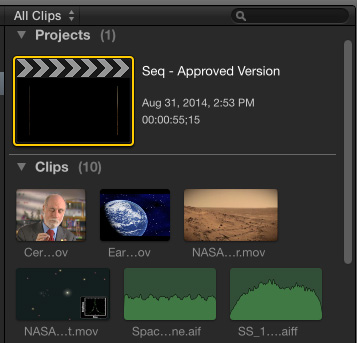
As you would expect, the project and all media are displayed in the Browser.
THINGS CHANGE
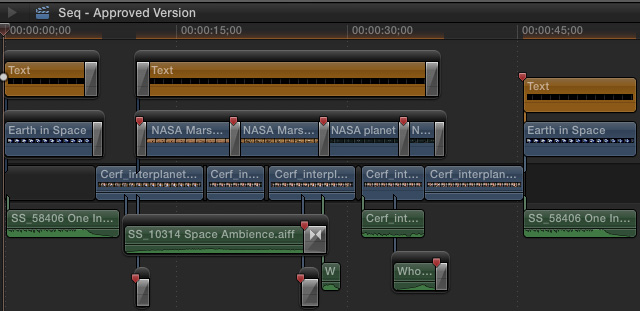
Here’s what the transferred project looks like, inside FCP X.
NOTE: In discussing this article with the folks at Intelligent Assistance I was told they have encountered issues where Premiere can play media that isn’t recognized by FCP X because it wasn’t ingested and rewrapped as MOV. This just points up that it is important to transfer files ahead of your deadline so you have time to fix problems if they occur.
SUMMARY
If I were doing this for real, rather than writing an article about the process, transferring files is very fast. Assuming all software is installed, moving large projects from Premiere to FCP X would generally take a couple of minutes, at the most.
In today’s interconnected world, moving edits from one application to another is fast and easy. The trick is knowing what transfers and what doesn’t. Media and edits are ALWAYS safely transferred. The issues all relate to effects.
EXTRA CREDIT
As we’ve just seen, because of the differences between Premiere and Final Cut Pro X, not everything transfers successfully. We have similar problems when sending files between different versions of Final Cut, Avid and Premiere.
While all edits and most media transfer successfully between applications, most wipes, effects and color grading do not. This is because each application handles these differently which means that the best time to transfer files is when the edit is complete but effects are not yet started. Here’s a white paper from Intelligent Assistance providing more details on what transfers and what doesn’t.
Also, the following suggestions on media are taken from the 7toX help files:
Carefully consider the media format of your video clips. For example, Final Cut Pro X can support R3D clips directly, whereas Final Cut Pro 7 needs RED QuickTime Wrapper versions of the clips. Black video usually means that your NLE is missing a plug-in. If you’ve installed a Final Cut Pro X plug-in to support your camera’s format, then you’ll need to download and install a version for Final Cut Pro 7 or Premiere Pro. (Import a clip directly into Final Cut Pro 7 or Premiere Pro to see if the camera format is supported.) The most reliable way to get media that works in Final Cut Pro 7, Premiere Pro and Final Cut Pro X is to transcode to your favorite flavor of ProRes.

2,000 Video Training Titles
Edit smarter with Larry Jordan. Available in our store.
Access over 2,000 on-demand video editing courses. Become a member of our Video Training Library today!
Subscribe to Larry's FREE weekly newsletter and
save 10%
on your first purchase.

47 Responses to Premiere Pro CC: Transfer Projects to Final Cut Pro X
← Older Comments Newer Comments →-
 Jim says:
December 29, 2018 at 8:41 pm
-
 Larry says:
December 30, 2018 at 10:35 am
-
 Jim says:
December 30, 2018 at 4:14 pm
-
 Dean says:
February 16, 2020 at 7:15 am
-
 Larry says:
February 16, 2020 at 9:22 am
-
 ananthu says:
December 23, 2020 at 5:48 am
-
 Larry says:
December 23, 2020 at 9:28 am
-
 Nicholas says:
September 12, 2021 at 8:04 pm
-
 Larry says:
September 13, 2021 at 4:40 am
-
 Modayf says:
September 13, 2021 at 6:32 am
← Older Comments Newer Comments →Hello Larry,
I have an assistant editor who synced and binned an entire feature film in Premiere Pro to prepare it for me to edit. My director wants it cut in FCPX.
When I converted and imported the xml all of the synced media came in as hundreds of separate “Projects” (or Timelines) each with an individual clip and its corresponding audio. But not as a Synced clip. The AE swears this did not happen to him when he tested it across platforms. Is there a way to remedy this? Any guidance would be appreciated. Thank you.
Jim:
Hmm… first, make sure you are converting the Premiere XML file using SendToX, from Intelligent Assistant. You can find it in the Mac App Store.
Second, synced clips in Premiere should come in as synced clips in FCP X, not as separate projects. If they don’t contact the support team at SendToX to see if they can figure out what’s going wrong.
Larry
Definitely used SendtoX. Honestly who knows exactly how the AE “synced” them. Going back to review his original method to see if I can illuminate that. In the mean time I’ve bitten the bullet on this one. There were muticam clips and proxies that needed to be made, so either way… she wasn’t ready. Thank you for the reply.
All this process working also on PC?
Dean:
yes and no. Yes, in that you export an XML file from Premiere the way this article describes. However, Final Cut Pro X only runs on a Mac. So you’d need to transfer the XML file to a Mac, then run “Send2X” to convert the XML and import that converted file into Apple Final Cut Pro X.
Larry
hey larry,
i would like to know if the conversion effects the speed of the clip.. like if i slow down the clip in premiere and bring into FCP will the slow motion be there
kindly reply
Ananthu:
I just did a quick test. If you change the speed of a clip in Premiere using Clip > Speed/Duration, export the XML file, convert it using SendToX, then import it into FCP X, the speed change is reflected in the FCP project.
Larry
Hi Larry,
Having a crazy issue here. Sometimes it happens sometimes it doesn’t. Mainly happens when I’m transferring footage to my editor off-site via a zip file, they open it, work on it, send me an XML that’s either done on Premiere Pro and converted with Send to X or done in FCPX. Issue is when I receive the XML, I’m getting an error saying “The original file and new file have no shared media range.
Relinked files must have the same media type and similar audio channels as the original files, and must be long enough to cover all the clips that reference the files.” This is both infuriating and really destroying hours of my workflow. Apple doesn’t seem to have an answer other than “you should always just send the original files on the same drive” which also brings the issue of archiving on different drives. I’m at my wit’s end, tried the forums and still nothing. I hope to God you have an answer since you seem like a guru. Please help.
Nicholas:
Wow! I’m so sorry you are having these problems.
The phrase “no shared media range” sounds like broken timecode to me. My strong suggestion is to contact the developers of Send2X – Intelligent Assistance – https://intelligentassistance.com/support.html – and explain the problem. They are good friends, exceedingly bright and most likely your best option to solve this problem.
Larry
Hello. I am having an issue. In FCPX my subtitles text doesn’t work?