
 With the need for educators to originate lectures at home, Lee Byers asks:
I saw the tutorial you did with Final Cut on how to create a lecture video. Can you do the same thing for Adobe Premiere?
Sure. Here you go.
PREP YOUR SLIDES – KEYNOTE
Ideally, when creating a Keynote or PowerPoint slide deck, pick an aspect ratio that works for video. Most templates are 16:9, so you should be all set; horizontal is the best option.
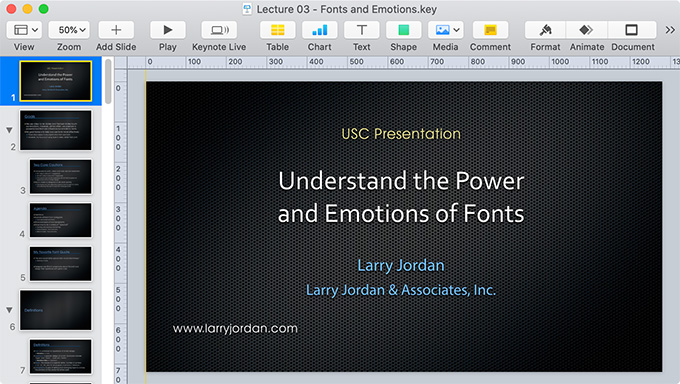
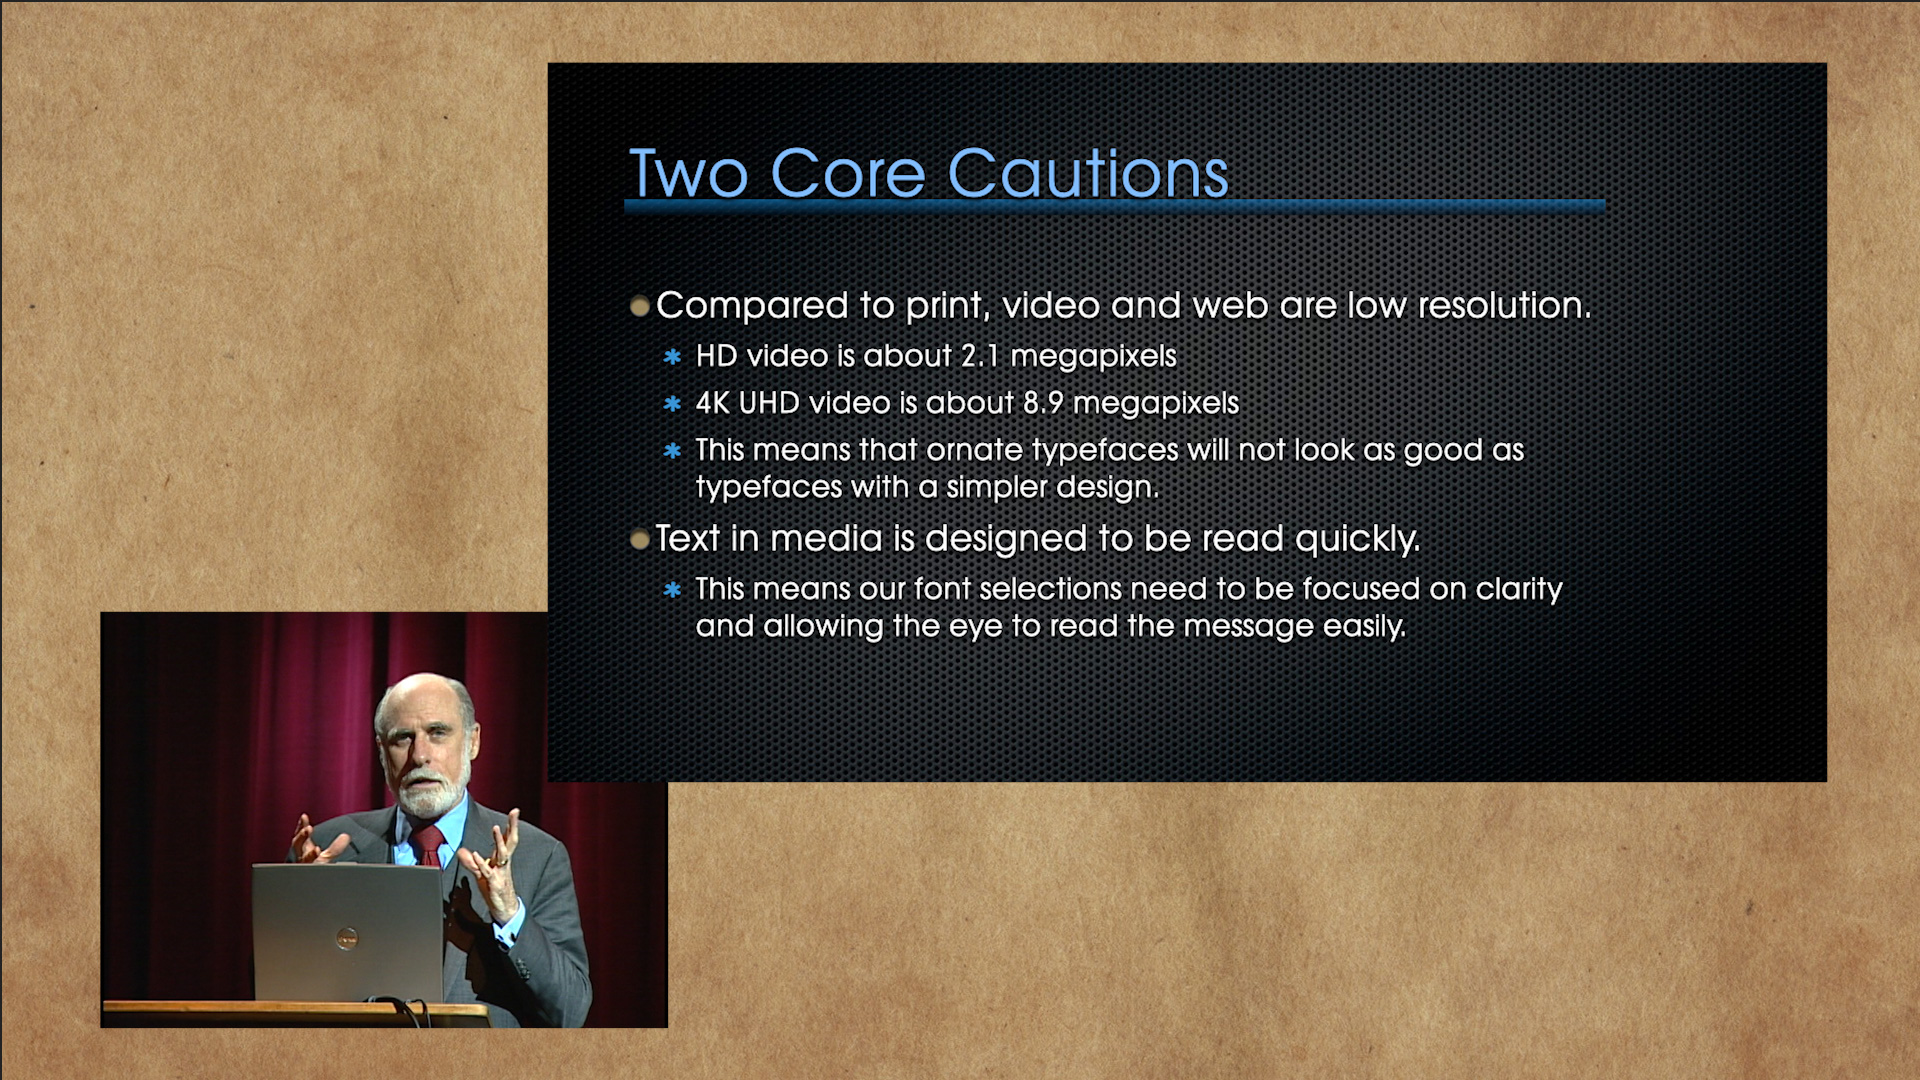
Here, for example, I have a lecture on the Power and Emotion of Fonts.
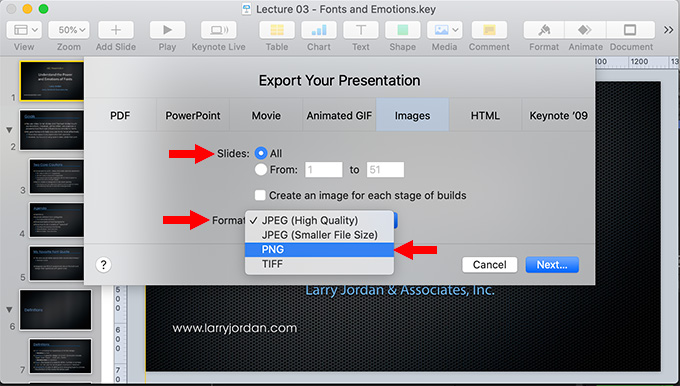
In Keynote, choose File > Export to > Images. Then, set the Format to PNG (you can also use TIFF; however don’t use JPEG.)
Based on how the slide deck is built, you can export complete slides, or each build of a slide. I generally just export the complete slide.
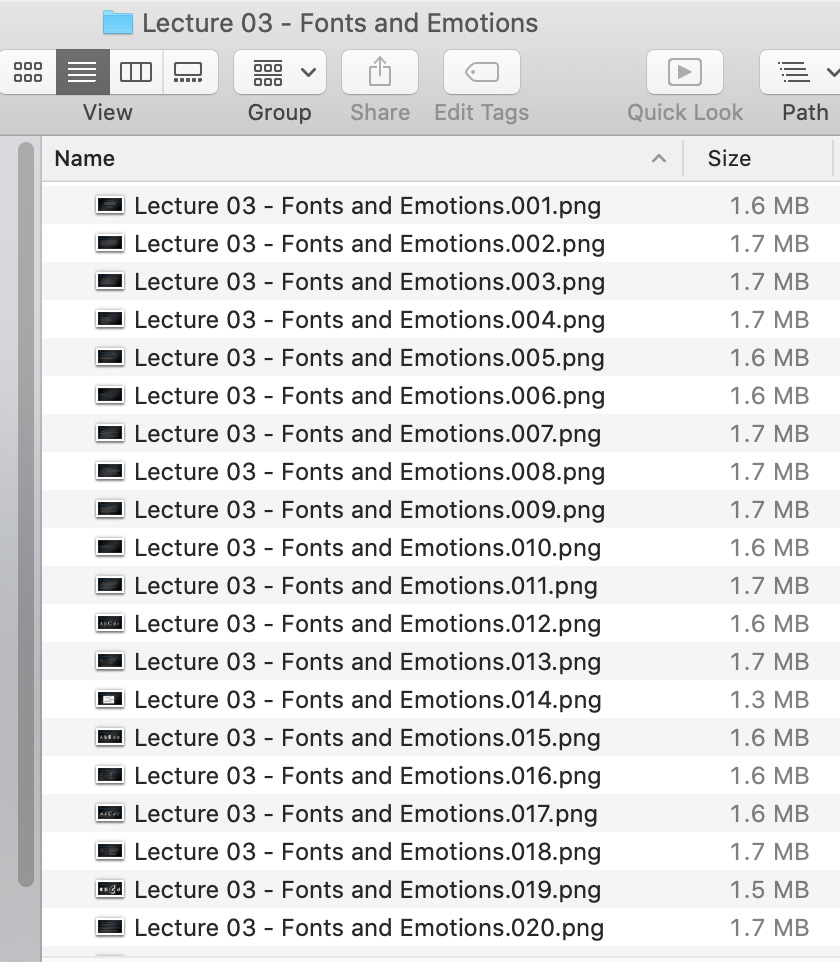
Keynote exports each slide as a PNG file and stores them in a folder at the location you specify, with each slide named after the original slide deck.
PREP YOUR SLIDES – POWERPOINT
In PowerPoint the process is the same.
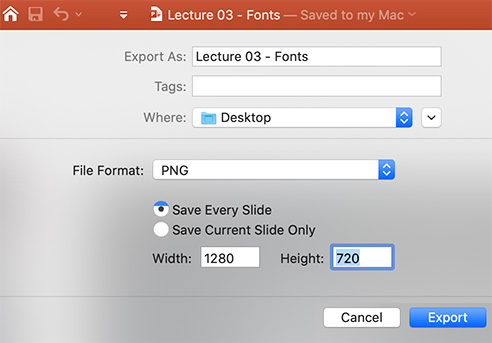
Choose File > Export, then choose a file format. Again, I recommend PNG. At this point, you need to set the screen size. Since we will be reducing the slides for the finished video, set them to 1280 x 720, even if they were created at a larger size.
NOTE: You can pick a larger size for your slides if you prefer, but, as you’ll see, you won’t be viewing the slides full-screen. Most of the time, 1280 x 720 will be fully readable.
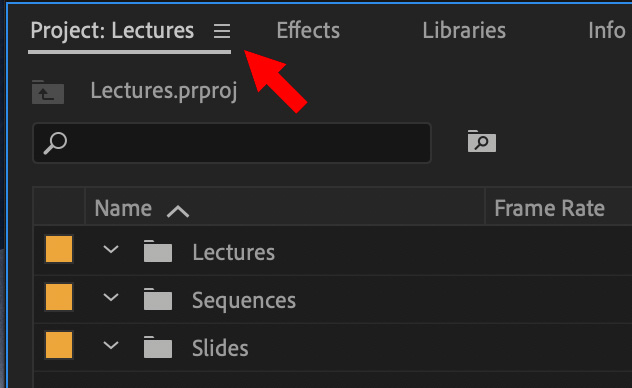
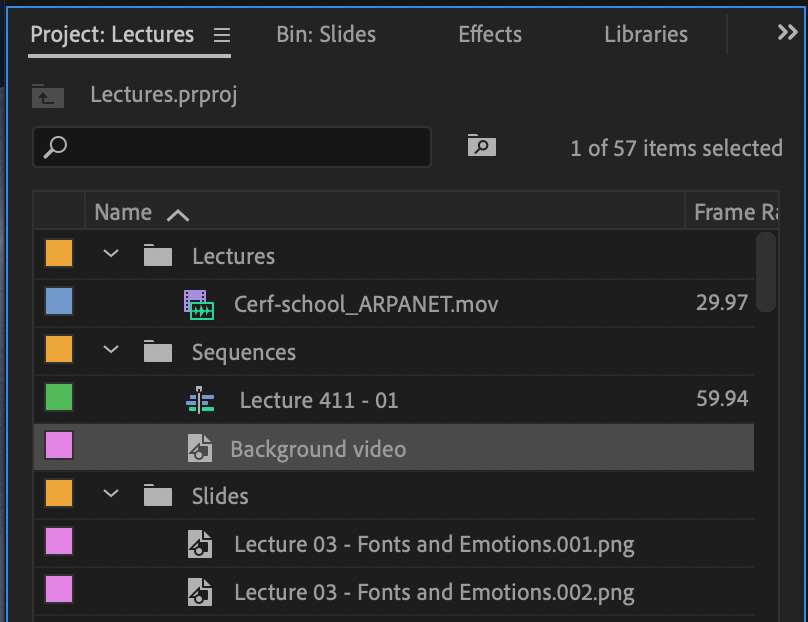
Whether you start with Keynote or PowerPoint, you now have a folder of PNG images containing all your slides.
PUT IT ALL TOGETHER
Next, we need a background to float our images over. You can create one in After Effects, download one from Adobe Stock, or use any other video or image you prefer.
NOTE: The background I’m using for this tutorial came from Pexels.com.
Create a new project in Premiere.
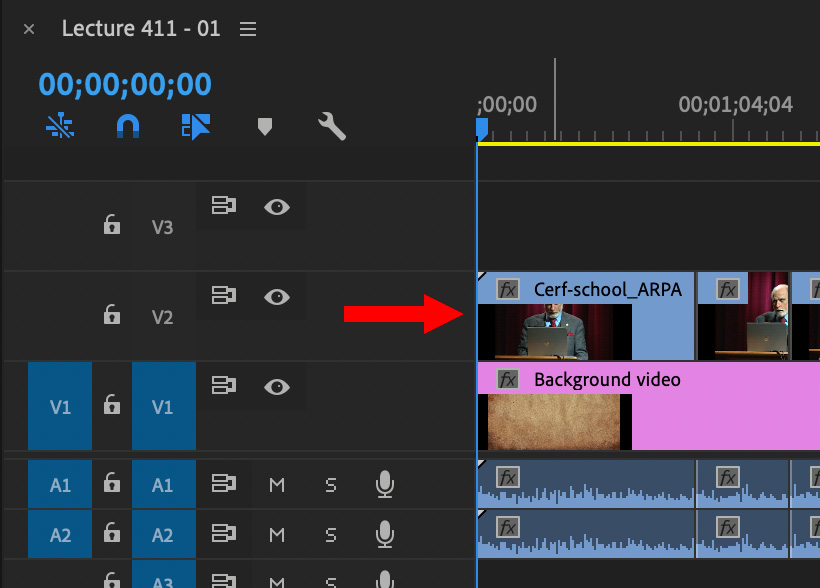
Don’t adjust any other lecture clips, yet.
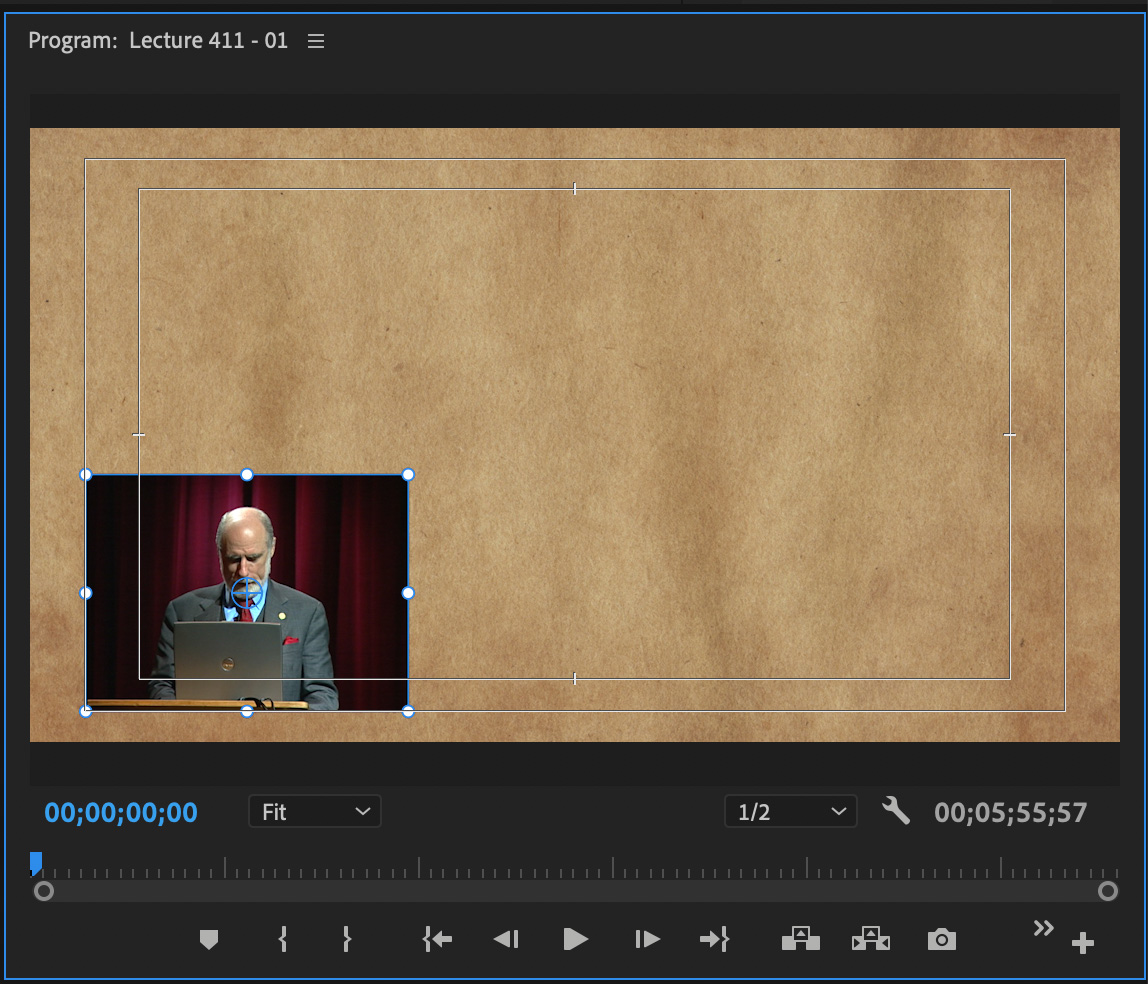
ADD THE SLIDES
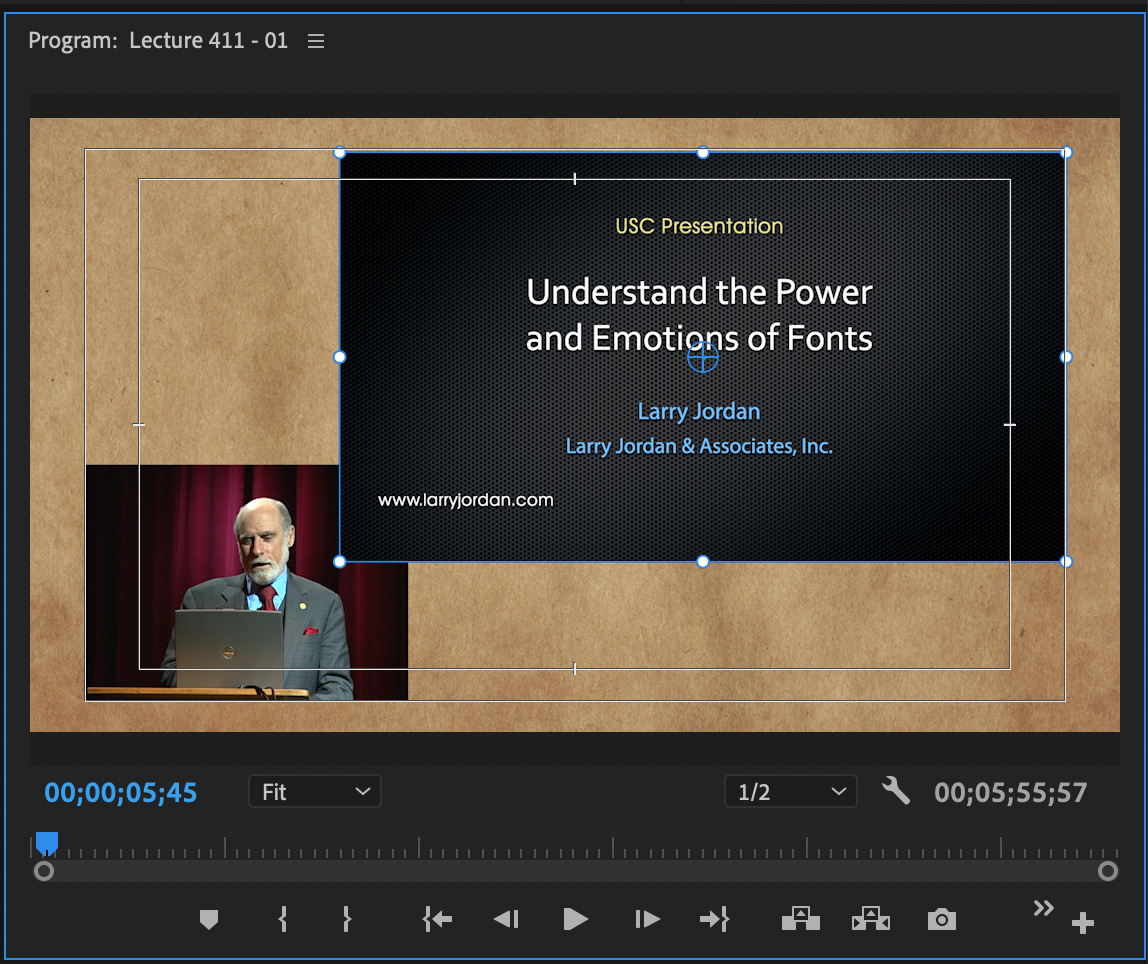
NOTE: The slides should slightly overlap the lecturer. This allows the slides to be as big as possible, without blocking the lecturer’s face most of the time.
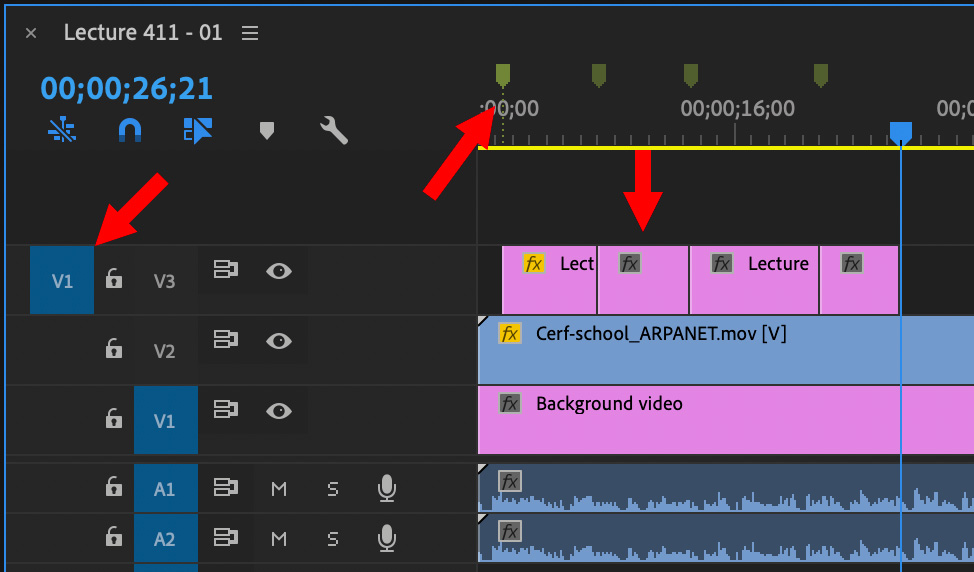
When the entire program is marked:
By using markers, you can edit slides much faster than real time. Trim the slides to correct any timing errors.
RESIZE ALL IMAGES
Select first lecturer clip and choose Edit > Copy (shortcut: Cmd + C).
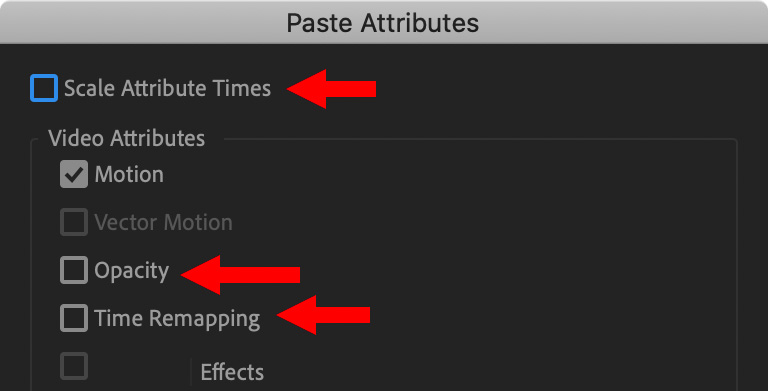
Select all remaining lecturer clips and choose Edit > Paste Attributes. In the dialog:
Click OK to resize and reposition all lecturer clips to match the first clip.
Do the same thing for the slides:
Done.
SUMMARY
Here’s the finished result. You can get fancy, depending upon your lecturer and slides by adding titles below the slides, or a border to the slides – whatever strikes your fancy. But, in terms of creating a lecture video, these are the basics.
NOTE: For the record, Dr. Cerf was not speaking about fonts. He was talking about the importance of high school students staying in school and studying the sciences.

2,000 Video Training Titles
Edit smarter with Larry Jordan. Available in our store.
Access over 2,000 on-demand video editing courses. Become a member of our Video Training Library today!
Subscribe to Larry's FREE weekly newsletter and
save 10%
on your first purchase.
2 Responses to Premiere Pro: Create Illustrated Lectures Using Video and Keynote or PowerPoint
Thank you !
Lee:
Glad you liked it. It was fun to write.
Thanks for making the suggestion!
Larry