
![]()
There are four ways we can change the speed of a clip in Premiere Pro CC 2015. This article illustrates how to create all of them.
FREEZE FRAME
A freeze frame is a stand-alone media clip containing exactly one frame of video and extending for whatever duration you prefer.
NOTE: Freeze frames always create new media.
To create a freeze frame, put the playhead on the clip you want to freeze. Neither the clip nor the Timeline need to be selected.
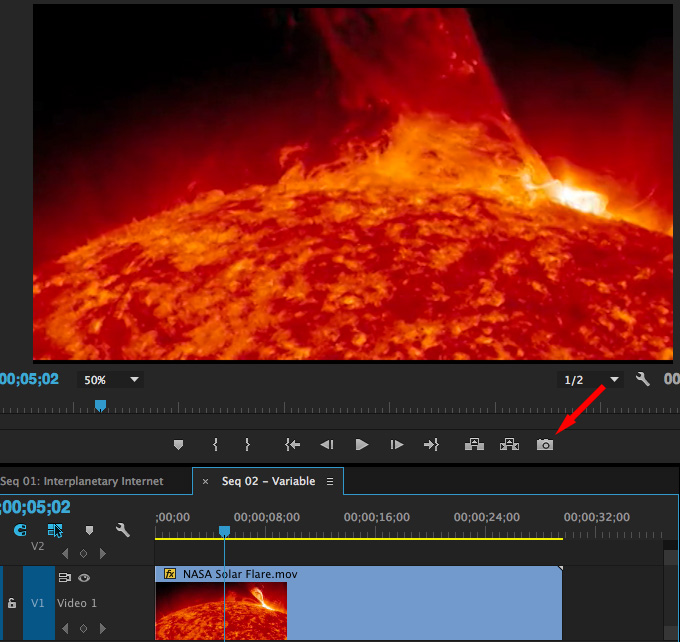
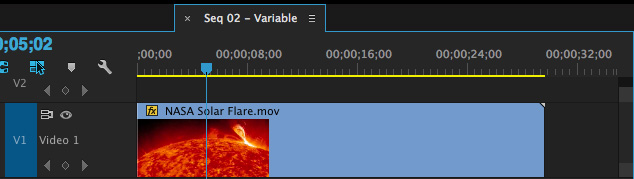
Here’s the video we’ll be using for this exercise. Click the Camera icon in the button bar of the Program Monitor (red arrow).
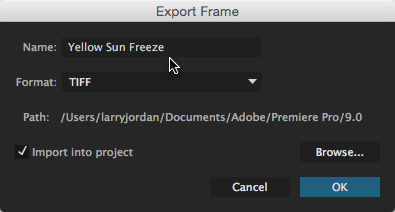
In the Export Frame dialog, give the new media file a name, assign a codec (I prefer to use either TIFF or PNG), check the Import into Project checkbox and click OK.
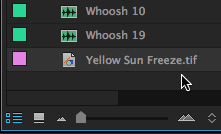
Instantly, a freeze frame media file is created on your hard disk and the file is automatically imported into the Project panel of Premiere.
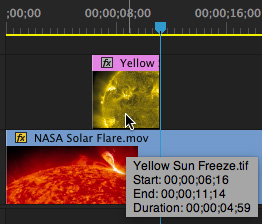
Drag the freeze frame clip from the Project panel into the Timeline. The big benefit to freeze frames is that they can be positioned anywhere and stretched to whatever length you need, without worrying about the underlying clips.
Freeze frames have been in Premiere for a long time, though the automatic import is a relatively new improvement. But, recently, things got simpler.
HOLD FRAME – OPTION 1
A “Hold Frame” is a freeze frame that is attached to a clip that can be of whatever duration you specify. Hold frames are faster and easier to create than freeze frames, though freeze frames are more flexible in terms of placement in the Timeline.
There are two types of hold frames:
NOTE: Hold frames never create new media.
To create a hold frame, put the playhead on the frame you want to hold, then select the clip AND the Timeline panel (selected panels have blue boxes around them)

Choose Clip > Video Options > Add Frame Hold
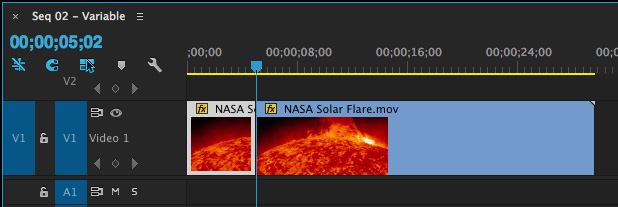
A hold frame is instantly created, starting at the playhead and extending to the end of the clip. This is a great way to create a dramatic tease to commercial – freeze the concluding shot in a scene, then slowly fade to black as the dramatic music swells.
HOLD FRAME – OPTION 2
Instead of freezing the remainder of a clip, however, we can create a shorter frame hold segment. This is most typically used in sports where we want to freeze the action to display some stats then resume the action.
Again, place the playhead on the frame you want to hold, select the clip and make sure the Timeline panel is active.
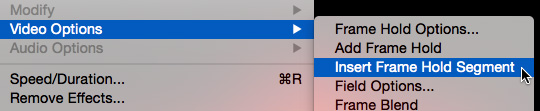
Then, choose Clip > Video Options > Add Frame Hold Segment
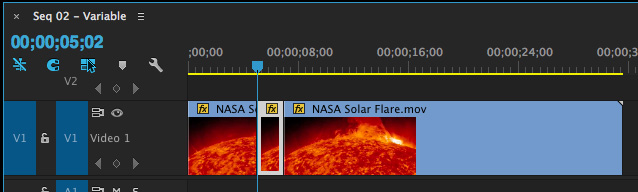
This creates a short hold frame at the position of the playhead.
To change the duration of a hold frame, simply trim the edges as you would trim any clip.
NOTE: You can also access the same Clip menu options by right-clicking on a clip in the Timeline.
CONSTANT SPEED CHANGE
A constant speed change alters the speed of the entire clip by the same amount. By default, constant speed changes alter the duration of the clip they are applied to; however, you can override this behavior.
To change the speed of an entire clip, first, select the clip in the Timeline. Then, do one of the following:
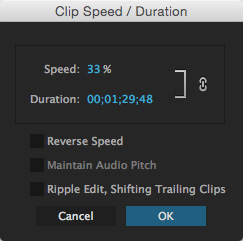
In the Clip Speed/Duration window:
Click OK to accept your settings.
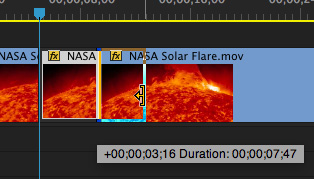
VARIABLE SPEED CHANGES
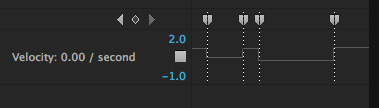
A variable speed change is a speed change that occurs within a clip, such that different portions of the clip play at different speeds. These speed changes are created in the Effect Controls > Time Remapping panel.
Put the playhead where you want the speed change to start in either the Timeline or the Effect Controls panel; they mirror each other.
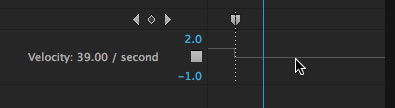
Drag the horizontal white line to the right of the keyframe up or down to speed or slow that portion of the clip; down is slower. (The arrow won’t appear, I added it here to improve the illustration.)
As an option, add more keyframes to add more speed changes to the clip.
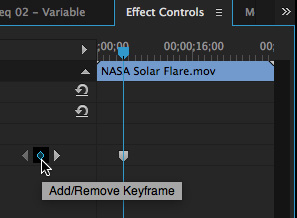
As with all keyframes in Premiere, navigate between keyframes by clicking the left- or right-pointing chevrons on either side of the keyframe diamond.
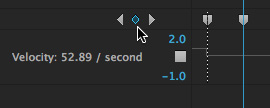
To remove a keyframe, position the playhead on top of the keyframe you want to remove and click the blue keyframe diamond

To add a speed ramp during a speed change, drag the right half of the keyframe indicator to the right. The wider the gap between the two keyframe halves, the gentler the transition from one speed to the next.
SUMMARY
Speed changes are dramatic and instantly draw attention to what’s going on in the frame.
Premiere offers a wide variety of speed options, depending upon the needs of our project. As with almost all effects, experiment to discover what these can do for your projects.
Enjoy playing.

2,000 Video Training Titles
Edit smarter with Larry Jordan. Available in our store.
Access over 2,000 on-demand video editing courses. Become a member of our Video Training Library today!
Subscribe to Larry's FREE weekly newsletter and
save 10%
on your first purchase.
5 Responses to Premiere Pro: 4 Ways to Change Clip Speed
[…] going into the timelapse, start off slowish, ramp up speed to the point it’s just a blur (see here for how), fade to black, then fade back into the timelapse and slow back […]
I can’t find the horizontal white line to drag up and down to change the speed. Much easier in FCPX
Colin:
It is in the Effect Controls panel. Be sure the panel is wide enough, as it is often hidden on the right.
Larry
Hello and thank you very much Do you know how to change the audio track according to the video when I make a speed change ramp
Thanks for writing.
According to Adobe, you can’t. Their Help files state: “The audio portion of the clip remains unchanged by Time Remapping, although it remains linked to the video portion.”
Larry