
![]() Simulations allow us to use the computer to emulate reality. Hidden within Motion is the ability to simulate reality; though not from a scientific point of view. Instead, Motion allows us to add life, unpredictability and a sense of fun to our motion graphics.
Simulations allow us to use the computer to emulate reality. Hidden within Motion is the ability to simulate reality; though not from a scientific point of view. Instead, Motion allows us to add life, unpredictability and a sense of fun to our motion graphics.
There are sixteen simulations in Motion. Let me illustrate three of them:
Gravity applies, not surprisingly, an adjustable force of gravity to a moving object.
Attractor allows one object to attract selected objects, objects in the same folder or all objects in the project. The difference between Gravity and Attractor is that Gravity is applied to a single moving object (or a folder containing multiple objects), while Attractor is applied to a separate object which then attracts everything around it.
Align to Motion changes the rotation of an object to match its direction along an animation path.
NOTE: Unlike the Snap Alignment to Motion behavior, which produces absolute changes in rotation that precisely match changes in direction, Align to Motion has a springy reaction and creates a more lively effect.
Let me show you how each of these work.
GET STARTED
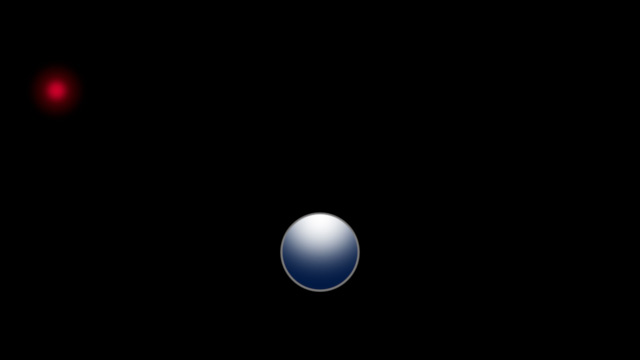
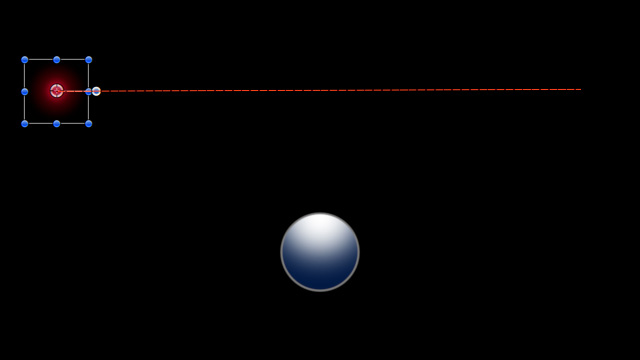
Start by creating a new Motion project. The specs of the project are irrelevant. Then, to illustrate these simulations, I created a simple scenario using the Gray ball (Shapes category) which I then colored blue – using the gradient adjustment in the Inspector > Shape panel – because, well, why not? Then, I added Basic Blur (Content > Particle Images) to which I applied the Colorize filter and changed the color to Red.
Save this project so that you can always return to it as you move thru this tutorial.
NOTE: You can use any object and any range of colors. There’s nothing special about the objects or colors I chose, except to make them look good in these screen shots.
GRAVITY
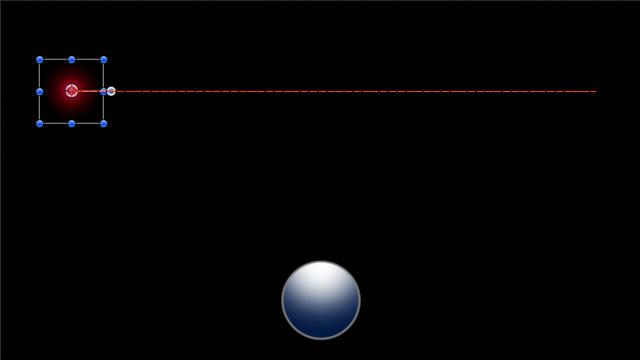
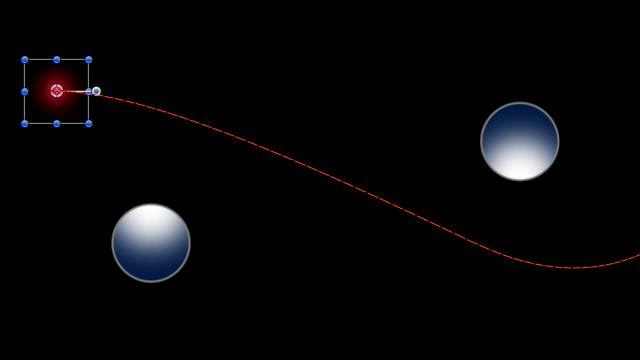
Let’s start with something simple. Here I’ve applied a basic Motion Path (Library > Behaviors > Basic Motion > Motion Path) to the Red Blur. Grab the end point to adjust its position, as necessary. Like all effects, adjust the timing of the effect by changing the duration of the purple bar in the mini-Timeline. (Select the effect in the Layers panel to see the purple bar.)
Select the Red Blur and apply Behaviors > Simulation > Gravity. Ta-DAH! Instant simulation.
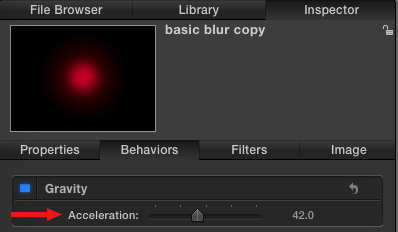
You can adjust the strength of Gravity by selecting the Red Blur in the Layers panel, then tweak the Gravity setting in the Inspector > Behaviors panel.
ATTRACTOR
Let’s reset back to our initial setup. Now, in the Layers panel, select the Basic Blur and applied a Motion Path behavior to it (Library > Behaviors > Basic Motion > Motion Path).
In the Layers panel, select the Blue ball and apply an Attractor simulation.
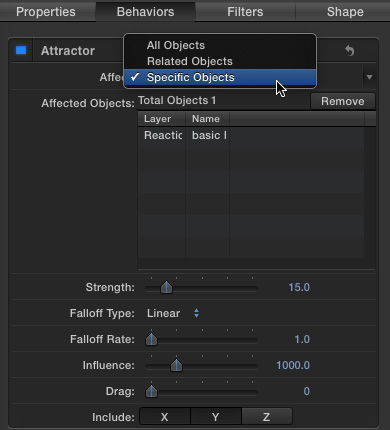
In the Inspector > Behaviors panel, there are three options at the top:
I chose Specific Objects because I only want selected objects to be attracted to the Blue Ball.

From the Layers panel, drag the ICON for the object I want to be attracted; in this example, this is the Red Blur.
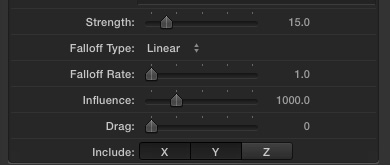
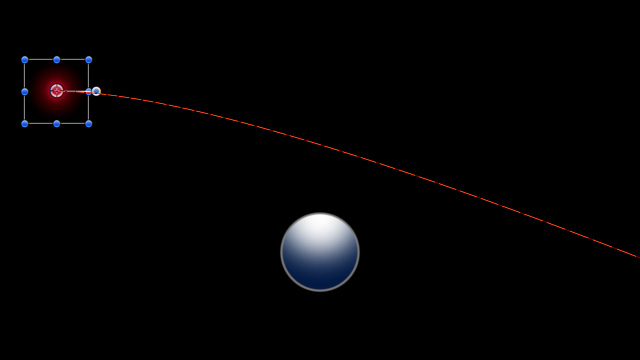
Then, tweak the attraction settings at the bottom to create some interesting movement.
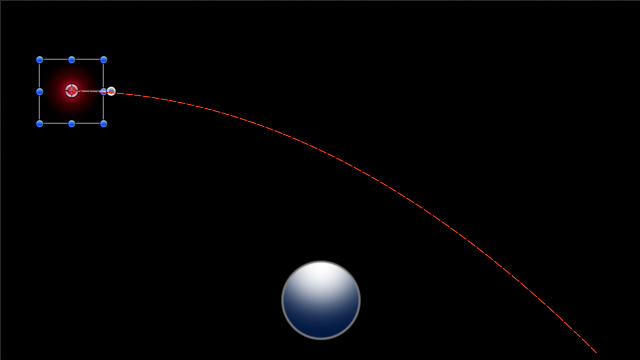
NOTE: To see the red, dotted motion path, select the Red Blur. This takes a bit of patience because you can’t see the motion path of the Red Blur while at the same time adjusting the behavior of the Attractor applied to the Blue Ball. You’ll need to select the Attractor behavior, tweak, then select the Red Blur to see the results.
Um, you could also just play the clip and adjust it in real time, which works great in real life but is extremely hard to show in a screen shot.
EXTRA CREDIT
Let’s add a second object – another Blue ball – and give it an another Attractor behavior. Then, adjust the settings so the Red Blur weaves between them.
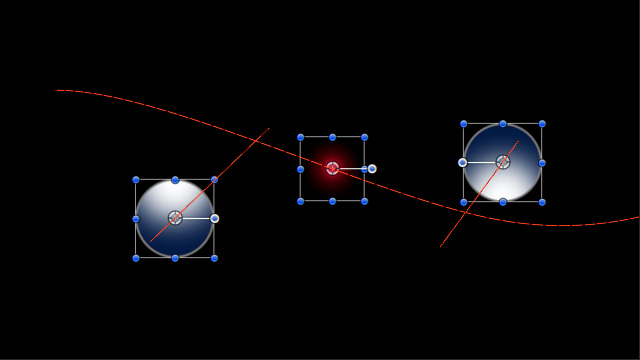
Now, get REALLY carried away by applying a Throw behavior to the two attractors. Wow…!
ALIGN TO MOTION
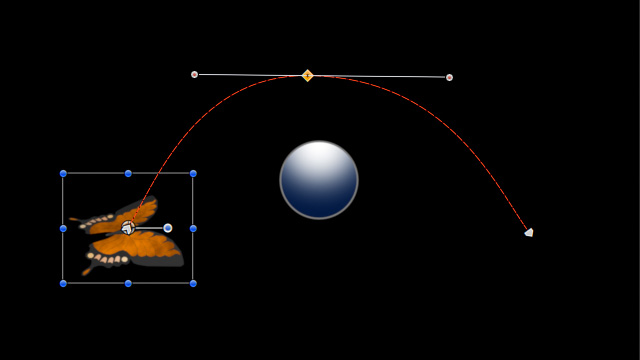
Here I’ve created a different pattern. Same Blue ball, but instead of a Red Blur I added a Butterfly. Why? You’ll see in a minute.
To create the curve, we can’t use Motion Path because Align to Motion won’t work. (If you use Motion Path, use the Snap Alignment to Motion behavior which is in the Basic Motion subcategory.)
Instead, to create the path, we’ll need to use keyframes:
(This sounds like a lot of work, but after you’ve done it once and figured out how it works, doing it again is easy.)
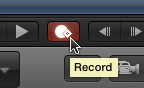
BIG NOTE: Be sure to turn OFF keyframe recording when you are done, otherwise, you’ll wonder why everything is acting so weird!! (Yeah, I always forget this too.)
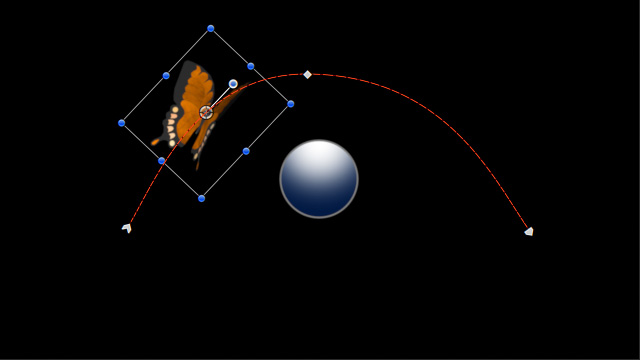
With the path created, select the Butterfly and apply the Align to Motion simulation (Behaviors > Simulation).
Instantly, the Butterfly repositions so that it faces in the direction of its movement throughout the entire curve.
EXTRA CREDIT
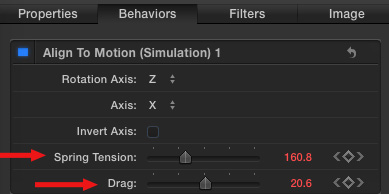
To add some “wobble” to the movement of the Butterfly, select the Align to Movement behavior, then, in the Inspector > Behaviors tweak the Spring Tension and Drag settings. This allows the movement of the Butterfly to wobble along the path.
SUMMARY
I’m using red balls and butterflies, but these same techniques can add interesting movement and animation to text, images or any other graphical image you can think of.
Give yourself some time to play with this and you’ll discover all kinds of interesting uses.

2,000 Video Training Titles
Edit smarter with Larry Jordan. Available in our store.
Access over 2,000 on-demand video editing courses. Become a member of our Video Training Library today!
Subscribe to Larry's FREE weekly newsletter and
save 10%
on your first purchase.