
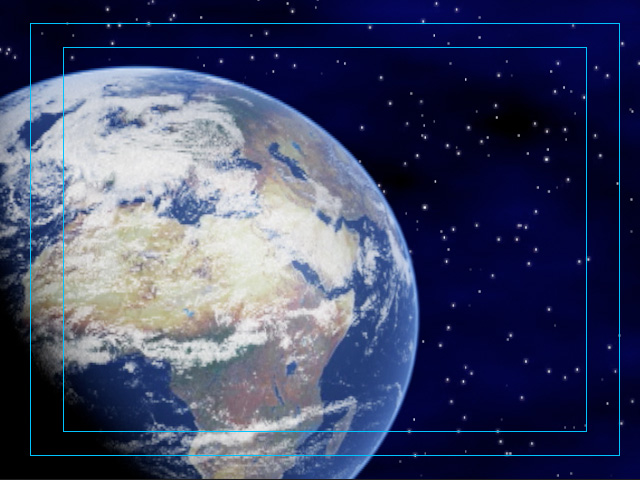
![]() One of the cooler, though more hidden, features in Motion 5 is the ability to move text through objects, even though both the object and text are created in 2D.
One of the cooler, though more hidden, features in Motion 5 is the ability to move text through objects, even though both the object and text are created in 2D.
How? By using the built-in 3D tools of Motion 5. While this sounds complex, it really isn’t – and, even better, you can use this effect in a stand-alone video, Final Cut Pro X, or Adobe Premiere Pro CC.
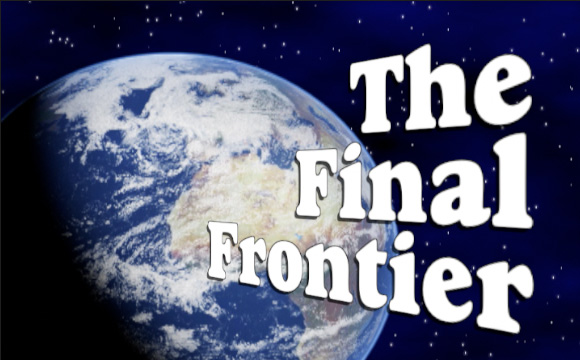
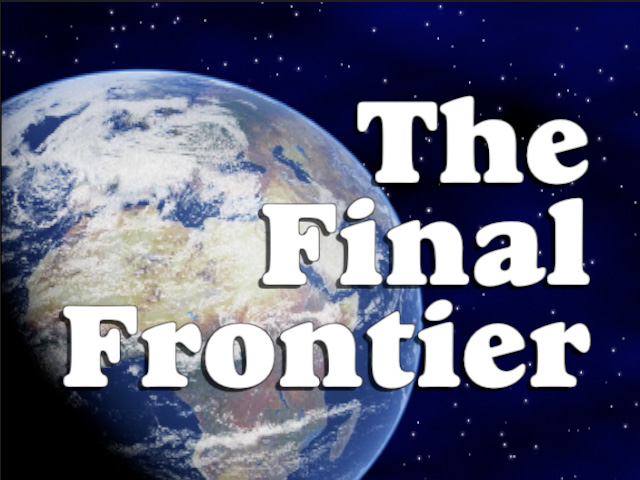
Here’s where we will end up, with the text flying out at an angle from the surface of the earth.
NOTE: It took me an hour to figure this out, but this effect won’t work with 3D text. Why? Because 3D text only intersects with other 3D text, not backgrounds. Strange, but true. You need to use 2D text for this to work.
And, here’s what it takes to get there.
GET STARTED
Start Motion.
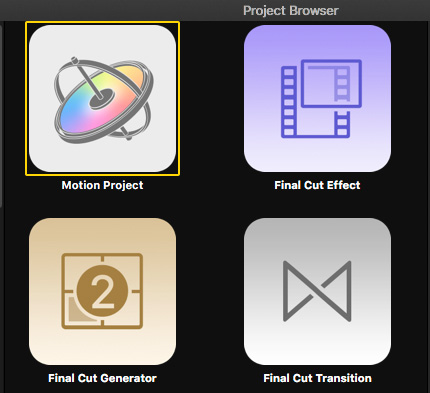
In the Project Browser:
For this exercise, we’ll create a Motion Project.
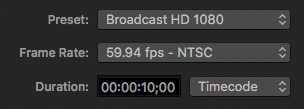
In the top right corner, set:
Then, click Open in the bottom right corner of the Project Browser.
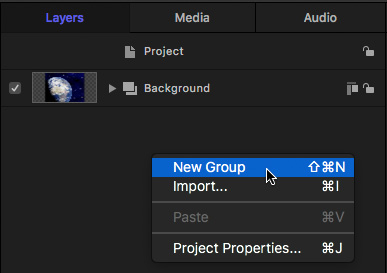
In the Layers panel, rename the existing Group to Background. (This isn’t really necessary, but renaming Groups and keeping things organized will prevent major stress in more complex projects.)
Then, Control-click anywhere in the Layers panel and create a new group. Rename that to Text.
NOTE: The stacking order of groups is important. Like layers in Photoshop, Groups that are higher are in the foreground, while lower groups are in the background. This is always true when working in 2D space. It is not always true when working in 3D space.
Select the Background group and import the video you want to use for the background. In this case, I’m using a video of the spinning earth. However, you can use any clip you want.
ADDING TEXT
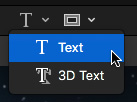
Select the Text group in the Layers panel, then go to the bottom of the Viewer and select Text tool > Text. Why? Because this effect won’t work with 3D text. Sigh…
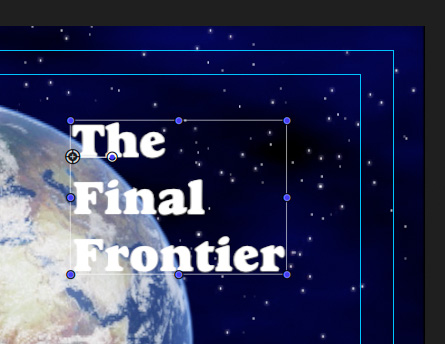
Click in the Viewer and type the text you want. The exact location is not important.
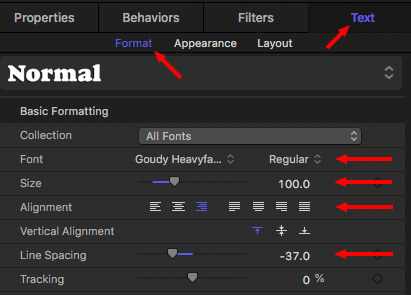
One of the big benefits to using Motion is that we have a LOT of options when it comes to formatting text. So, feel free to play. However, if you want to match what I’m doing, the screen shot above shows the text alignment and formatting I’m using.
I adjusted:
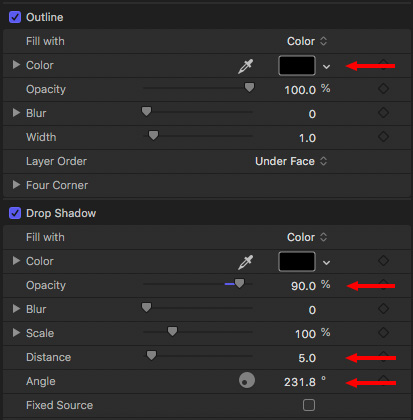
And this edited screen shot shows both the outline and drop shadow settings I’m using to give this text a feeling of depth and separation from the background.
I adjusted:
NOTE: Again, just to stress this, you can format the text any way that looks good to you and is still readable on screen.
Here’s what it looks like so far.
SET THE ANGLE
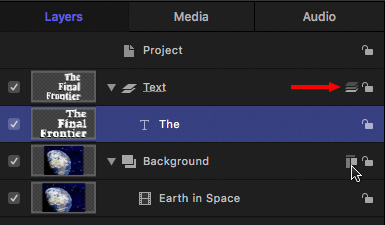
Now the magic starts. In the Layers panel, switch from 2D to 3D display by clicking this icon for BOTH the Text and Background groups. This icon ONLY applies to Groups.
NOTE: You know you have it correct when both groups show the stacked icon you see next to Text.
If the text disappears, don’t panic, we’ll get it back in a second.
Select the text in the Layers panel, then, go to Inspector > Properties and watch what happens as you change:
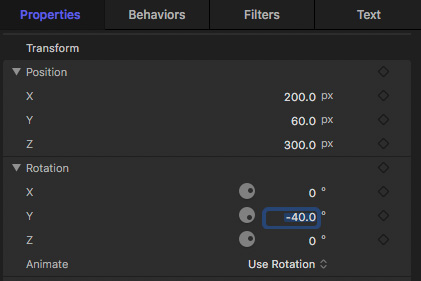
If you are following along with me, change your numbers to match the screen shot above. We’ll come back to these settings in just a bit.

When you do, your text should look pretty close to this screen shot.
ANIMATE THE TEXT
As our final step, we want the text to fly out, revealing itself from the surface of the earth, yet still stay at an angle.
To do this easily, we need to add a camera.
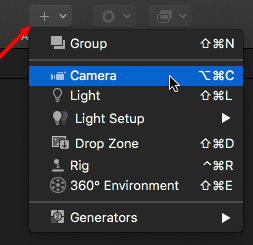
In the top center of the Viewer, choose Add Object > Camera. While there are LOTS of things we can do with a camera, for this exercise, it just needs to exist.
NOTE: If we wanted to get really fancy, we could play with depth of field on the camera and adjust the focus on the text. Smile… but, we won’t.
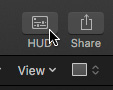
Next, in the top right corner of the Viewer, click the HUD icon to display it.
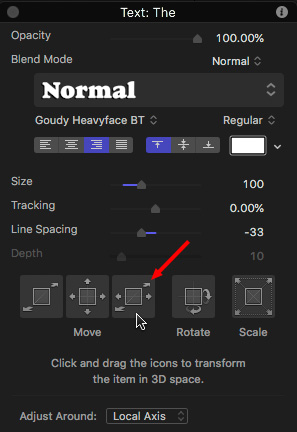
Select the text in the Layers panel. Then, watch what happens as you drag this icon left and right (NOT up and down).
NOTE: If you don’t see these controls in the HUD, it’s either because you didn’t create a camera or you forgot to select the text clip in the Layers panel. Do so now.
As you drag this control left and right, the text slides along the angle you created, flying back into the planet; disappearing as it goes.
To better see what the HUD is doing, with the text selected, go to Inspector > Properties. See how both the X and Z Position values are changing? The cool thing is that using the HUD allows us to maintain the Y (depth) angle even as we slide the text.
If you or the text gets lost, just reset the X-Y-Z values either by using Undo, or from the screen shot above.
We are almost done.
In the mini-Timeline at the bottom of the Viewer, position the playhead where you want the zoom effect to END. In my example, I want it to end two seconds into the clip.
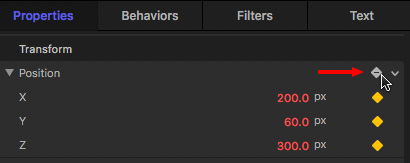
Then, with the text still selected, go to Inspector > Position and set a keyframe by clicking the top empty diamond. This sets a keyframe for each axis at the position of the playhead.
NOTE: It is often easiest to animate a clip by setting a keyframe where you want it to finish, then, add keyframes to animate the start.
Now, in the mini-Timeline, move the playhead where you want the zoom to START. In my example, I’m starting the move one second in.
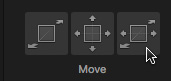
Using the HUD, slide the image left until it disappears using JUST the third icon from the left in the HUD.
Note that in the Inspector Motion automatically set new position keyframes.
Finally, play the clip.
Ta-DAH!!
Here’s what my project looks like.
SUMMARY
This sounds like a lot of steps, but I was simply being extra careful to cover all the points. Once you’ve done this a time or two, you can create this effect in a couple of minutes; and most of that time will be spent typing and formatting the text.
There are lots of ways you can enhance this, with text formatting, multiple text elements, depth of field and more. But the basics of how to create this effect remain the same.
Very cool!

2,000 Video Training Titles
Edit smarter with Larry Jordan. Available in our store.
Access over 2,000 on-demand video editing courses. Become a member of our Video Training Library today!
Subscribe to Larry's FREE weekly newsletter and
save 10%
on your first purchase.
9 Responses to Motion 5: Move Text Through Objects in 3D
Hi Larry,
Would it possible to create the same “move-through effect” with another object instead of text, say an image of car or a spaceship? Say that you either filmed that object against green screen or even just used a still image. Couldn’t that be moved through the background the same way as the text was in your example?
Philip:
Yes, absolutely. Anything you can import into Motion can move through 3D space; EXCEPT for 3D text.
However, keep in mind that all video is only 2D – there’s no depth, you can’t move “around” a car that you filmed on a green screen set. Video in Motion is just like a photograph. When you look at it from the side, its only as thick as a sheet of paper. So you need to be careful in moving objects that are not text.
Larry
Hi
What do you mean with “mini Timeline”? I got confused. Is there a bigger one?
And I also wonder about the layers panel: When you say “the text panel”, do you mean the one that say “Text”, or the one where the actual text I written?
Look forward to an answer.
Morten:
The mini timeline is located at the bottom of the viewer. The big time time is revealed by pressing the F6 key. For most work, the mini timeline is sufficient.
The Text panel is part of the inspector and is visible when a text clip is selected.
Larry
There have to be something very wrong with this tutorial. F eks in the end when you click the diamonds and moving the playhead as you say, the text disappear the opposite way than in your video at the end.This happen all the time. Of course I just flip the 2 diamonds and its OK.
But the main problem now is that if I moving the the nr 3 from the left in the hud, the whole videoklipp is moving, not the text.
PS
I do not mean the tutorial is wrong. It is my head and understanding that is wrong.
Smile… I have THAT problem all the time.
Larry
Morten:
Hmm… Make sure you are using the correct sign (+ or -) in front of the various settings. Some of these settings use negative numbers.
If the video is moving, you may have selected the group, rather than the text layer itself.
Larry
Okay, I will go on trying.
Thank you for your time.
Best
Morten