
![]() Motion is designed to create visual motion graphics. However, hidden in the interface is the ability to add, adjust and delete audio clips. This tutorial explains how.
Motion is designed to create visual motion graphics. However, hidden in the interface is the ability to add, adjust and delete audio clips. This tutorial explains how.
GET STARTED
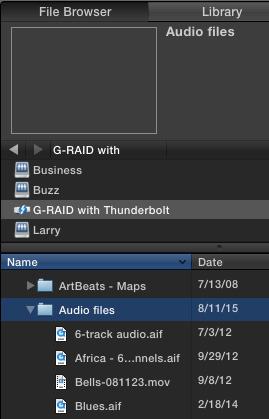
After you’ve created a project, you can import audio at any time. The easiest way to do this is to click the File Browser tab in the top left corner of the interface, select the drive containing the audio you want to import in the middle, then navigate to the folder and file you want to import at the bottom.
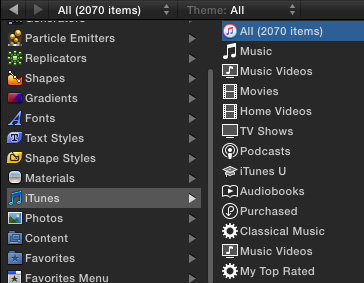
NOTE: You can easily access music stored in iTunes from Motion by clicking the Library tab at the top, then iTunes category on the left, then the music you want on the right.
However, I am not a fan of using iTunes to store audio files that I want to use for editing or production. All too often, iTunes wants to convert the audio into MPEG-3, or otherwise change it. I use iTunes for music I want to listen to, but I store audio for production separately from the program. Storing audio separately also allows easier archiving and sharing with other editors.
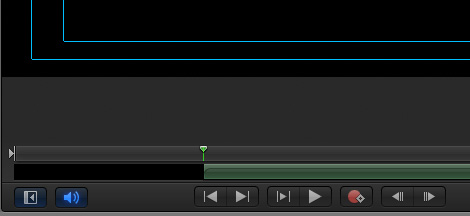
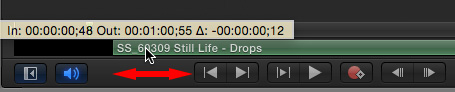
When you’ve found the file you want, drag it into the Viewer window on the right. At the bottom of the viewer, you’ll see a green bar, representing the audio file you just dragged in. In this example, the green bar starts at the position of the mini-playhead.
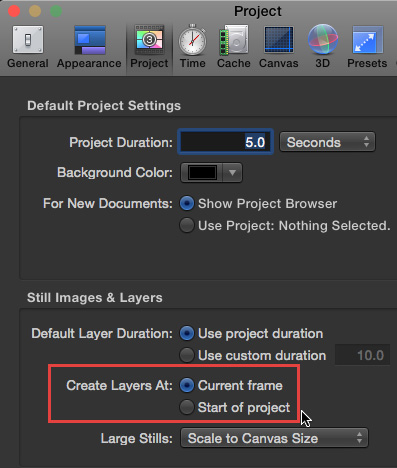
Where the clip, represented by the green bar, is placed depends upon a preference. Open Preferences and click the Project tab at the top. Look at the Create Layers At: at the bottom of the panel.
I tend to set this preference to Start of Project.
SELECTING AND POSITIONING AUDIO
Moving an audio file is the same as moving a video clip, grab the green bar and drag it. This is easiest when you first import the file because the clip is both visible and selected.
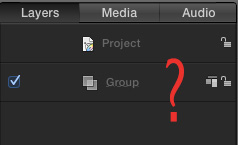
However, if the green bar isn’t visible, how do you select it? Audio clips are not visible in the Layers panel.

The Media tab provides lots of data about the audio clip; along with all the other clips in the project, but doesn’t allow you to highlight or select it in the mini-Timeline.
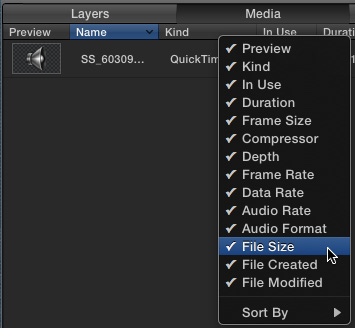
NOTE: I really wish this panel could be significantly enlarged. Right-click any column header, or scroll to the right to see all the information maintained for each clip.

The Audio tab displays all the audio clips in a project. Click near, but not on, the name of a clip to select it and display it in the mini-Timeline.
ADJUSTING AUDIO
The Audio tab allows you to adjust:
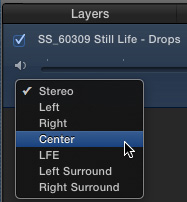
NOTE: Click Stereo to change which portion of the audio clip you want to hear.
To delete an audio clip from your project, make sure it isn’t locked (the padlock icon), then press the Delete key to remove it.
MASTER SETTINGS

At the bottom of the Audio tab is the Master setting. This allows you to:
Motion allows you to add as many audio clips to a project as you wish and to adjust each of them individually. However, my recommendation is to create your audio mix outside of Motion, as Motion doesn’t give you as much control as Logic or Audition. Also, Motion doesn’t have any of the audio filters that are to be found in Final Cut, Logic, or Audition.