
 Todd wrote to ask: “How do I display Nit values in Final Cut Pro X?”
Nits, which are a measure of brightness, are principally used when working with monitors and HDR media.
Definition: A Nit is a measurement of how much light the TV screen sends to your eyes (luminance) within a given area. On a more technical level, a NIT is the amount of light output equal to one candela per square meter (cd/m2 – a standardized measurement of luminous intensity).
To put this into perspective, an average TV may have the capability to output 100 to 200 Nits, while HDR-compatible TVs may have the ability to output 400 to 2,000 nits. (Livewire)
Currently, Mac monitors support Nit levels of 500 nits. The high-end of the HDR spec allows up to 10,000 nits – something no monitor today can deliver.
Still, when we work with HDR media, we are often working with brightness levels greater than the 100 IRE of traditional HD media. And, for the purposes of most of us, one IRE is roughly 1 Nit, at least when looking at video scopes.
With that as background, let’s take a look at how to display Nit values in Final Cut.
ENABLE NITS
Nits can only be displayed for HDR projects; specifically, Rec. 2020 PQ. This is because HLG projects are designed for backward compatibility with traditional HD video levels, so the white levels appear to top out at 100%.
Here’s what you need to do to display Nit values.
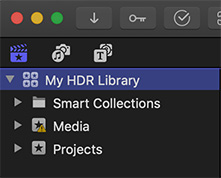
After creating a new Library, select it in the Library list. (You can also, at any time, change the settings of an existing Library or project.)
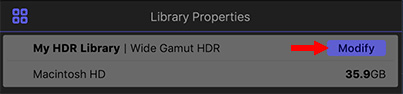
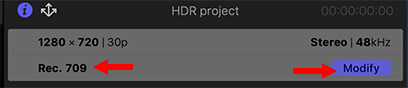
With the Library selected, go to Inspector > Library Properties and click the blue Modify button.
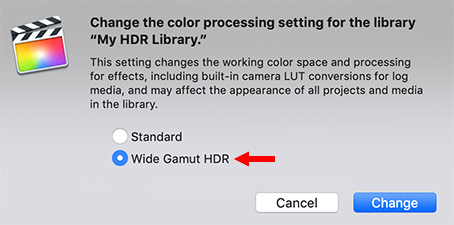
Select Wide Gamut HDR. This switches that specific library into HDR mode.
NOTE: You can’t create HDR projects until the Library is “HDR-enabled.”
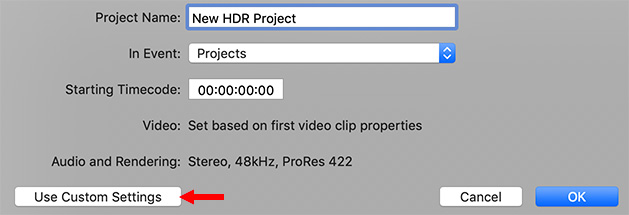 If you are creating a new Project, click Use Custom settings.
If you have already created a project, select it in the Browser, then choose Window > Project Properties (shortcut: Cmd + J) and click the blue Modify button.
NOTE: You can change the color space settings of a project at any time. However, doing so will totally mess with any existing color grading that you’ve done.
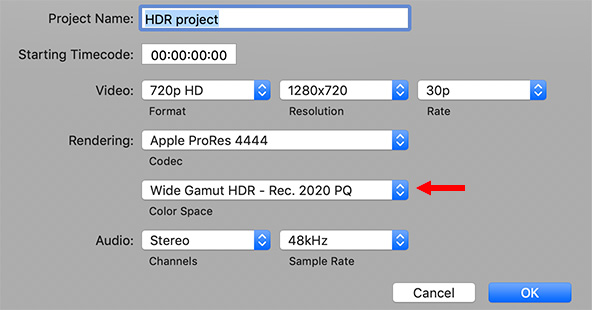
Whether you started with a new or existing project, in this screen set the color space to Wide Color Gamut – Rec. 2020 PQ.
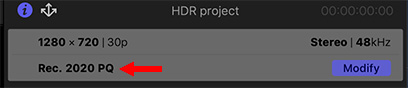
NOTE: You can tell the color space settings for a project by looking at the top of the Info Inspector. You’ll find the color space listed under the frame size/frame rate.
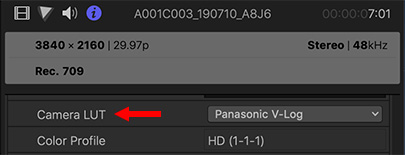
Next, if necessary, apply any required camera LUTs to your footage.
NOTE: Here’s an article that explains LUTs in more detail.
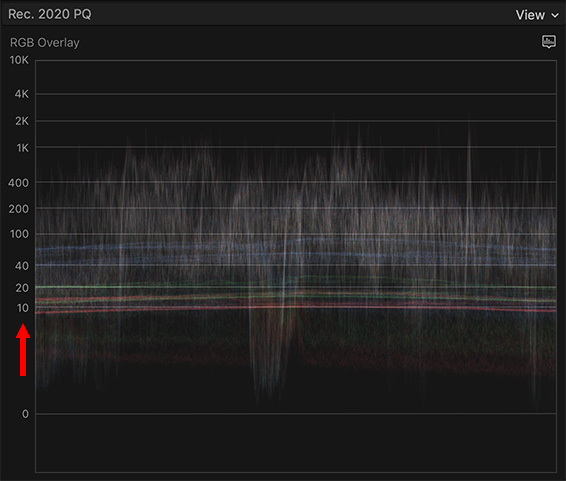
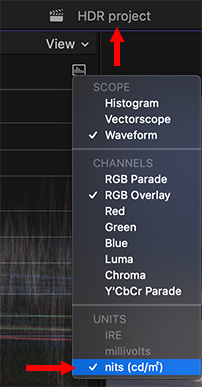
Finally, choose View > Show in Viewer > Video Scopes (shortcut: Cmd + 7) to display the video scopes. As long as you are in a PQ project, Nits will be the unit of measure.
NOTE: If you switched an existing project from Rec. 709 to Rec. 2020 PQ, it may take up to 20 seconds for the scopes to switch over and properly display Nits. Remember, Nits are only displayed for Rec. 2020 PQ projects.
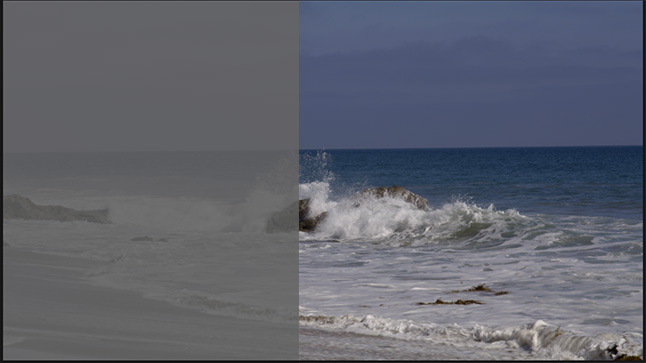
Simply because the difference is so dramatic, here’s a before and after of the same HDR frame after LUTs and color grading are applied.
SUMMARY
HDR holds tremendous promise for making our images much more realistic. However, color grading HDR requires an HDR monitor. Your computer monitor does not accurately display highlights much past 100 IRE.
Still, when you have the right gear, HDR provides amazing images!

2,000 Video Training Titles
Edit smarter with Larry Jordan. Available in our store.
Access over 2,000 on-demand video editing courses. Become a member of our Video Training Library today!
Subscribe to Larry's FREE weekly newsletter and
save 10%
on your first purchase.