 Bryan asked:
Can you please do a quick summary of the workflow and mechanics of how Frame’s Camera To Cloud would work in FCP when proxies come in first and an editor begins cutting, and needs to relink to later-arriving original media down the line?
Seems like over the years, FCP has really only been able to handle proxies well in the reverse order of C2C; that is, when it ITSELF is the app that created the proxies locally from original media that also lives locally. Maybe I’ve just been doing it wrong.
Anyway, would be SUPER helpful to know what the FCP workflow looks like using H.265/264 proxy downloads to editors from Frame, how the cut begins, then how it works when the original media shows up and you want to be able to switch back and forth as we normally do in the old way (when FCP makes the proxies itself). That make sense?
Bryan, this is a great question. However, since I don’t currently use Frame, I contacted Patrick Southern, at Frame.io, to learn more. Here’s what I learned.
The key point is that proxies and master files are handled behind the scenes by Frame and properly downloaded into Final Cut. Here’s how it works.
GET STARTED

Working with Frame starts by downloading the Frame.io extension for Final Cut from the App Store. (Here’s the link. The app is free.)

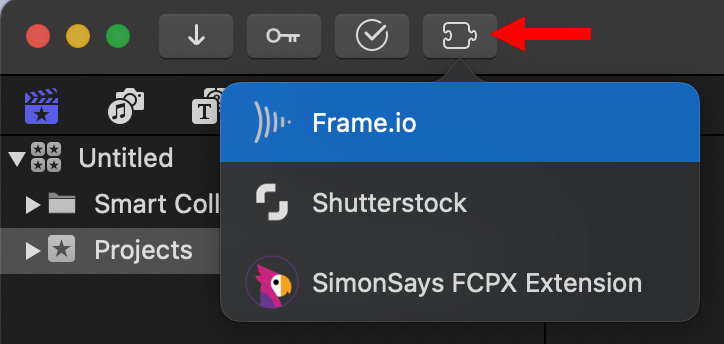
When you next open Final Cut, you’ll see a new icon in the top left corner. Click it to reveal all installed FCP extensions.

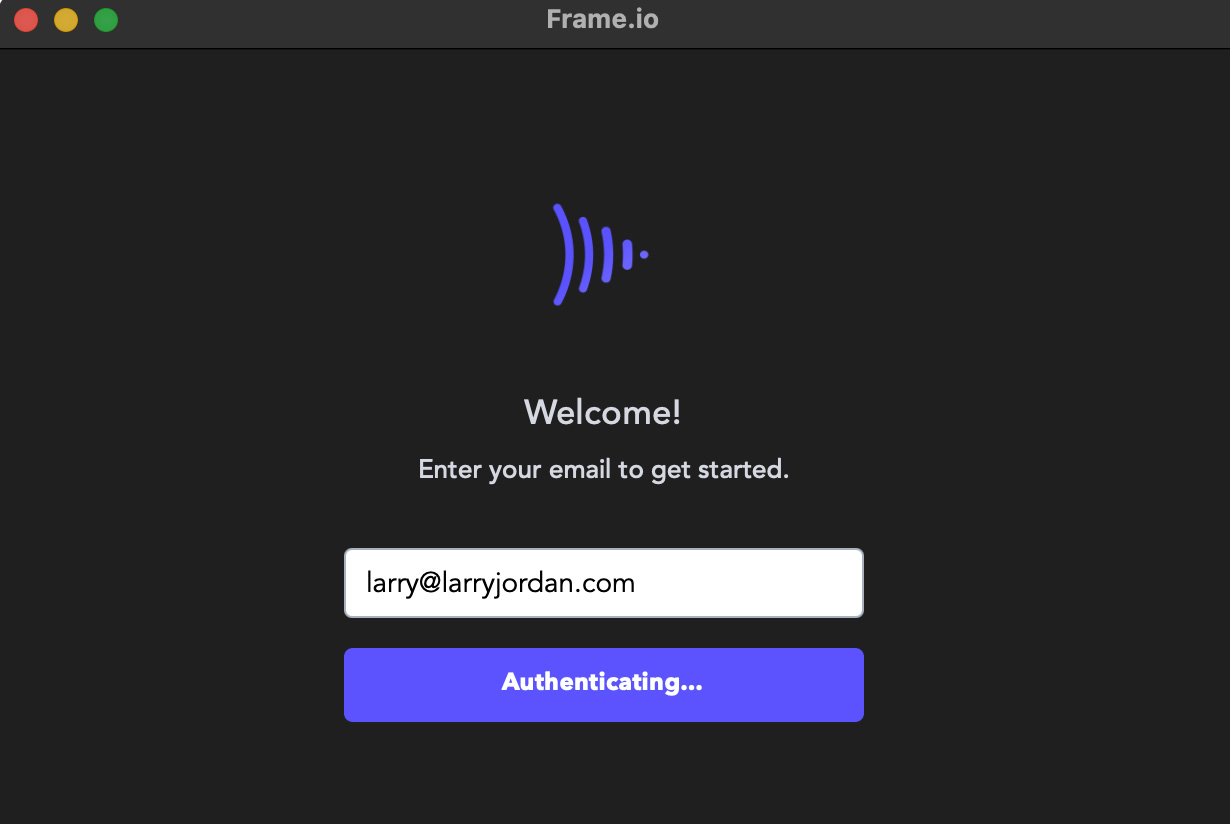
This opens a free-floating panel in Final Cut where you can log into your Frame account. Once you are authenticated, you can review the work uploaded from production and stored in your Frame account.
THE PROCESS
When you drag a clip or group of clips from the Frame extension panel into either the Final Cut Pro Browser or Timeline, Frame creates a temporary FCPXML file for all the selected clips.
When you let go of the mouse, FCP reads that FCPXML file and the Frame.io URLs for both the original Camera 2 Cloud file that was uploaded (which is itself a 1080p H.264 proxy) and a lower resolution proxy file.
Final Cut Pro X then downloads the master and proxy files in the background AFTER it imports references to those clips into the Event Browser or the Timeline.

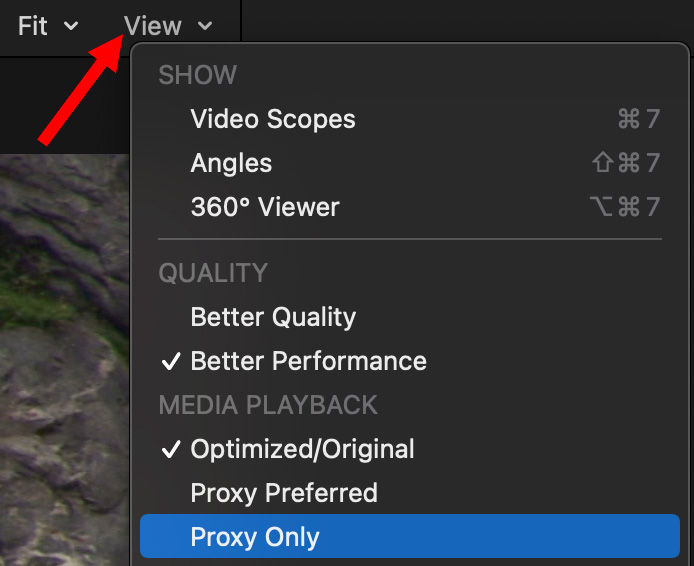
At which point, you work with this media the same as any other project. To switch between proxy and master file, as always, use the View menu in the top right corner of the Viewer.
The big difference between importing using Final Cut and importing using Frame is that Frame has already created the proxies and sends the appropriate links to Final Cut so that it know where those proxies are, which files they link to and where to go to download them.