
![]() There are three options in the View menu that enable us to better see what we are creating in the timeline:
There are three options in the View menu that enable us to better see what we are creating in the timeline:
Normally, we simply move the playhead to see what we need to see. And, most of the time, this works fine. However, these three special tools do things that the playhead doesn’t.
VISIBILITY (Shortcut: V)
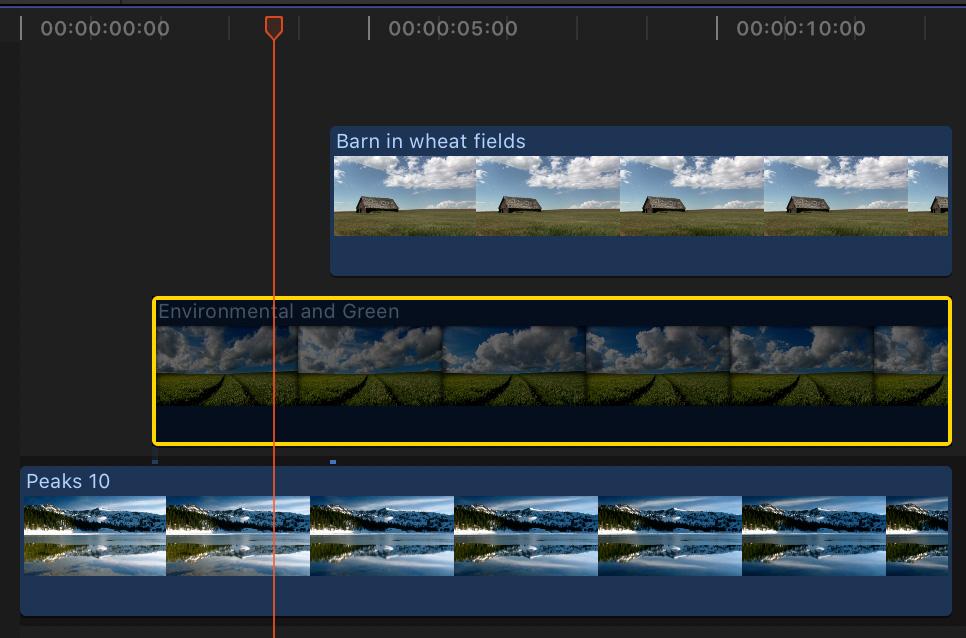
By default, all clips displayed in the Final Cut timeline are full-screen, fully-opaque and fully-visible.
However, select a clip, or a group of clips, then type V to make all selected clips invisible.
This toggle makes it easy to see what lies underneath a clip, or to quickly disable a title; if you don’t use Roles.
SKIMMING (Shortcut: S)
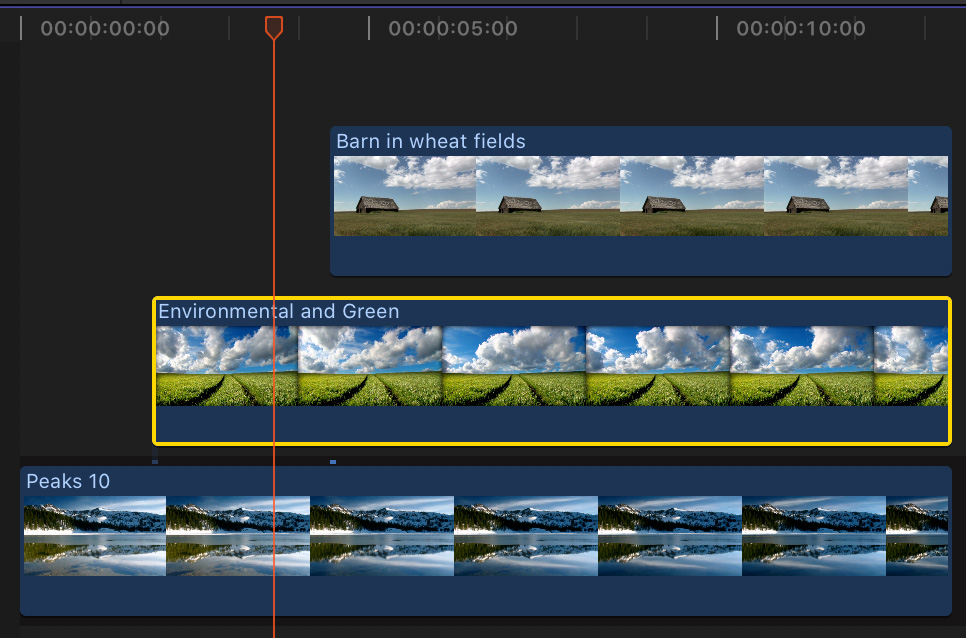
Skimming is just like using the playhead, except it is faster and you don’t need to click something before you start dragging.
Type S and timeline priority shifts from the playhead to the Skimmer. As fast as you drag the mouse, you can review timeline clips; just as if you were playing them using the playhead.
Additionally, the Skimmer takes priority when using keyboard shortcuts to edit clips from the browser into the timeline. Clips are placed, first, at the position of the Skimmer. If the Skimmer is not active, then they are placed at the position of the playhead.
The Skimmer can be used in either the browser and timeline.
NOTE: Personally, I really enjoy using the Skimmer in the browser, because it is so fast. However, I prefer using the playhead in the timeline because, while it is slower, that slowness also makes it more accurate.
CLIP SKIMMING (Shortcut: Option + Cmd + S)
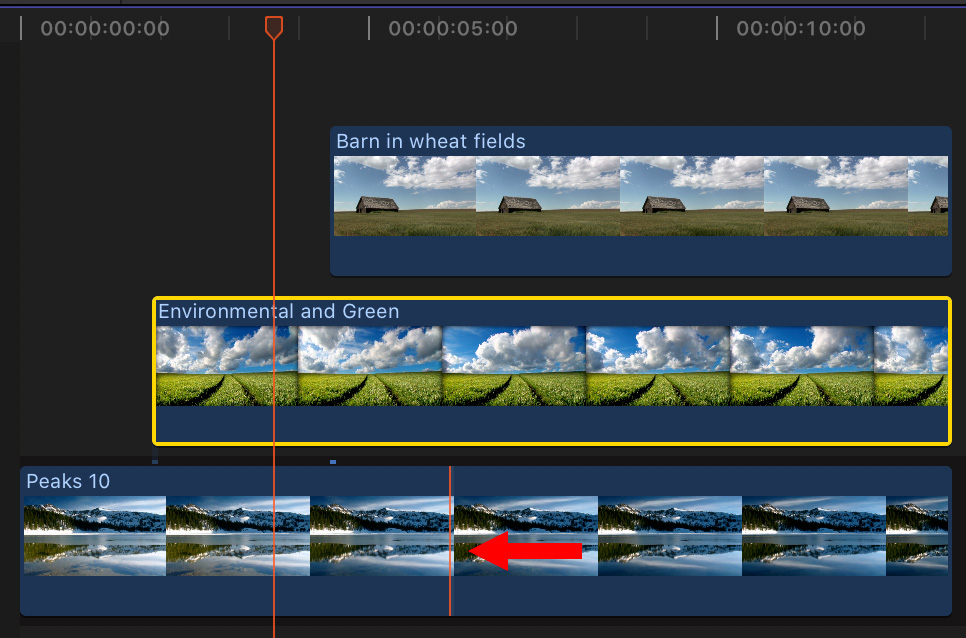
Unlike the Skimmer, which presents the same view in the Viewer as the playhead, the Clip Skimmer displays whatever clip you are skimming it over. (The red arrow in the screen shot above points out the Clip Skimmer in the bottom clip.)
If you only have one clip stacked in the timeline, this view will be the same as the playhead. But, if you have multiple clips stacked, the Clip Skimmer presents a full-screen view of whatever clip you skim it over.
This is useful to see clips underneath other clips, as part of an effect, or to listen to audio from just one clip or channel, rather than the full mix.
NOTE: You can enable clip skimming without turning the skimmer on. However, you need to have the Arrow tool (Shortcut: A) active in order for skimming to work.
SUMMARY
Each of these techniques can help you quickly review a portion of a project and show you just the elements you need to see.
Clip skimming, especially, is particularly useful when dealing with lots of stacked clips.
One Response to Final Cut Pro X: Visibility, Skimming, & Clip Skimming
Just fyi and for others reading this, Skimming and the Clip Skimmer work in 10.4.10 no matter which tool is selected rather than just the Arrow tool as mentioned.