
![]() (This article was suggested by Fairlie Arrow.)
(This article was suggested by Fairlie Arrow.)
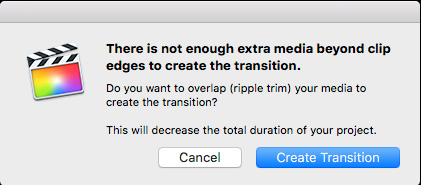
Fairlie writes: “I always have issues with adding fades and other transitions between compound clips in FCPX, especially at the heads, not so much the tails. I understand that you go into the CC and stretch the media when available, however it never seems to work at the head of the CC and i know there’s enough extra media, but the message comes up saying ‘not enough media, will shorten the clips’.”
Yeah, this is a problem because when Final Cut creates a compound clip, it ignores all media not contained inside the clip and locks the duration of the compound clip to the media you have selected for it.
BACKGROUND
A compound clip “can contain video and audio clip components, clips, and other compound clips. Effectively, each compound clip can be considered a mini project, with its own distinct project properties. Compound clips function just like other clips: you can add them to your project, trim them, retime them, and add effects and transitions. Icons appear on compound clips in the browser and the timeline.” (Final Cut Pro X Help.)
In FCP 7, we called compound clips “nests” – a collection of clips grouped together and treated a single clip.
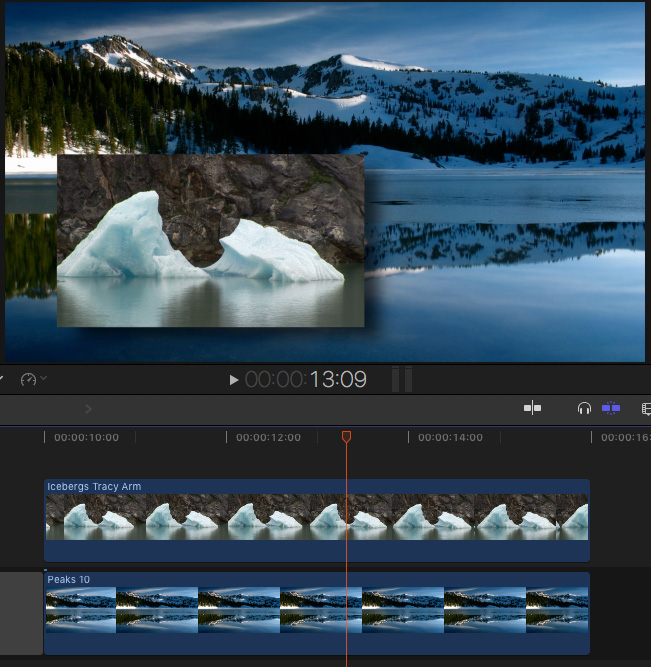
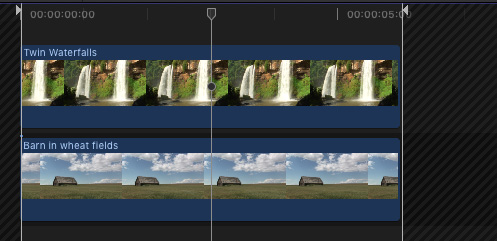
Here’s a simple example. I have two clips stacked with an effect applied to the top clip. The duration of each clip is six seconds, with handles at the beginning and end of each clip. (You can’t see the handles, but I made sure that it is there.)
NOTE: Compound clips can contain any number of elements, all of which can vary in duration and layer. I’m just keeping this simple for the purposes of this tutorial.
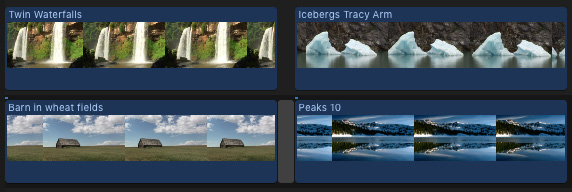
For this example, I created two sets of clips, each runs six seconds with handles. (Again, there is no significance to the duration.)
To create a compound clip, select the clips you want to group, then either choose File > New > Compound Clip or type Option + G.

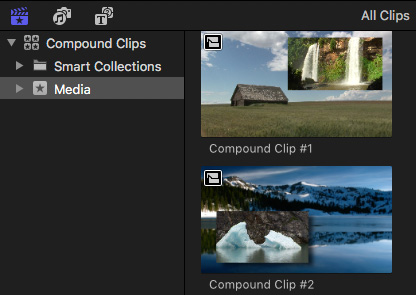
I now have two compound clips, each containing two separate clips. Note the compound clip icon and file name in the top right corner of each clip.
Since I have plenty of handles for each clip, if I add a transition – such as a dissolve – it should work perfectly.
Except… it doesn’t. The reason is that when the compound clips were created, it “locked” the duration of the compound clip to the duration of the selected media, not the total media available. In other words, it made all the handles disappear.
When you ask FCP X to “Create Transition” what it does it place the transition at the start of the compound clip, thus shortening the compound clip by the duration of the transition.
Bummer.
THERE IS A WORKAROUND
First, and this is important, when you create a compound clip, you are creating a master clip, which you can use multiple times in the same project. It is stored in the Browser.
What this means is that whenever you change a compound clip, you are changing the MASTER clip. If you only use the compound clip once in a project, this isn’t a problem. BUT, if you use the same compound clip more than once in any project in that Library, any changes you make to the compound clip are displayed everywhere.
NOTE: You can fix this by making the compound clip “independent.” Check the FCP X help files for instructions on how to do this.
Since in my example we are only using these compound clips once, we don’t need to worry about making them independent.
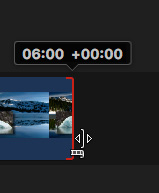
To fix this problem, we can’t simply trim the edges of the compound clip in the Timeline. See that red bar? That indicates that we are at the end of the media contained by the compound clip. In other word, the compound clip has no “handles;” all the original excess media at the beginning and end of each clip is ignored.
Instead, double-click the compound clip in the Browser to open it for editing. (You can also do this in the Timeline, which I’ll illustrate in a minute.) Note that both clips run 6 seconds.
With the compound clip open for editing, drag the edges of all clips that you need to extend to the right – if you are adding a transition to the end of the compound clip – or to the left – if you are adding a transition to the beginning of the compound clip.
NOTE: When dragging the In of clips to the left, be sure to start first with the clip in the Primary Storyline or you won’t be able to drag it.
Make SURE to drag enough media to be equal to or longer than the duration of the ENTIRE transition. You’ll need to extend the media for all compound clips to which you want to add a transition.
In my example here, I added about a second and a half to the front and back of all clips in the compound clip.
NOTE: What you are doing is adding handles for the dissolve. Only those clips that appear during the transition need to be extended.

Click the “Go-Back” button (Apple calls this the “Timeline History” button) to return to your timeline edit.
WORKING IN THE TIMELINE
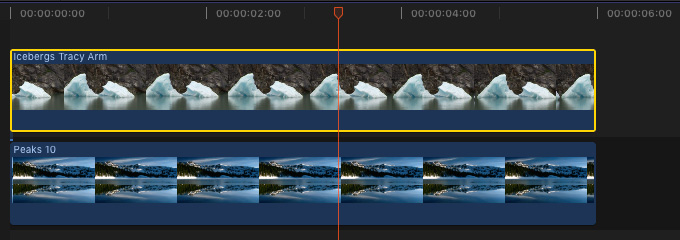
Here, I double-clicked the first compound clip to open it from the Timeline. The diagonal lines and white bars indicate the duration boundaries for the compound clip.
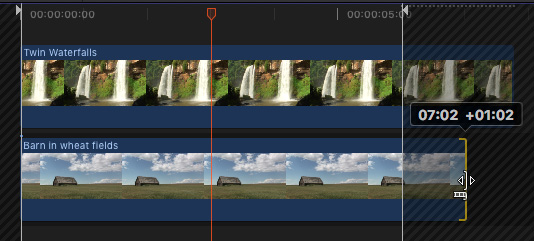
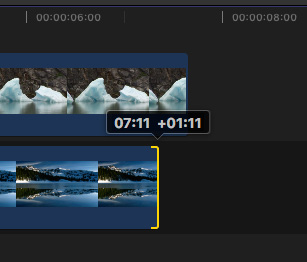
Here, I’m extending the clips past the original limit of the compound clip.
Again, click the Go-Back button to return to the timeline.

Now, the yellow edge to the compound clips indicates that I have the handles necessary for the transition.
Type Cmd + T to apply the default transition, or add any other transition of your choice.
BIG NOTE

Extending the out of a compound clip is easy and works as I’ve described here. Extending the In of a compound clip still presents the red “No More Handles” edge to the leading edge of the clip, even though you added extra video.
In this case, when you extend video at the In for the elements inside the compound clip, be sure to extend the video just equal to the duration of your transition and no more. Then, when you choose Create Transition, you’ll get the results you expect.
SUMMARY
Because we are editing the master compound clip, we only need to make this adjustment once for each compound clip. After that, we can easily add transitions to a compound clip whenever we want.

2,000 Video Training Titles
Edit smarter with Larry Jordan. Available in our store.
Access over 2,000 on-demand video editing courses. Become a member of our Video Training Library today!
Subscribe to Larry's FREE weekly newsletter and
save 10%
on your first purchase.
One Response to Final Cut Pro X: Create Compound Clip Transitions
Thanks Larry, appreciate you figuring this out.
Fairlie 🙂