
![]() [ Updated Jan. 30, 2022, with revised text and updated screen shots. Updated, again, Dec. 15, 2024, with the update at the top.]
[ Updated Jan. 30, 2022, with revised text and updated screen shots. Updated, again, Dec. 15, 2024, with the update at the top.]
An “adjustment layer” is a video object on a higher layer in the timeline which, when an effect is placed into it, affects all the clips below it. These were first introduced by Adobe years and years ago in Photoshop; then expanded into Premiere around the Creative Cloud release.
Final Cut Pro doesn’t have them, however you can create your own using Motion. Here’s how.
UPDATE 2024: Apple changed how this works with the release of Final Cut Pro 11 and Motion 5.9. This short article describes what you need to know.
CREATE THE MASTER CLIP
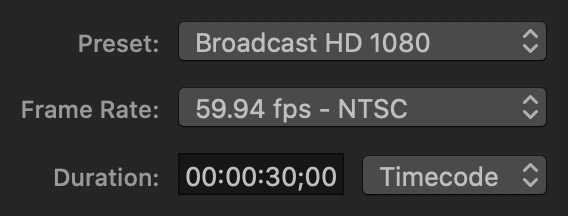
Open Motion and set the Motion presets to match your typical video project for frame size, frame rate and effect duration. (You can always change the duration of this effect in Final Cut Pro when you apply the effect without any loss of video quality.)
NOTE: The Preset menu simply sets the frame size, not image quality. Motion always works at the highest image quality, essentially ProRes 4444 with an alpha channel.

Select the Final Cut Title project option. (This step is really important because it allows the effect we are creating in Motion to work in Final Cut!)
Then, click Open.
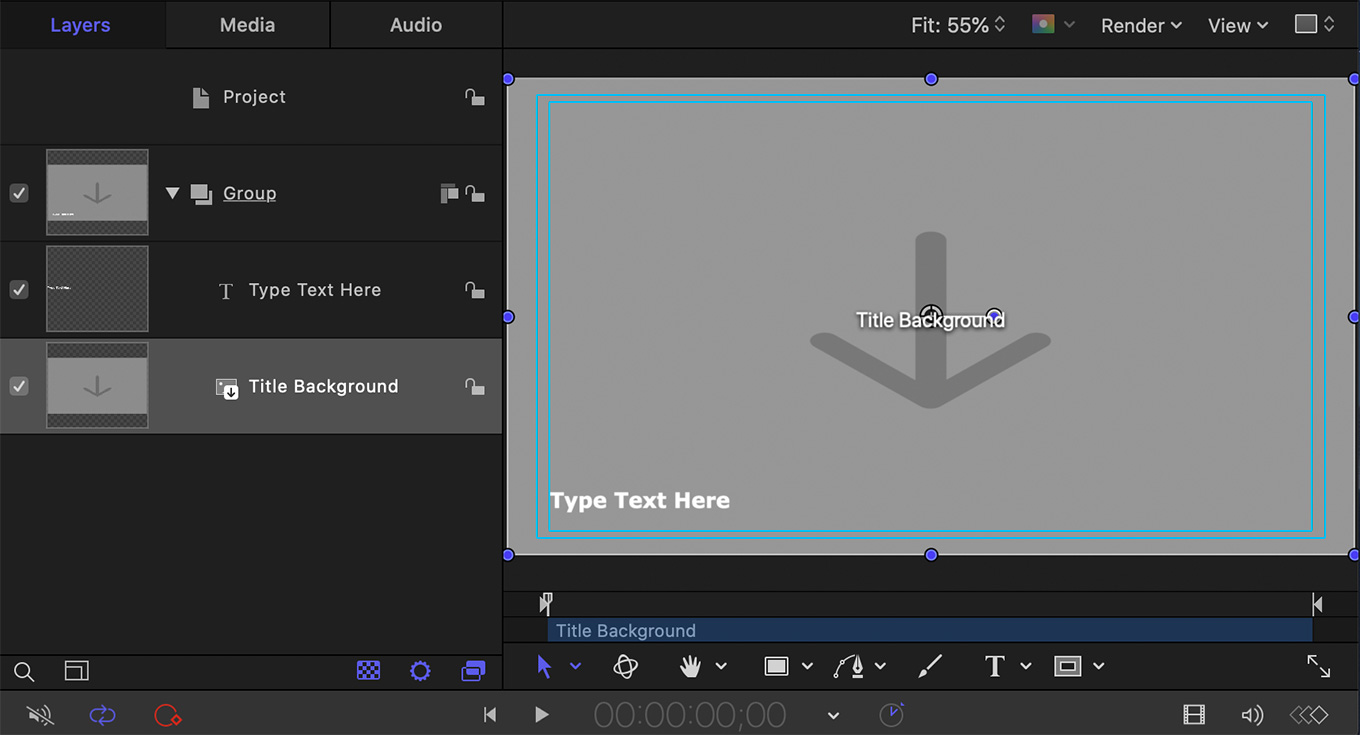
Motion opens, displaying the standard title creation template.
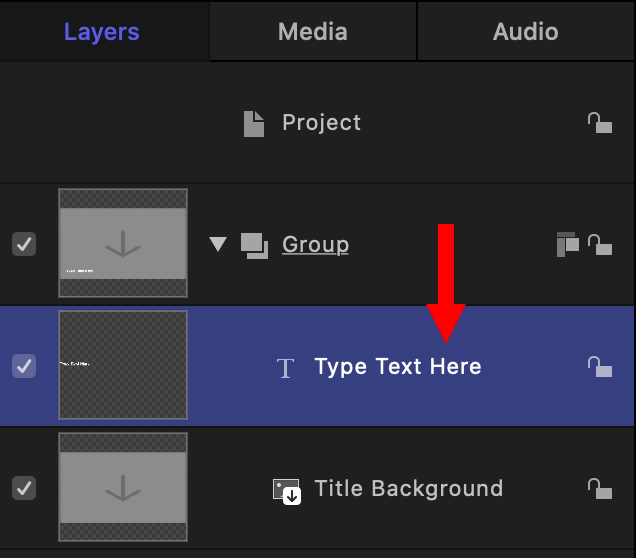
If the Layers panel is hidden, open it (shortcut: F5), select the “Type Text Here” layer and delete it. This is the only change you need to make.
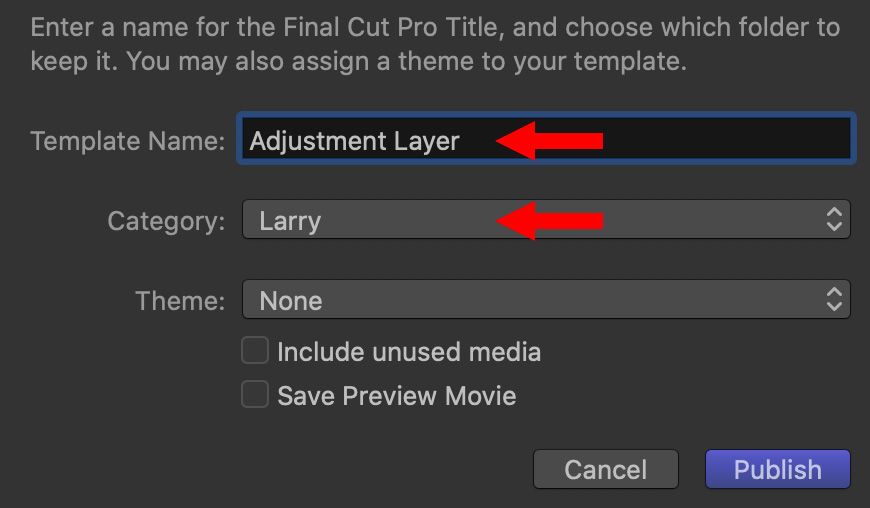
Choose File > Save As, then give the effect a name. Here, I’m using “Adjustment Layer” and storing it in a custom category named “Larry.” You can name this effect anything and store it in any category you prefer. You can create a new category from within the Category menu.
I like being obvious with my effect names so I can remember what it does.
APPLYING THE EFFECT IN FINAL CUT PRO X
I’ve found, when I create new templates, that FCP does not always know something new has been created. So, if FCP is running, I generally quit Final Cut and restart it. That way, it refreshes the list of templates available in each browser.
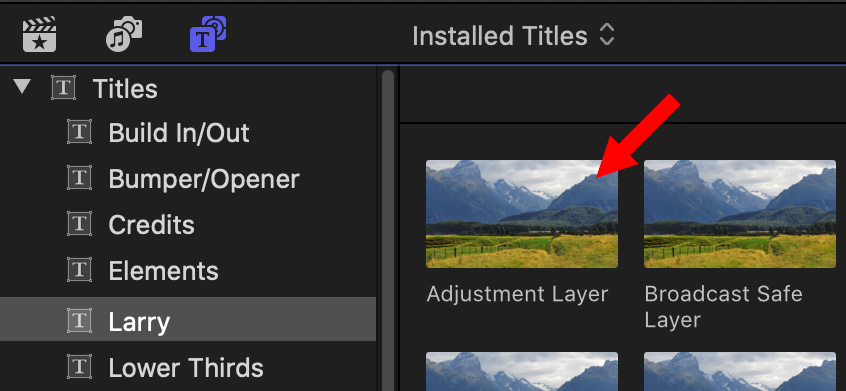
Open the Titles browser and select the Larry category. The Adjustment Layer effect is visible in the icons on the right, generally near the top. Now, let’s put it to use.
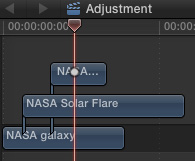
Here’s a stack of three clips in the Timeline…
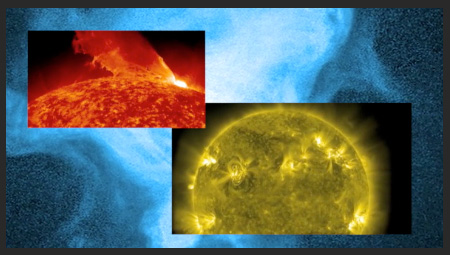
That looks like this in the Viewer.
Drag the Adjustment Layer effect from the Titles Browser and put it on TOP of all three clips.
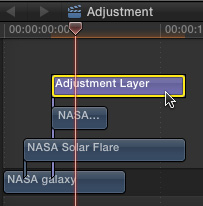
Adjust the length of the Adjustment Layer clip to run whatever duration you need. Because there are no timed elements in this effect, we can stretch it to whatever duration we need.
Now – and this is the magical part – add any effect to the Adjustment Layer and it automatically applies to all the clips under it!
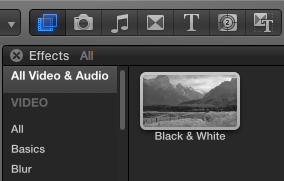
For example, here’s the Black & White effect. When I drop it on top of the Adjustment Layer effect…
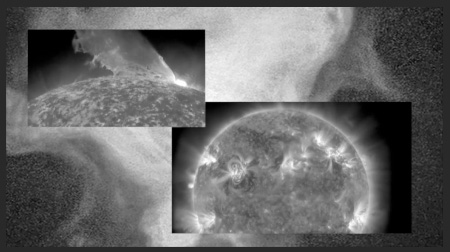
This is the result. ALL the clips under the Adjustment Layer effect now inherit the Black & White effect.
NOTE: This technique works for any effect – including Broadcast Safe. In fact, using this Adjustment Layer effect for the Broadcast Safe effect is faster and more flexible than combining all your clips into a compound clip.
SUMMARY
This is a very fast, very easy technique to use whenever you want the same effect to be applied to multiple clips. AND, you can even use masks on an adjustment layer to mask all the clips under it!

2,000 Video Training Titles
Edit smarter with Larry Jordan. Available in our store.
Access over 2,000 on-demand video editing courses. Become a member of our Video Training Library today!
Subscribe to Larry's FREE weekly newsletter and
save 10%
on your first purchase.
27 Responses to Final Cut Pro: Create an Adjustment Layer
← Older Comments-
 Allen Gersho says:
March 21, 2023 at 11:38 am
-
 Larry Jordan says:
March 22, 2023 at 4:36 am
-
Insider Tips: Creating an Adjustment Layer for LUTs in Final Cut Pro says:
May 10, 2023 at 9:02 am
-
Insider Tips: Creating an Adjustment Layer for LUTs in Final Cut Pro | Aajtaknews says:
May 10, 2023 at 1:04 pm
-
Creating an Adjustment Layer for LUTs in Ultimate Minimize Professional – Filmax says:
May 20, 2023 at 7:22 am
-
 Garry says:
November 19, 2023 at 10:38 pm
-
 Larry Jordan says:
November 20, 2023 at 5:01 am
-
Creating an Adjustment Layer for LUTs in Final Cut Pro - B FILMS says:
December 13, 2023 at 6:16 am
-
 Raymond Reilly says:
December 12, 2024 at 8:24 am
-
 Larry Jordan says:
December 12, 2024 at 9:11 am
← Older CommentsI see a choice of HD Adjustment Layers with various frame rates (24, 29.97, and 59.94 fps). Is there a difference in their behavior? Do I need to choose one that matches the timelines fps?
Allen:
Those adjustment layers are not shipped with Final Cut.
As a general rule, always match the frame rate of the project.
Larry
[…] Apple’s Motion app makes it easy to create one. Larry Jordan’s technique for creating an Adjustment Layer is a clever way to get what you […]
[…] Apple’s Motion app makes it easy to create one. Larry Jordan’s technique for creating an Adjustment Layer is a clever way to get what you […]
[…] Apple’s Motion app makes it straightforward to create one. Larry Jordan’s technique for creating an Adjustment Layer is a intelligent technique to get what you […]
Hi Larry – can you add Audio effects to an adjustment layer?
Garry:
No. They are video only.
Larry
[…] Apple’s Motion app makes it easy to create one. Larry Jordan’s technique for creating an Adjustment Layer is a clever way to get what you […]
Larry: Please take note! : There is a new step involved in creating an Adjustment Layer in Final Cut Pro 11 on New silicone M4chip. In the new Motion {Final Cut Title Project} one must still delete the text panel, but then activate the background panel below it which is now off by default. So there is an additional step before Save As. Spent a couple of hours with Apple to figure this out.
Warm regards,
Raymond
Raymond:
This is a really useful tip! Thanks for sharing – I’ll write a new tutorial to cover this.
Larry