
 [ There are more than twenty significant new features in the 10.0.6 update to Final Cut Pro X. This article looks at one of them. Check out our latest training covering the Final Cut Pro X 10.0.6 update here ]
In this Final Cut Pro training, we will look at how to create and export still frames, which changed with the 10.0.6 update to Final Cut Pro X. (These are also called “freeze frames,” I use these two terms interchangeably.)
The benefit to still frames is that, unlike Hold frames, they just stop. Hold frames have a built-in ease-in/ease-out speed transition that often distracts from the actual freeze itself. Also, freeze frames can be moved anywhere in a project, while Hold frames are trapped inside the clip from which they were created.
CREATING TIMELINE STILL FRAMES
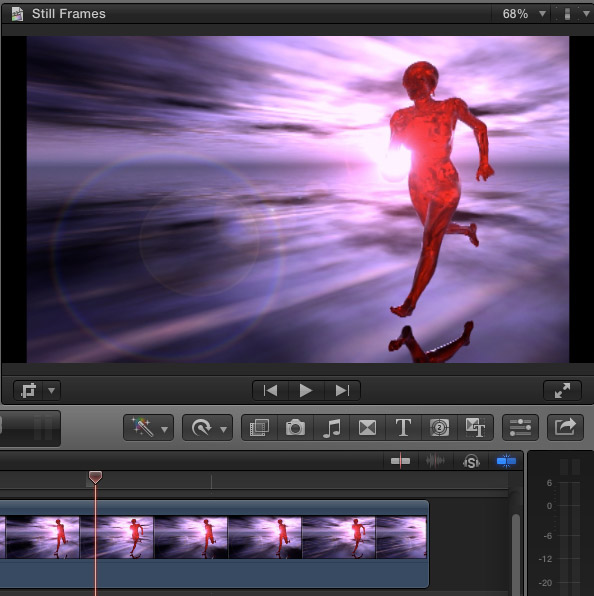
We can create still frames in the Event Browser or the Timeline. To create a still frame in the Timeline, put the playhead on the frame you want to freeze.
Choose Edit > Add Freeze Frame, or type Option+F.
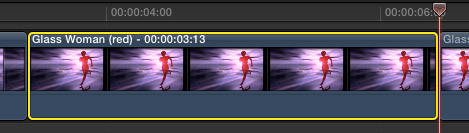
Instantly, a new clip is inserted at the position of the playhead into the Primary Storyline: a four-second freeze frame. (I’ve highlighted it here so you can see it.)
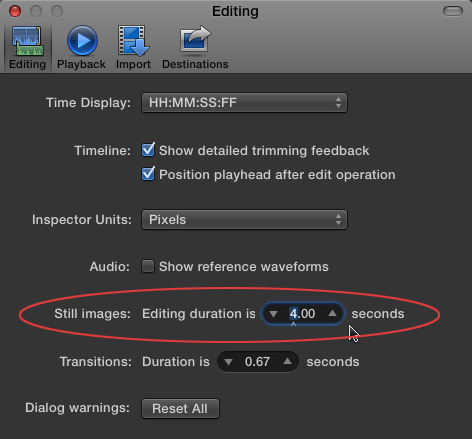
NOTE: All freeze frames default to a four-second duration. You can change this in the Editing tab of Final Cut Pro > Preferences by adjusting the Still Images setting.
Once the still image is created, you can trim it, add effects, or do anything else with it that you can do with a clip; except, that is, change its speed.
CREATING EVENT BROWSER STILL FRAMES
Still frames created from the Event Browser are even more flexible.
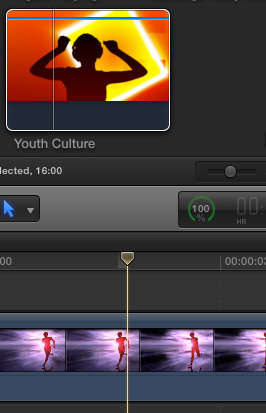
First, put your playhead in the Timeline where you want the freeze frame to appear.
Next, put your playhead, or skimmer, on the frame in the Event Browser that you want to freeze.
Type Option+F. (You could also use the Edit menu, but making sure a playhead or skimmer doesn’t move out of position becomes trickier.)
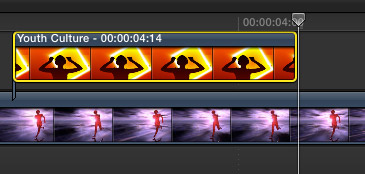
Instantly, the still frame appears as a connected clip at the position of the playhead in the Timeline. At this point, you can treat it just like any other connected clip – including changing its duration, moving its position, adding transitions, color grading, or effects. (Again, you can’t change the speed of a still frame.)
EXPORTING STILL FRAMES
The method we use to export still frames also changed and I like the options in this new version better, but it is a bit harder to find.
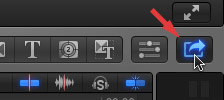
With the update, the Share menu morphed. It is now this blue button on the far right of the Toolbar and in the File menu (File > Share).
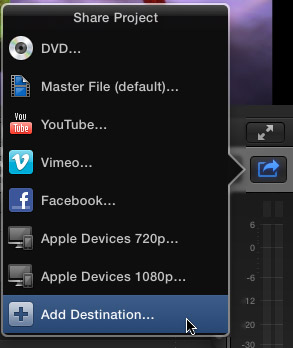
Click the Share button (or select File > Share) and a list of potential export locations is displayed. This is the only tricky part, because exporting still frames is not a default. Select Add Destination.
NOTE: A Destination is both a compression setting and a place to send/save a file.
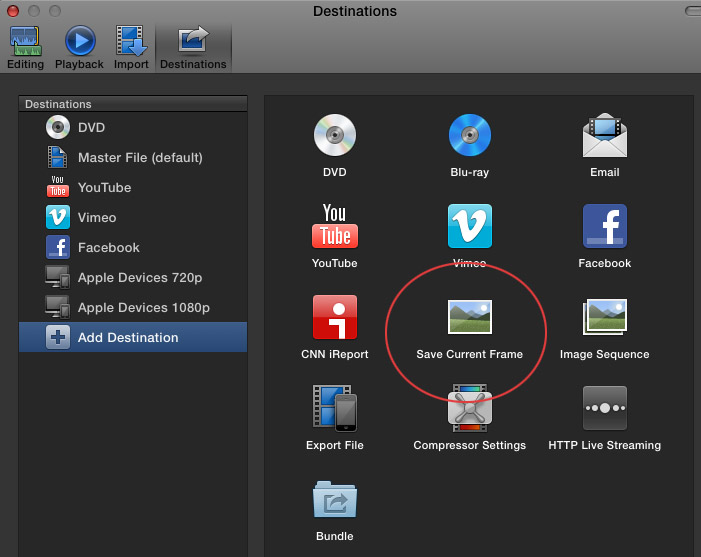
A new Preference tab is displayed (you can also get here from Final Cut Pro > Preferences). On the left are all the active destinations. On the right are additional destination options. (Your screen may look a bit different from mine, because I’ve changed the list on the left prior to writing this article.)
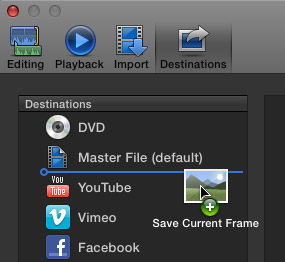
Drag Save Current Frame from the list on the right to the list on the left. You can insert it anywhere you like.
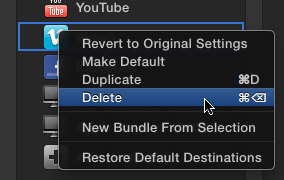
In fact, you can rearrange the list on the left by dragging icons. Right-click an icon to rename, duplicate, or delete a setting.
NOTE: Duplicating and renaming settings is the method to use when you want to set up multiple YouTube or Vimeo accounts, for example.
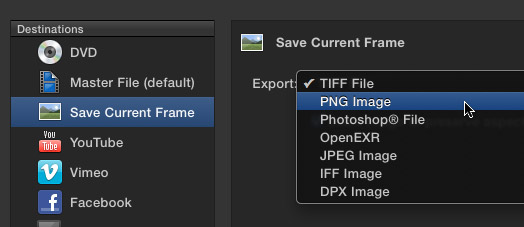
Select Save Current Frame on the left and set it to the file type you prefer. I used to recommend TIFF, which is still a good choice. You may prefer PNG, or DPX. I recommend against saving images as JPEG because of the lower quality JPEG contains.
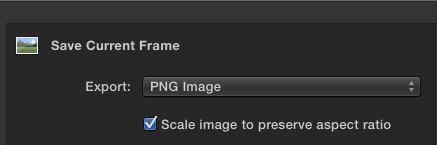
Be sure to leave Scale Image to Preserve Aspect Ratio checked if you want the images to look good on a computer. (Uncheck this if you plan to import the still into another video project.)
THE ACTUAL EXPORT
To actually export a still, put your playhead on the frame you want to export; this can be in the Timeline or the Event Browser. Click the Share icon (or use File > Share) and choose Save Current Frame.
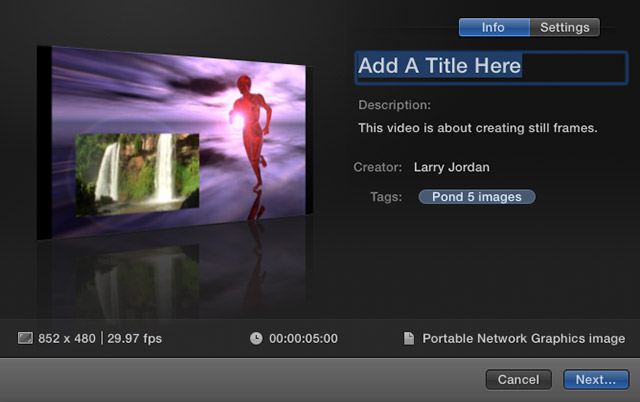
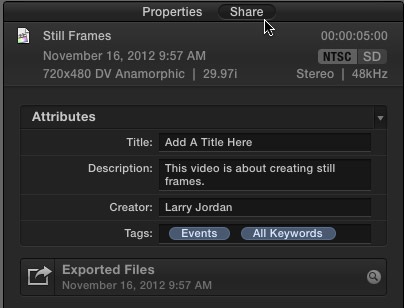
In the window that appears, add a title and description for the still. The text along the bottom indicates the technical specifications for the file you are saving.
NOTE: This metadata is pulled from the project metadata, which is stored with the project. To change this, select the project in the Project Library. Go to the Inspector and click the Share tab. All the settings displayed on export are available here.
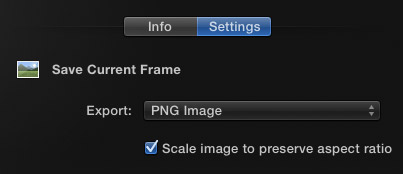
Click the Settings tab to change the file format of the still, or change the pixel aspect ratio of the image. (Checking this creates an image with square pixels, which is the preferred format for print and web.)
Click the Next button.
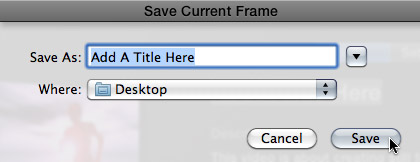
Give your soon-to-be-exported file a name and location, click Save and you are done.
The setup to export a still takes a bit of time, but once complete, exporting is very fast, with more metadata options and file formats to choose from.

2,000 Video Training Titles
Edit smarter with Larry Jordan. Available in our store.
Access over 2,000 on-demand video editing courses. Become a member of our Video Training Library today!
Subscribe to Larry's FREE weekly newsletter and
save 10%
on your first purchase.

42 Responses to FCP X: Create & Export Still Frames
← Older Comments Newer Comments →-
 Frank says:
September 30, 2014 at 11:41 am
-
 Michael says:
January 12, 2016 at 2:27 am
-
 Ralph Wingate says:
February 11, 2016 at 12:06 pm
-
 Larry says:
February 11, 2016 at 12:14 pm
-
 Tala says:
March 3, 2016 at 10:38 pm
-
 Larry says:
March 4, 2016 at 3:10 pm
-
 Mercury says:
March 28, 2016 at 7:00 am
-
 Tinny says:
October 19, 2016 at 5:46 am
-
 Don says:
February 22, 2017 at 5:01 pm
-
 Izlam.belal says:
February 4, 2018 at 8:56 am
← Older Comments Newer Comments →thanks Larry! that works…
In FCPX ver 10.2.2 you do not need to do any range selection. Simply place the play head on the timeline where you see the frame you want.
Then click File/Share/Save Current Frame.
Note: When FCPX is first installed, “Save Current Frame is not in the list presented. You need to select “Add Destination” and pick “Save Current Frame”
After selecting “Save Current Frame you will be presented with a dialog box. Click Settings and choose the format you want, eg: Jpeg, Tiff, etc…. then click Next
Then you will have a browser dialog to select a location and provide a name for the file.
Now for all of you past FCP6/7 users, SORRY, there is no dragging to your favorite folder in the events window. You will have to click File/Import/Media and then browse to the file. ( I went to Apples site where you can make comments and report bugs about the lack of ability to do this like it was done in FCP6/7)
I want to export a 4k still image from an imported still image. Sometimes I see a pink fuzzy screen where the image should be.
Ralph:
A “red” screen would indicate missing media. A “pink” screen is not one that I can recall seeing. Please send me a screen shot – larry(at)larryjordan(dot)com – and let me take a look.
Larry
Dear Larry, thank you so much for your website and posts. These are lifesavers when trying to get information!!!
I have a quandary. I am working on post in Paris and I need to do a conform out of Final Cut X. The post house who will be doing the color grading need DPX files at 10bit. My questions are:
1. Is this easy to export out of final cut X for an entire project (feature length)
2. The fps are 23.98. The film has to be finished at 24fps. Do I have to do some sort of conversion of frame rate of these DPX files? Or just export them as DPX files?
Thank you for your help!!!!!!!!!!!
Tala:
You can’t export DPX files directly out of FCP X. However, you can export a Master File, then use Compressor to create DPX files. (It’s part of the “image Sequence” option.)
Don’t worry about the frame rate – let your post house do the final speed conform.
Larry
There’s also a tool called Anyframe that lets you capture still frames from videos. Looks like Vimeo support is coming, too. http://www.anyframe.net
Thank you. It was very helpful
A big help; thank you very much, Larry!
Please help
We finished edit on fcpx timeline 23.98
Material was 24 not real ( 23.98 )
And we mix on protools 23.976
Now I want export 24 fps? How can I do