
![]() [ Caution: This tutorial may contain images too scary for young children, or, more likely, their parents. ]
[ Caution: This tutorial may contain images too scary for young children, or, more likely, their parents. ]
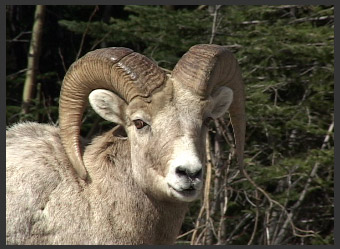
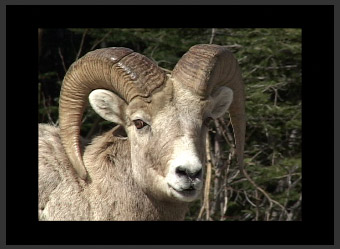
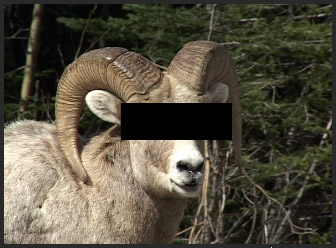
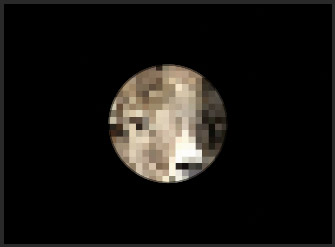
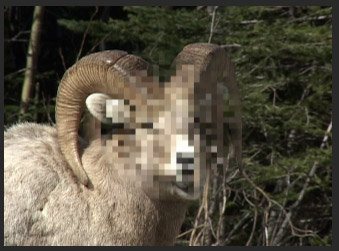
This is the face of an extremely famous, but as-yet-unaccused-criminal – Bob “Mr. Big” Sheep. The problem is that we need to hide his identity, because he hasn’t been arrested for anything yet. (I’m sorry this image is so graphic, but, sometimes, we need to deal with reality.)
Final Cut Pro X provides several ways we can do this, which I want to cover here:
Let me illustrate how to create each of these effects.
THE BLACK BAR
My first instinct is to do what we did in Final Cut Pro 7 – apply a Mask Shape filter. However, this effect doesn’t exist in FCP X and its equivalent – Mask – is among the most useless effects I’ve ever met.
Instead, we will use a generator to create a black bar which we can place over our felon’s face.
Open the Generator browser and edit the Gray Scale generator as a connected clip above the clip containing the face you want to hide in the Primary Storyline.
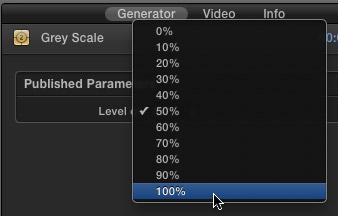
Select the Generator clip in the Timeline and open the Inspector (Command+4). Click the Generator text button at the top and change the Level setting to 100%. The generator color changes to 100% black.
With the Generator clip still selected, click the Video text button at the top of the Inspector.
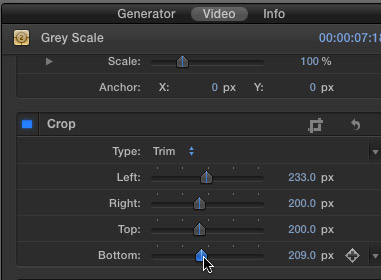
Show the Crop settings and make sure the Type is set to Trim. (This removes the edges of an image, without scaling the remaining image to fill the frame.)
Adjust the Left / Right / Top / Bottom settings until the black bar is placed appropriately to hide the identity of our serious malefactor.
There! No one will ever recognize Mr. Big now…
NOTE: Because it is likely that Mr. Big will move his head, or that the camera position will change, you’ll need to change the position of the bar to match the movement of the face. Since FCP X does not have a motion tracking system built into it, position of the bar by using keyframes in the Transform setting.
I tend not to do this manual motion tracking on a frame-by-frame basis, but, rather, to set a keyframe at the start of a move, with an ending keyframe at the end of a move. Then, I’ll let Final Cut figure out all the intermediate positions. For example, as Bob turns his head, I’ll put a keyframe at the start of the turn and at the end of the turn. Since most people turn their heads in a smooth fashion, I don’t need to add keyframes for all the frames in the middle.
THE BLUR
The black bar works fine when masking identity, but, when other, um, body parts are exposed, blurring the offending area is preferable.
So, here’s how to blur, ah, a butt.
Edit the shot you want to blur into the Primary Storyline.
Press the Option key and drag the clip up to make a copy of the clip. Be sure that the starting points of both clips align.
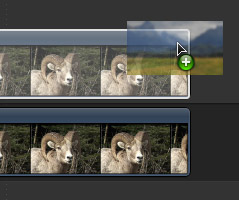
From the Effects Browser, drag Blur > Gaussian Blur onto the top clip.
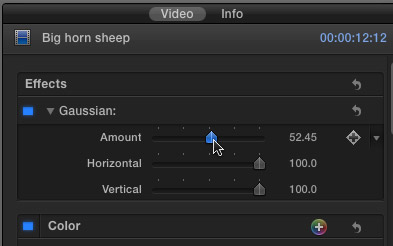
Select the top clip, then, click the Video tab of the Inspector, and adjust the Blur Amount until your villain is as blurry as you need.
Then, use the Crop controls, again, to reduce the size of the upper clip, so only the portion you want to blur is blurred.
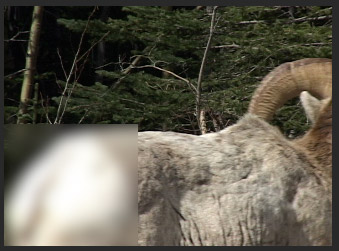
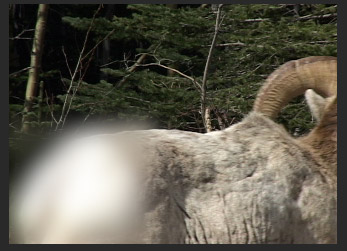
Here’s the, ah, end result.
The weakness with this method is that cropping creates only straight edges and doesn’t have feathering, so the blurred area has very sharp edges.
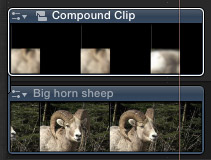
So, before applying the Blur filter to the upper clip, select ONLY the top clip, and choose File > New Compound Clip. This nests the top clip – already cropped – by itself into a compound clip.
Then, apply the Blur filter to the compound clip, not the clip inside it. Adjust the effect until the edges are soft. This provides both a soft image and soft edges.
Here’s the ultimate ending.
PIXILLATION
New with Final Cut Pro X is another effect called: Pixellate. (It’s in the Stylize category.) This allows you to make the identity of a subject using blocks of pixels.
As we did with the blur, duplicate the clip and apply Pixellate from Effects Browser > Stylize to the top clip.
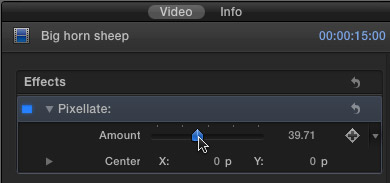
Select the top clip, go to the Inspector, and adjust the Amount of the Pixellate effect until the face is sufficiently obscured.
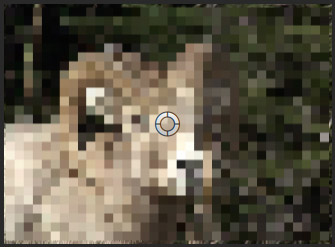
The problem is that the pixillation now covers the entire frame.
From the Generator Browser, drag a Circle onto the top clip so there are now three layers: – Circle, Pixelated clip, Source clip – stacked from top to bottom.
Select the Circle clip and change the Blend mode to Stencil Luma. Adjust the Transform controls to alter the size and position of the circle as necessary.

To soften the edges of the circle, drag a Gaussian Blur filter onto the Circle clip.
To composite the pixel effect on the main clip, select the top two clips (Circle and the pixelated clip) and choose: File > New Compound clip.
Here’s the finished pixelated effect.
There are lots of ways you can use these effects, and not just to conceal common criminals from the unsuspecting public. While these effects would be a lot easier with a good mask tool, we can still achieve them in a very short period of time by using a combination of effects and generators.

2,000 Video Training Titles
Edit smarter with Larry Jordan. Available in our store.
Access over 2,000 on-demand video editing courses. Become a member of our Video Training Library today!
Subscribe to Larry's FREE weekly newsletter and
save 10%
on your first purchase.
7 Responses to FCP X: Hiding a Face
Pardon me, but is there a video version of this available?
No. But I’ll add it to the list.
Larry
Seems like the “censor” effect would be more efficient and accomplish same effect as the last 2 of your examples.
Sure, but then I’d have to invent some other weird reason to show how these two filters work. This seemed as good an idea as any.
Larry
Larry,
If you could also add a technique for censoring part of a moving object, that would be great.
SBrasier:
You can track anything by keyframing transform settings. However, FCP does not have a motion tracking effect. Motion does, however. Here’s an article that describes it: http://www.larryjordan.biz/motion-motion-tracking/
Larry
thanks Larry – I’d been messing around along similar lines thinking there must be an easier way that I’m missing – and clearly there isn’t – it’d be great if the CC shape mask was available with all the Effects – or better still a proper garbage matte, c’mon Apple