
 One of the more powerful media management tools built into Final Cut Pro X is the ability to assign keywords to clips, then find media using keywords.
NOTE: A keyword is a short descriptive term, ideally one word, applied to one or more clips that allows us to find all clips that have the same descriptor applied to it. We could also call keywords “metadata,” but that term tends to frighten small children.
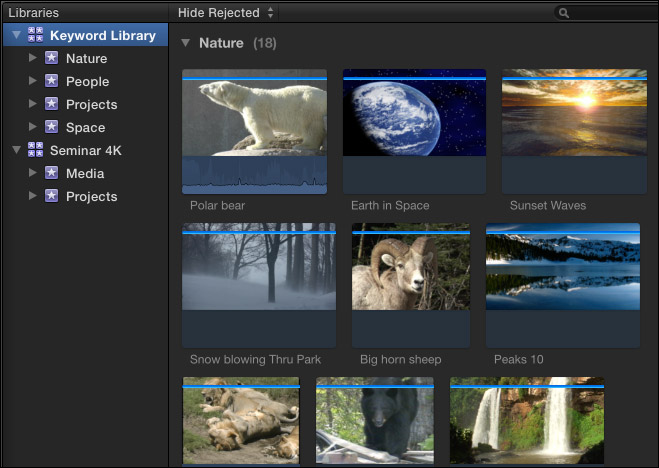
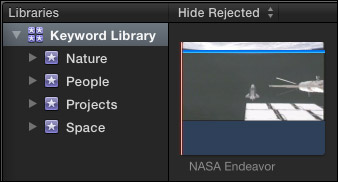
For example, here is a collection of clips from Pond5 in a library entitled: “Keyword Library.”
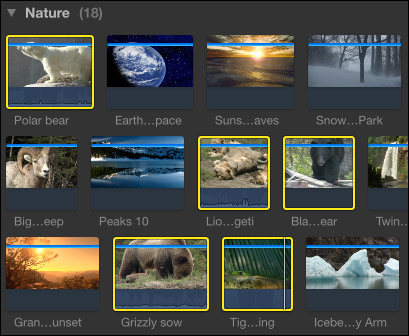
To assign keywords to a clip or a group of clips, first select the clips to which you want to assign keywords,

Then, click the Key icon in the toolbar (or type Cmd+K).
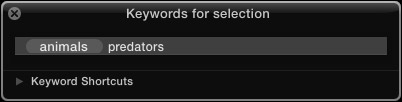
Enter the keyword you want to assign to the selected clips and press Enter. That keyword is instantly assigned to all selected clips. (In this example, I’m adding the keyword “predators.”)
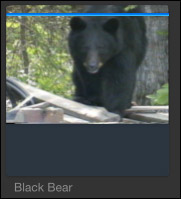
A blue bar appears at the top of each clip indicating the area of the clip to which one or more keywords are applied.
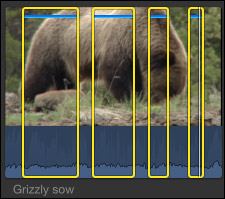
This process of assigning keywords also works when applying keywords to one or more selected clip regions.
NOTE: One of the features of the 10.1 update is greater speed when applying keywords to multiple clips. One obvious indicator of this is that keyword animation only appears when assigning a single keyword to a single clip.
WHY USE KEYWORDS?
Although the process of assigning keywords is not hard or laborious, it does take time. And, it is very easy to skip this process altogether. Sometimes, skipping keywords is a good thing. For example, small projects with very tight deadlines and very few shots don’t need keywords.
But, increasingly in our all-digital media age, shooting ratios are totally out of control. Instead of coverage consisting of 3-6 shots, we have 30, 60, even 100 variations to choose from. The old adage of “plan your shots” has been replaced by “we’ll figure this out in post.” Sheesh… The only way to stay sane while editing a 4-minute video with a 1,000 to 1 shooting ratio is to get organized and stay organized. Keywords can help.
SEE WHAT’S APPLIED
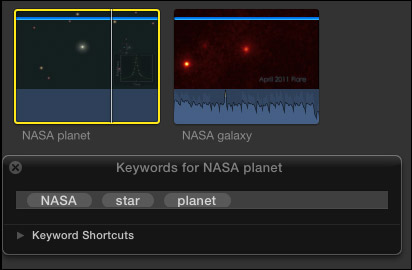
To see the keywords applied to a single clip, select the clip, then click the Key icon to open the Keyword Editor (or type Cmd+K).
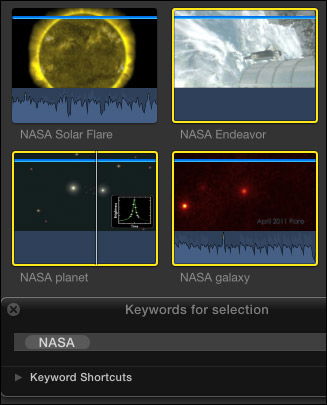
However, if you select multiple clips and look at the Keyword Editor, you will only see the keywords that are common to all selected clips. Checking keywords is more accurate when working just with single clips.
FINDING THE NEEDLE
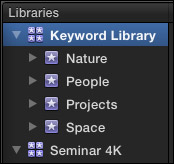
In this project, I have clips of animals, people, scenery and space. (Ah, I’m still trying to figure out the script that would use all of these shots. It, um, probably features space aliens looking like sheep wandering in the mountains.)
When I select the library that contains all this media, clips are sorted alphabetically and grouped by event in the Browser.
I could use Ratings to help organize my clips – here’s an article that explains how Ratings work – however, while Ratings are fast and easy, they don’t allow grouping media by categories or use complex searches.
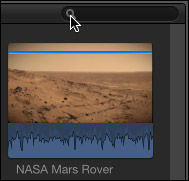
To open the Filter Search dialog, click the almost-invisible magnifying glass in the top right corner of the Browser, or type Cmd+F.
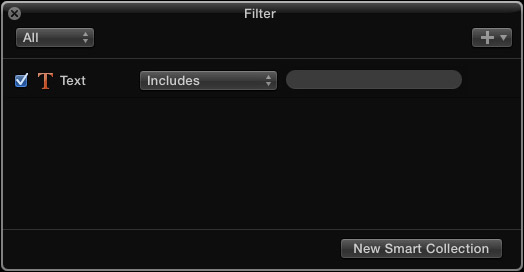
This opens the Filter search box which, by default, opens to display a text search. Text searches examine file names and the contents of the Notes field associated with each clip.
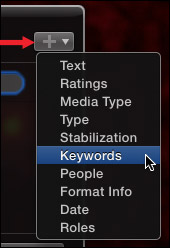
But, there’s a better way. Click the Plus button in the top right corner of this window and select Keywords.
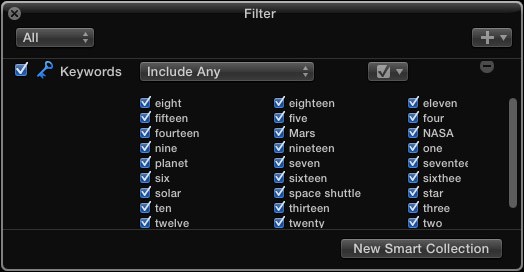
This lists all keywords associated with all selected clips or events. This window cannot be enlarged, and, without scrolling, only displays 27 keywords.
NOTE: While Final Cut Pro allows creating an unlimited number of keywords, the Filter search window makes working with more than about 30 keywords awkward. For this reason, try to limit the total number of keywords you apply.
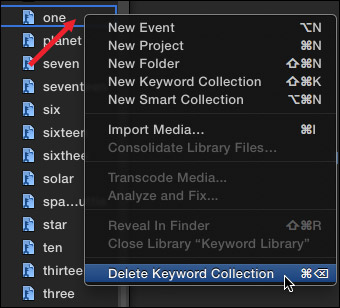
Deleting a keyword from a clip, even if is the last use of that keyword, does not delete the keyword from Final Cut. To delete a keyword, right-click the keyword in the Library pane and select Delete Keyword Collection; or type Cmd+Delete. (As far as I can tell, this step is not covered in the Help files.)
Here’s where life gets fun. If you only want to search for clips in one event, select that event. If you want to search clips stored in multiple events, select all the events where you want to search. To search all the clips in an entire library, select the library before opening the Search Filter window.
For this example, I want to search across the entire library.
NOTE: While we can search multiple events at once, we can only search one library at a time. Keep this limitation in mind as you organize your clips.
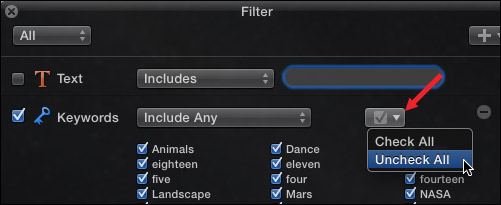
As part of this search, I don’t want to look for any specific text, so I unchecked the Text search box.
Then, because I only want to look for space footage, I selected Uncheck All from the checkbox drop-down menu. This unchecks (deselects) all keywords.
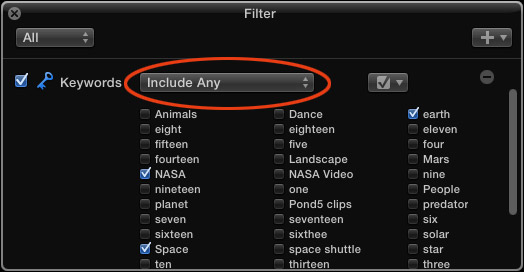
Out of all these keywords, I only want to find those clips that are from NASA OR are shots of space OR are shots of earth.
NOTE: This is called a Boolean OR – indicated by the drop down menu saying “Include Any,” meaning include all clips that include any one of these keywords.
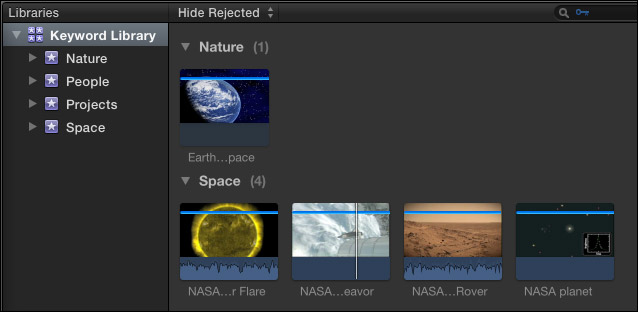
From all my clips, only five clips meet this search criteria.
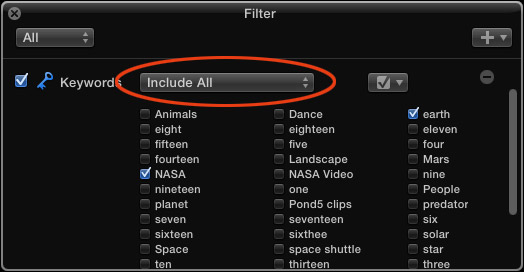
However, I want to find only those clips that are BOTH from NASA AND include earth.
NOTE: This is called a Boolean AND – indicated by the ”Include All” menu choice. This includes ONLY those clips that contain BOTH earth and NASA keywords; which is a much more selective group.
Only one clip meets this second, more restrictive, search.
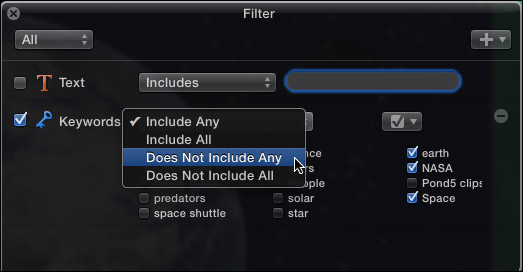
You also have the ability to show all clips that don’t contain any one of the selected keywords – Does Not Contain Any.
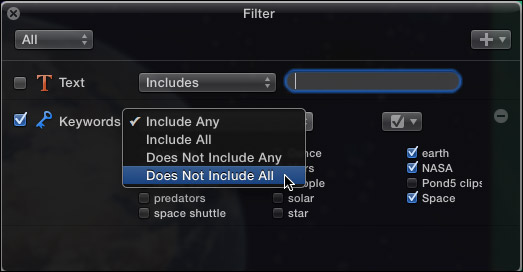
Or to show all clips that don’t contain any of the selected keywords – Does Not Contain All.

When a search is in effect, a very small, very dark blue key appears in the search text box in the top right corner of the Browser. To clear a search, click the “X in a circle” to the right of the text search box. Until you clear a search, no other clips will be visible in the Browser.
CREATE A SAVED SEARCH
Searches can be saved. Final Cut calls these “Smart Collections.” However, you can only save a search when you first select only a single event. If multiple events, or an entire library is selected, searches can’t be saved.
To save a search, select a single event and open the Filter dialog (type Cmd+F).
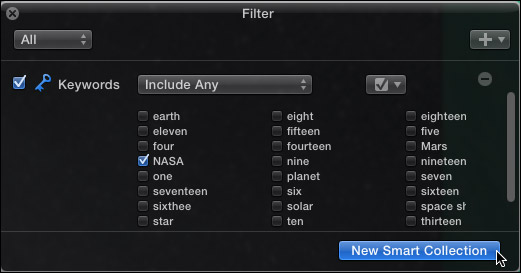
Enter your search criteria and click the New Smart Collection button at the bottom.
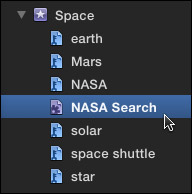
The new Smart Collection appears as a purple icon inside the selected event. Whenever the same combination of keywords is added to any clip, it will automatically appear in the Smart Collection. In other words, the Smart Collection dynamically updates as you modify the keywords assigned to your clips.
SUMMARY
Keywords allow us to quickly organize, find and collect the shots we need for our projects. Experiment with them on a small project to get comfortable with how they work.
Keep the total number of keywords small, so you don’t overwhelm the search box. And use Smart Collections to help organize your shots automatically. Once you start using keywords, you’ll find all kinds of uses for them.

2,000 Video Training Titles
Edit smarter with Larry Jordan. Available in our store.
Access over 2,000 on-demand video editing courses. Become a member of our Video Training Library today!
Subscribe to Larry's FREE weekly newsletter and
save 10%
on your first purchase.

23 Responses to FCP X: Find Media Using Keywords
← Older Comments Newer Comments →-
 Keith Brooks says:
March 21, 2016 at 7:24 pm
-
 Larry Jordan says:
March 21, 2016 at 7:30 pm
-
 Christopher Martin says:
April 20, 2016 at 10:58 pm
-
 Larry says:
April 21, 2016 at 8:32 am
-
 Ulli says:
June 9, 2016 at 2:52 am
-
 Ulli Jossner says:
June 9, 2016 at 3:10 am
-
 Ulli Jossner says:
June 9, 2016 at 11:21 pm
-
 Larry Jordan says:
June 10, 2016 at 6:58 am
-
 Hans Douma says:
January 9, 2018 at 7:45 am
-
 Dennis says:
January 27, 2019 at 6:34 am
← Older Comments Newer Comments →TWO QUESTIONS ON THIS:
1. We don’t keyword very often. But we do multicam assemblies for an hour program. Every once in a while during the edit of the multicam we find a clip portion that we want to isolate as a blooper or highlight. What’s the best way to keyword that clip portion?
2. That clip portion is assigned to a specific library. If i have 30 episodes and want to do a blooper reel or highlight reel, how can i search the keyword and get all the clip portions out of each of the episode libraries?
Keith:
You can’t apply keywords to clip ranges in the Timeline. So:
* Put your playhead at the start of the range you want to keyword in the Timeline
* Type Shift+F – this selects the source clip in the Browser and positions the playhead at the same spot.
* Type I to set an In, in the Browser clip, then set an Out (this probably needs to be done manually)
* Apply the keyword, i.e. “blooper”
FCP X can’t search across libraries, but Final Cut Library Manager from Arctic Brightness can.
Larry
It appears that by version 10.2.3 that Smart Collections can be saved for an entire library, not just for a single event as described when this article was composed. Thank goodness!
Christopher:
You are correct, searches and Smart Collections can now encompass an entire Library.
Larry
Hi Larry,
thanks for this very helpful article. AND I’ve got good news.
the 30 items rule does not exist (maybe anymore) on my FCPX 10.2.3
I was so desparate that I was dragging the lower end of the keyword collection window and it displayed all my keywords in three colunms (<50).
However the "rule of 30" somehow still exists as each column has 30 keywords in alphabetical order.
It even displays all the keywords in my generic hyper smart collection Simon Ubsdell recommended https://www.youtube.com/watch?v=sjuCfJFhdo0.
Correction: Each column has 17 or 16 items. 😉
How do you do this? I moved the keywords from various events into a single keyword folder. However I don’t get the same results, i. e. not all clips!, in this folder. Why is this?
Thanx Ulli
Ulli:
You don’t move keywords, instead, you select the Library and create a new Smart Collection.
Also, you need to be running the latest version of FCP X for this to work.
Larry
After all these years keyword support in FCPX is still very basic. Staying consistent in using keywords is next to impossible, because FCPX is sadly missing a central keyword repository for defining and assigning keywords. Although when adding keyword to a clip the keyword window is showing existing keywords as you start typing, it is then only looking for existing keywords in clips of events that have been open since you started FCPX.It is therefor very easy and most likely to end up with similar keywords where you actually mean the same thing. I find this very confusing and it makes the search on keywords very unreliable. It is about time Apple brings FCPX up to speed in the area of metadata management
Keywords are very powerful when they are implemented correctly by the application. One huge huge huge improvement in FCPX would be to search via the search textbox where FCPX refines the result while typing.
Because this is not implemented, creating a lot of keywords is mostly waisting time, because searching requires too much mouse clicks.
Creating a smart collection is only a nice option to save search results.
I also noticed a bug in FCPX 10.4. When adding keywords in the Keyword popup box (CMD+K). After hitting ENTER after typing the text, FCPX sorts the keywords. When you continue typing directly after hitting ENTER and during the sorting process, FCPX screws up the entered keyword. This results in new partial keywords or splits the entered keyword. to prevent this, wait a second or so after hitting ENTER.