
![]() This article showcases some color effects you may not know that Final Cut Pro X can do. There are two basic types of color corrections you can make to a clip: primary and secondary.
This article showcases some color effects you may not know that Final Cut Pro X can do. There are two basic types of color corrections you can make to a clip: primary and secondary.
While the limit effect in Final Cut Pro 7 gave us an initial introduction to secondary corrections. However, the tools in FCP X go farther and do more. Specifically, Final Cut Pro X has two tools for creating secondary color corrections: shape masks and color masks.
GET STARTED
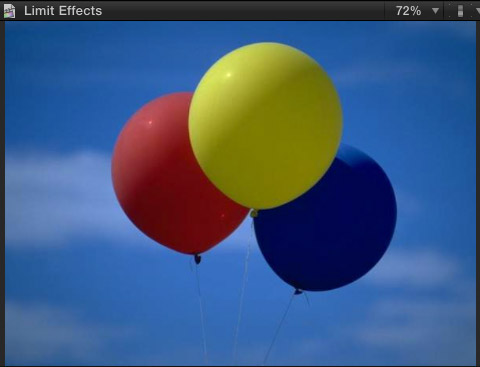
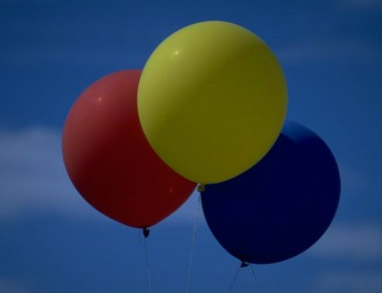
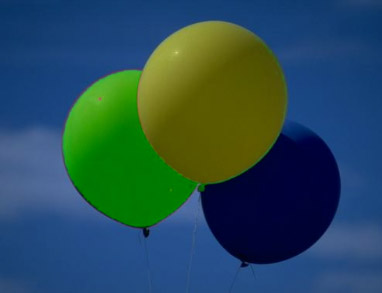
Here’s a clip with three balloons. In this article, I’ll show you three secondary color effects:
CREATE A SHAPE MASK
A shape mask can vary from square to rectangle to oval to circle.

To apply a shape mask, first select the clip in the Timeline. Then, open the Inspector (Command+4) and click the “Add Shape Mask” icon which is part of the Correction 1 effect.

NOTE: You can apply an unlimited number of color corrections to a clip; for example, to make the apples redder in one effect, then, in a second effect, make the lettuce greener. To add additional color correction effects, click the color Plus button at the top of Color effect.
To remove a color correction, select it and press the big Delete key.
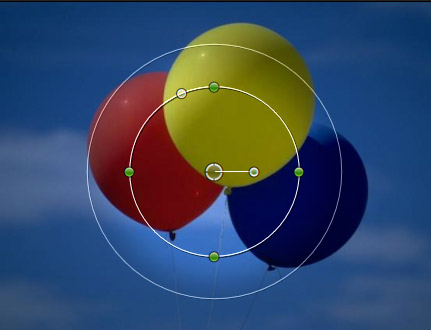
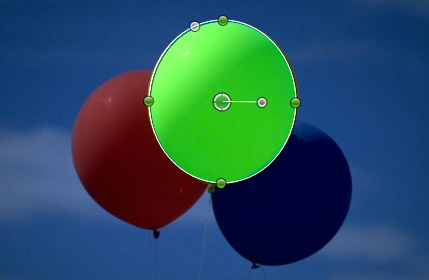
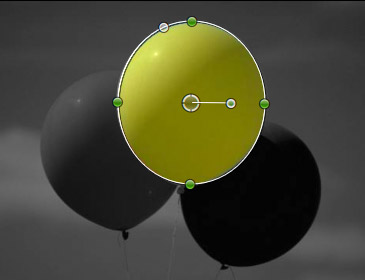
The default shape mask appears superimposed over the clip.
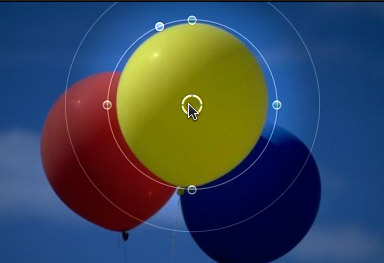
Change the position of the mask by dragging the center of the shape up to meet the center of the balloon.

The four green dots around the inner circle (called the “selection” circle) allow me to change the shape from circle to oval. In this example, I’m dragging the dots to create a shape that closely matches the shape of the yellow balloon.

Dragging the white dot near the top changes the shape from a circle to a rectangle. The more you drag that dot, the sharper the corners will be, however, you can’t create truly sharp corners with this effect.

The green dot attached to the middle allows you to rotate the shape.
The outer circle controls feathering. Feathering allows you to blend the corrected area, inside the inner circle, with the uncorrected area, outside the outer circle.
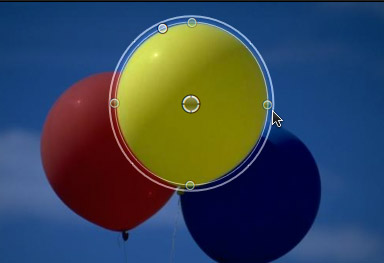
In this example, I only want to change the shape of the balloon, so I don’t want any feathering to change the color of the sky around the balloon. In this screen shot I’ve left a little gap between the feather circle and the selection circle so that you can see how I moved it. However, as you’ll see in a few screens, to make this effect look proper, I dragged the two circles on top of each other so there is no feathering.
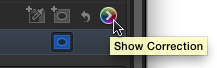
To change the color of the selected area, click the color arrow to the right of the Shape mask icon.
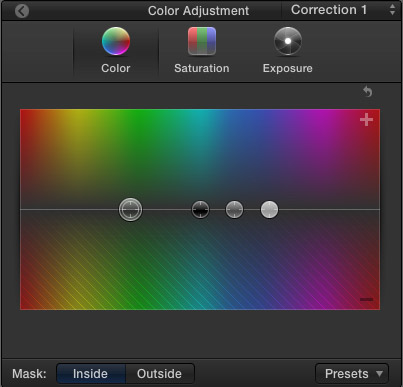
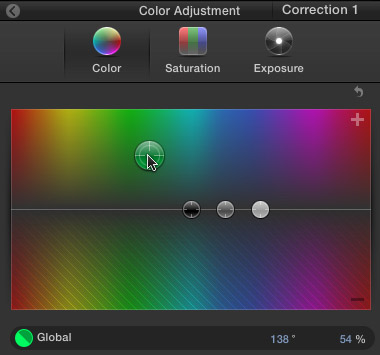
This displays the Color Board (or type Command+6).
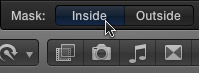
At the bottom of the Color Board are two buttons:
For this first example, we want the color changes to affect the balloon contained inside the color selection circle, so click Inside.
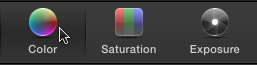
The three buttons at the top allow you to select whether you want to change color (hue), saturation (amount of color), or exposure (gray-scale) for the selected area. Here, I clicked Color.
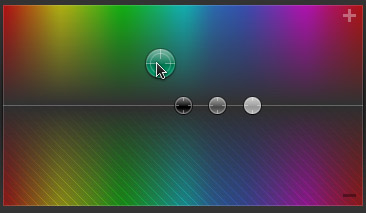
The four pucks (or buttons) in the center of the color board, from left to right, are:
Because I want to change the entire color of the balloon, I dragged the Global puck up (to add) green. If I had dragged it down, I would have removed the color.
NOTE: I confess that I miss the old color wheels from FCP 7. The way the Color Board works is that dragging a puck up adds colors, while dragging the puck down removes colors. Parking a puck on the gray horizontal line means that you are not changing colors for that gray-scale value.
Look at our balloon! It is now green, yet retains all the texture and shading of the original yellow balloon. This is a very powerful effect. We retain all the gray-scale texture, yet can play with color as much as we want.
NOTE: You can make multiple color adjustments to this selected area. For example, you could make it brighter by adjusting Exposure, less saturated by adjusting Saturation, or change to a different color. What you are doing in this effect, is selecting a portion of the image to adjust. Once that selection is made, you have full access to all the color adjustment tools to use as you see fit.
THE “PLEASANTVILLE EFFECT”
Creating the Pleasantville Effect is very similar to changing the color of the balloon, only a couple of settings need to be changed.
Create the shape mask and adjust as we did in the earlier example.
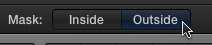
This time, when you go to the Color Board, click Outside for the mask. This means that we want to affect the area outside the mask.
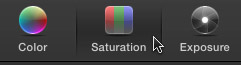
And, because we want to make everything black-and-white, rather than color, we need to adjust Saturation. So, click the Saturation button at the top.

Because we want the entire image, outside the selection circle, to become black-and-white, drag the Global puck for Saturation all the way down.
Ta-DAH! Instant cool effect!!
CREATING A COLOR MASK
A color mask allows us to select an area to adjust based upon its color. This works best when the selection area is, essentially, one color hue.
For instance, here, I want to change the red balloon to green.

Click the Color Mask icon, in the Color Correction effect.
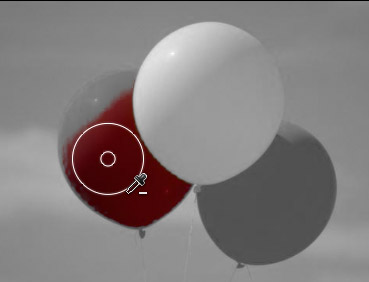
Click the eyedropper on the color you want to select, then drag it to extend the color range.
NOTE: BE CAREFUL to only select the color you want. If the small white circle touches the yellow balloon, all yellow colors will be included as well.
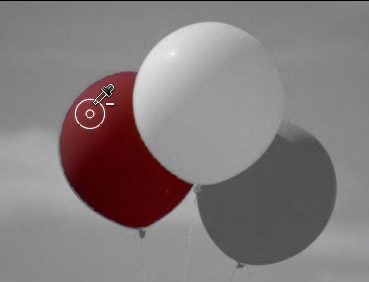
To include the red at the top of the balloon, let go of the mouse. Then, press the Shift key and click the mouse over the area you want to include.
NOTE: To remove a color, press Option and click the color you want to remove.
Switch over to the Color Board (Command+6 or click the right-pointing color arrow).
Click the Color text button at the top and drag the global puck to the color you want for the selected area. In our example, I’ve moved it to a bright green.
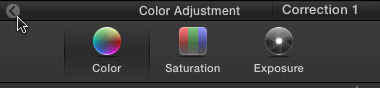
To return to the Inspector, click the small left-pointing arrow in the top left corner of the Color Board.
Ta-DAH, again! Another cool effect.

NOTE: Edges are often a problem when using color masks. To adjust the edges, drag the color mask slider to get the best effect possible.
SUMMARY
One you start using these, you’ll find all kinds of reasons to use them to brighten dark portions of an image, make colors more inviting, and fix problems.
However, not all video codecs do equally well with color grading. Highly compressed codecs, such as AVCHD, H.264, MPEG-4, will often have edge problems. The basic rule is to give yourself time to experiment before you are crashing up against a deadline.
Have fun!
NOTE: Here’s an article that describes how to use the Shape mask to create a spotlight effect.
Visit our website to see Final Cut Pro Training & more!

2,000 Video Training Titles
Edit smarter with Larry Jordan. Available in our store.
Access over 2,000 on-demand video editing courses. Become a member of our Video Training Library today!
Subscribe to Larry's FREE weekly newsletter and
save 10%
on your first purchase.
One Response to FCP X: Color Shape Effects
Hi I’m having trouble trying to figure out how this person edit this certain video. If you could please take a look at how there is a picture as the background then a video on top but its not a square. Take a look for your self.
https://www.youtube.com/watch?v=QLWcGf34gPM
As you can see it defuses beautifully into the video I was think a shape mask? But I tried and did not get the same outcome. Another thing I was wondering how there was a two videos in one heart but the its like she messed around with the opacity. Thanks so much for taking time to read!