
 Adobe has made it easy to move Final Cut Pro 7 sequences into any version of Premiere Pro starting with CS 6. In fact, the process is the same, regardless of which version of Premiere you are using.
Whether you are sending a FCP 7 sequence to Premiere, FCP X, or anywhere else, the process always starts by exporting an XML file.
IMPORTANT NOTE: This means that if you ever expect to migrate an older project, or sequences from an older project, you must have a working copy of FCP 7 to create the XML file. A good way to protect yourself is to export an XML file for the finished sequence at the completion of a project to keep on file “just in case.”
Here’s how this works.
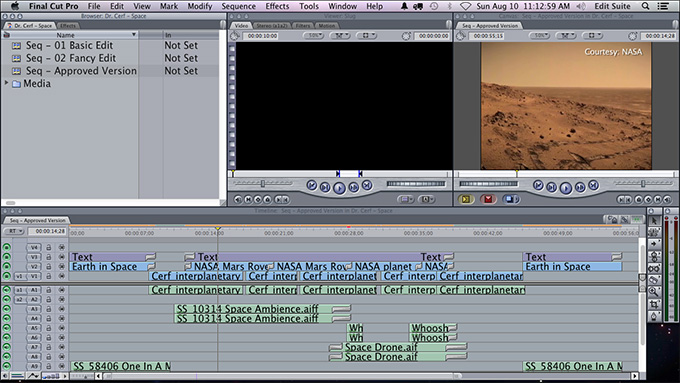
This is a typical FCP 7 sequence: multiple tracks of video and audio, text, effects and transitions.
GET READY
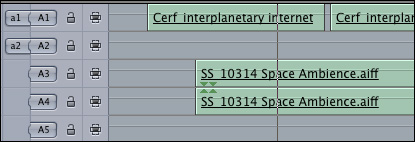
Mono audio clips can go in any track you want. For instance, here, “Cerf Interplanetary Internet” is a mono clip on A1, because it is synced to the video on V1.
However, I recommend starting stereo clips on an odd-numbered track. This is because Premiere prefers stereo audio to start on an odd-numbered track. It does not make a difference to Final Cut if audio tracks are empty or have gaps.
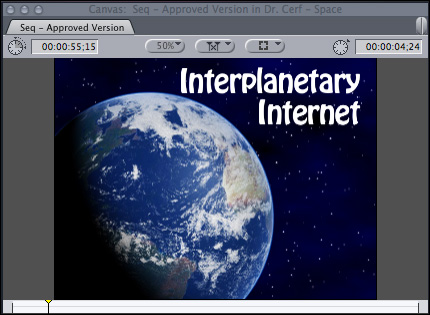
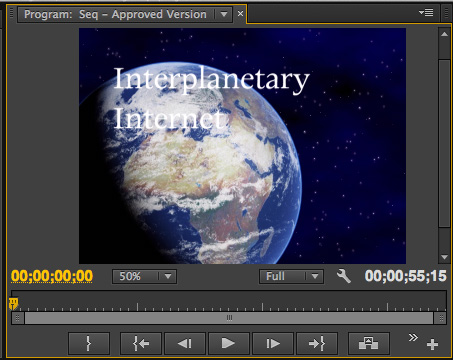
Notice the size, format and placement of the opening title text. This will be relevant later in this article.
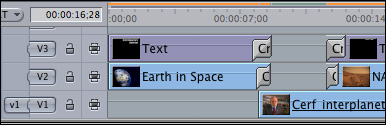
Also notice that there are dissolves on V2 and V3 (B-roll and text tracks) as well as some audio clips. This, too, will be relevant shortly.
EXPORT AN XML FILE
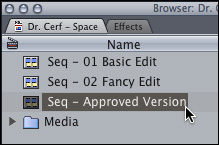
To export a sequence, first select the sequence in the FCP 7 Browser. (Yes, you can export the active sequence in the Timeline, but I prefer to specifically select the sequence to export in the Browser. I’ve found this to be more reliable.)
Then, choose File > Export > XML.
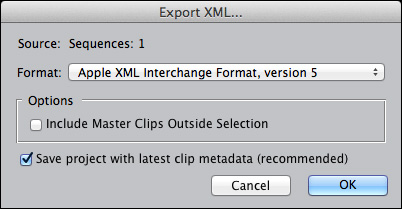
This displays the Export XML dialog.
NOTE: Final Cut will always export both the sequence and all the clips that are in the selected sequence.
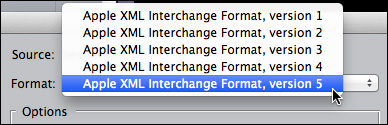
Whether you are exporting from FCP 6 or FCP 7, always select the highest XML version that FCP supports. FCP 7 supports version 5, FCP 6 supports version 4.
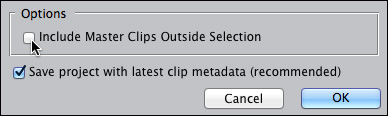
If you want to include other Browser clips that are NOT in the selected sequence, check this checkbox.
NOTE: If you want to select EVERYTHING in your project file, the easiest and best thing to do is to select all the clips in the Browser (Cmd+A).
Since I generally only want to export a single sequence from within the project file, I almost always leave this box unchecked.
NOTE: Always check “Save Project with latest clip metadata.” I can’t think of a single reason why this should be unchecked.
When this dialog is configured the way you want, click OK.
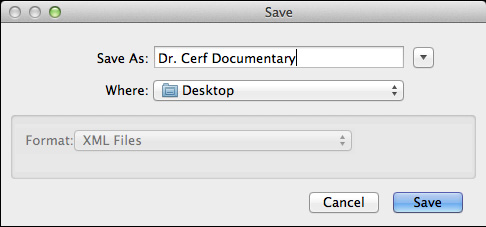
Give the XML file a name and location, and click Save.
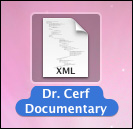
Exporting is virtually instantaneous and the XML file appears where you stored it.
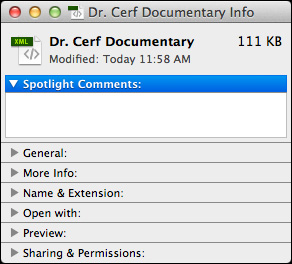
The XML file, itself, is tiny; especially when compared to the size of media files. This is because the XML file does not include media. It only includes pointers to the media. This means that if you are sending the XML file to a different computer, you also need to send the media files, otherwise, all your clips will show up as off-line.
NOTE: Creating an XML file does not modify your project in any way. So, feel free to experiment to see which export options work the best for you. Since this process is fast and the files are small, it is easy to test to see what workflow is the best for you.
IMPORTING INTO PREMIERE
Start Premiere. In this example, I’m using Premiere Pro CC (2014), but the process is the same for all versions of Premiere, starting with CS6.
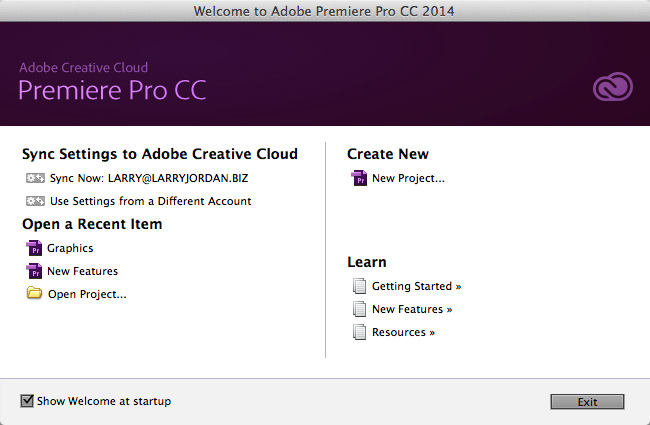
NOTE: If the Welcome screen appears, click “New Project,” unless you want to integrate the exported sequence with an existing Premiere sequence. Otherwise, inside Premiere, choose File > New > Project.
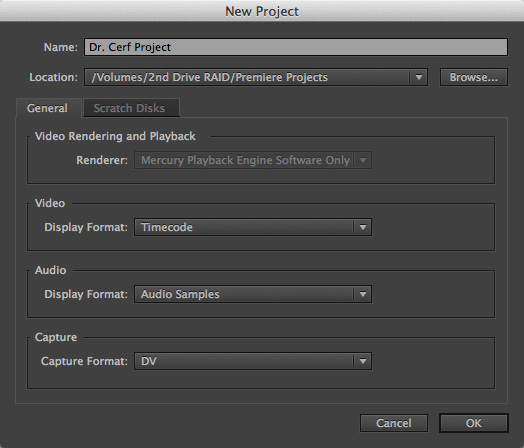
In the New Project dialog, give the new project a name and storage location, then click OK.
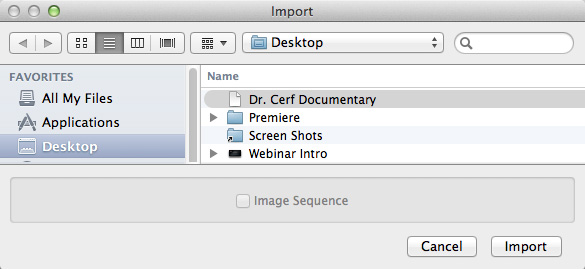
Once the application is started, choose File > Import. (You don’t need to specify that this is an XML file, Premiere will recognize it automatically.)
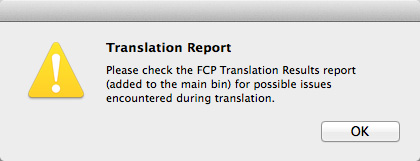
During the import, Premiere displays a message suggesting you look at the Translation Report to see what portions of the older sequence successfully made the transfer and which did not.
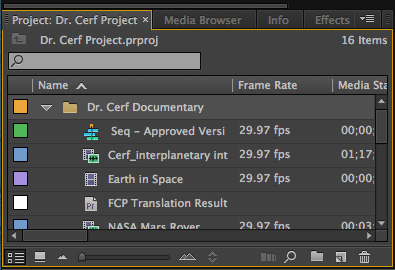
Here’s the imported sequence and all related clips.
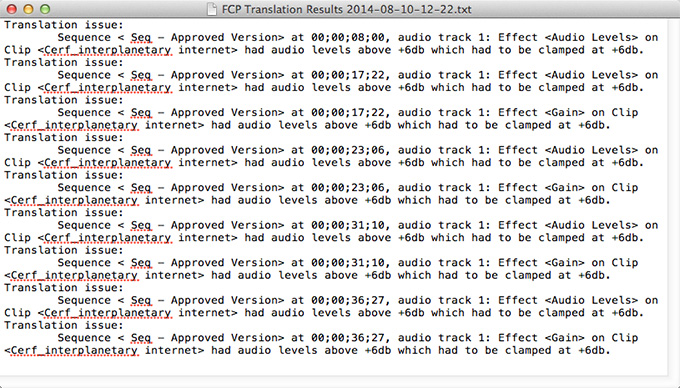
NOTE: Here’s the translation report for this import. Everything transferred successfully, except audio levels. Premiere only allows a maximum audio gain of +6 dB per clip, while FCP 7 allows up to +12 dB. The audio gain applied to each clip was lowered to +6 dB during the transfer.
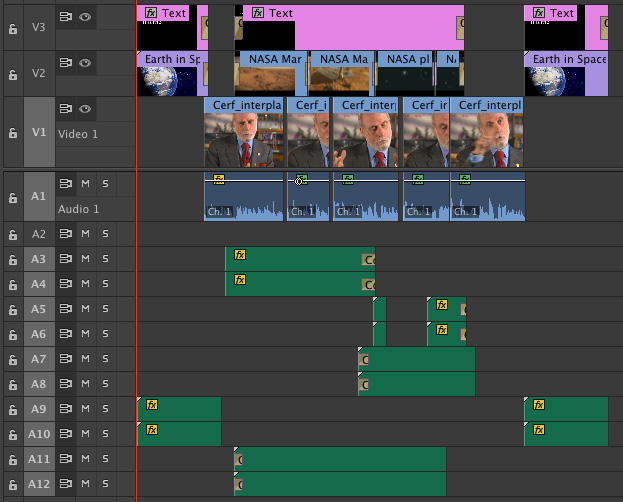
Here’s the finished sequence, as imported into Premiere. Notice that all the dissolve transitions made the transfer, along with all the tracks, clips, and media.
Done.
EXTRA CREDIT
Most of your Final Cut Pro 7 sequence will translate properly to Premiere. Here’s what should transfer perfectly:
However, the following elements won’t transfer successfully:
In short, media and the edit transfer fine. Effects, don’t. (These same limits on transfers also apply to sequences sent to Final Cut Pro X or Avid.)
The most important element to transferring any sequence is preserving the media and the edit. XML does. But, you’ll need to allow time to test your effects to see which ones transferred and which ones will need to be redone.
The good news is that you can repeat this process as many times as you want to learn what works best for you.

2,000 Video Training Titles
Edit smarter with Larry Jordan. Available in our store.
Access over 2,000 on-demand video editing courses. Become a member of our Video Training Library today!
Subscribe to Larry's FREE weekly newsletter and
save 10%
on your first purchase.

42 Responses to FCP 7: Move Projects to Premiere Pro
← Older Comments-
 Therese Kim says:
June 27, 2023 at 4:35 pm
-
 Larry says:
June 27, 2023 at 5:26 pm
← Older CommentsHello Larry,
Thank you for this article! I have a short film I’m trying to finish that is built in FCP6 (yes, 6) that uses mov files.
Intelligent Assistance told me I don’t need a translation from FCP6 to Premiere Pro.
So I tried importing an XML from FCP (on an OLD mac pro) into the current Premiere Pro on a PC, and the XML file’s not being recognized. Neither are the mov files, of course.
I’m not sure how to change them into a lossless format that Premiere Pro will accept.
Is this something I could consult with you on? Or is there a quick-ish answer?
Thanks much,
Therese
Therese:
Wow… FCP 6 – you ARE, um, at the tail end of the upgrade curve.
.MOV files should deployable today, unless they use 32-bit codecs. If you need to convert them, convert them into ProRes 422. FCP 6 and the current version of Premiere should play them easily. Do a test to be sure.
As for the XML file, Intelligent Assistance is correct – FCP 6 XML does not need conversion for Premiere. BUT… it is a very old version of XML. The current version of Premiere may not properly recognize it. Contact Adobe support and see if they have any recommendations. I don’t know of any “updating” utilities for XML files for Premiere, but Adobe might.
Larry