
 As I was writing the Photoshop chapter for my upcoming book – “Techniques of Visual Persuasion” – I found myself describing Blend modes. Since my book is targeted at non-filmmakers, the discussion was somewhat brief. But I couldn’t get blend modes out of my mind.
So, in this article, I want to illustrate some unusual effects you can achieve with blend modes and gradients. These techniques work in Premiere, Final Cut, Photoshop or any application that supports blend modes.
DEFINITION: Blend modes combine textures between two or more stacked images by arithmetically merging pixel values based upon gray-scale values. Blend modes have no settings to adjust, however you can alter the effect by adjusting the opacity or gray-scale values of one or both images.
A few years ago, while the Oakland Bay Bridge was being dismantled, Mark Jones, with MTC/Caltrans, sent me some videos of the process. Let’s see what we can do with different gradients using blend modes using Mark’s images.
HOW BLEND MODES ARE APPLIED
 Blend modes are applied the same way in all applications: Stack the gradient on top of the image you want to change, select the gradient, then apply a blend mode to the gradient.
While there are minor variations between applications, blend modes fall into five major categories:
NOTE: If you are doing work for broadcast, cable or digital cinema, don’t use Add, which, by definition, generates illegal highlight levels.
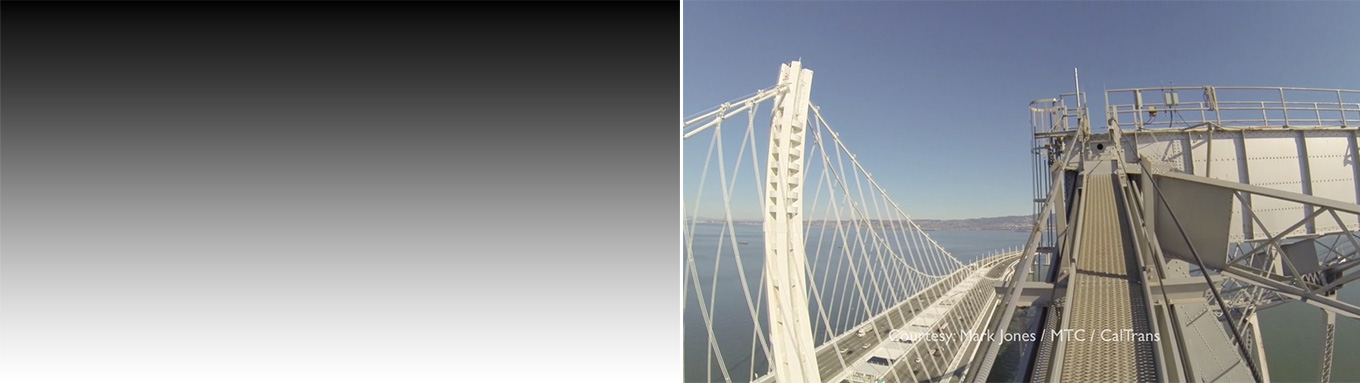
 The gradient is illustrated top left, the source image top right and the result, described in the text below, is created by stacking the two images then applying a blend mode.
Probably the oldest gradient is a “grad filter” which shades from black at the top to white at the bottom. My understanding is that it was invented by Ansel Adams for his photography.
When I apply the Overlay blend mode, which is my favorite for these gradient effects, look at how much more dramatic the image becomes; especially in the sky. The darker potions of the gradient darken the image, while the lighter portions brighten the foreground. To make this effect less overwhelming, I reduced the opacity of the gradient to 50%.
NOTE: Blend modes require rendering, but they render very quickly.
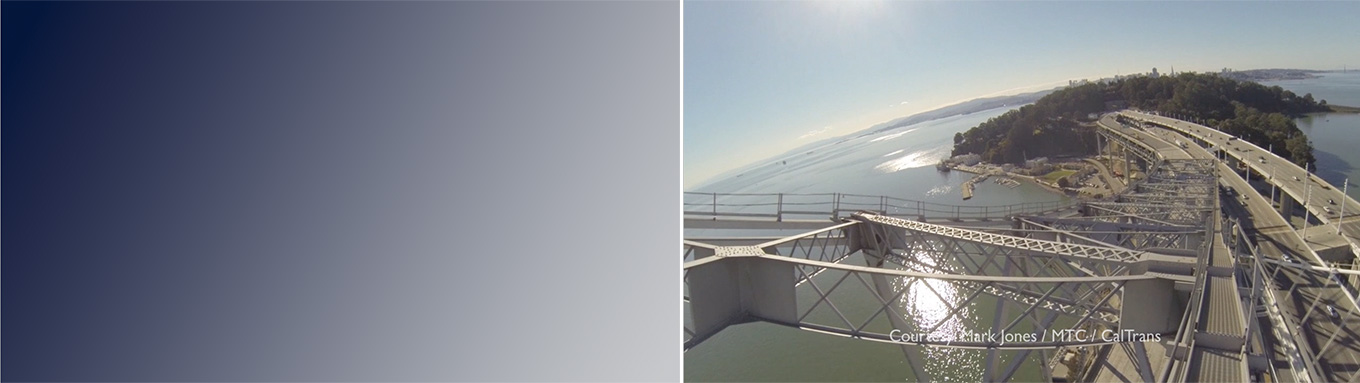
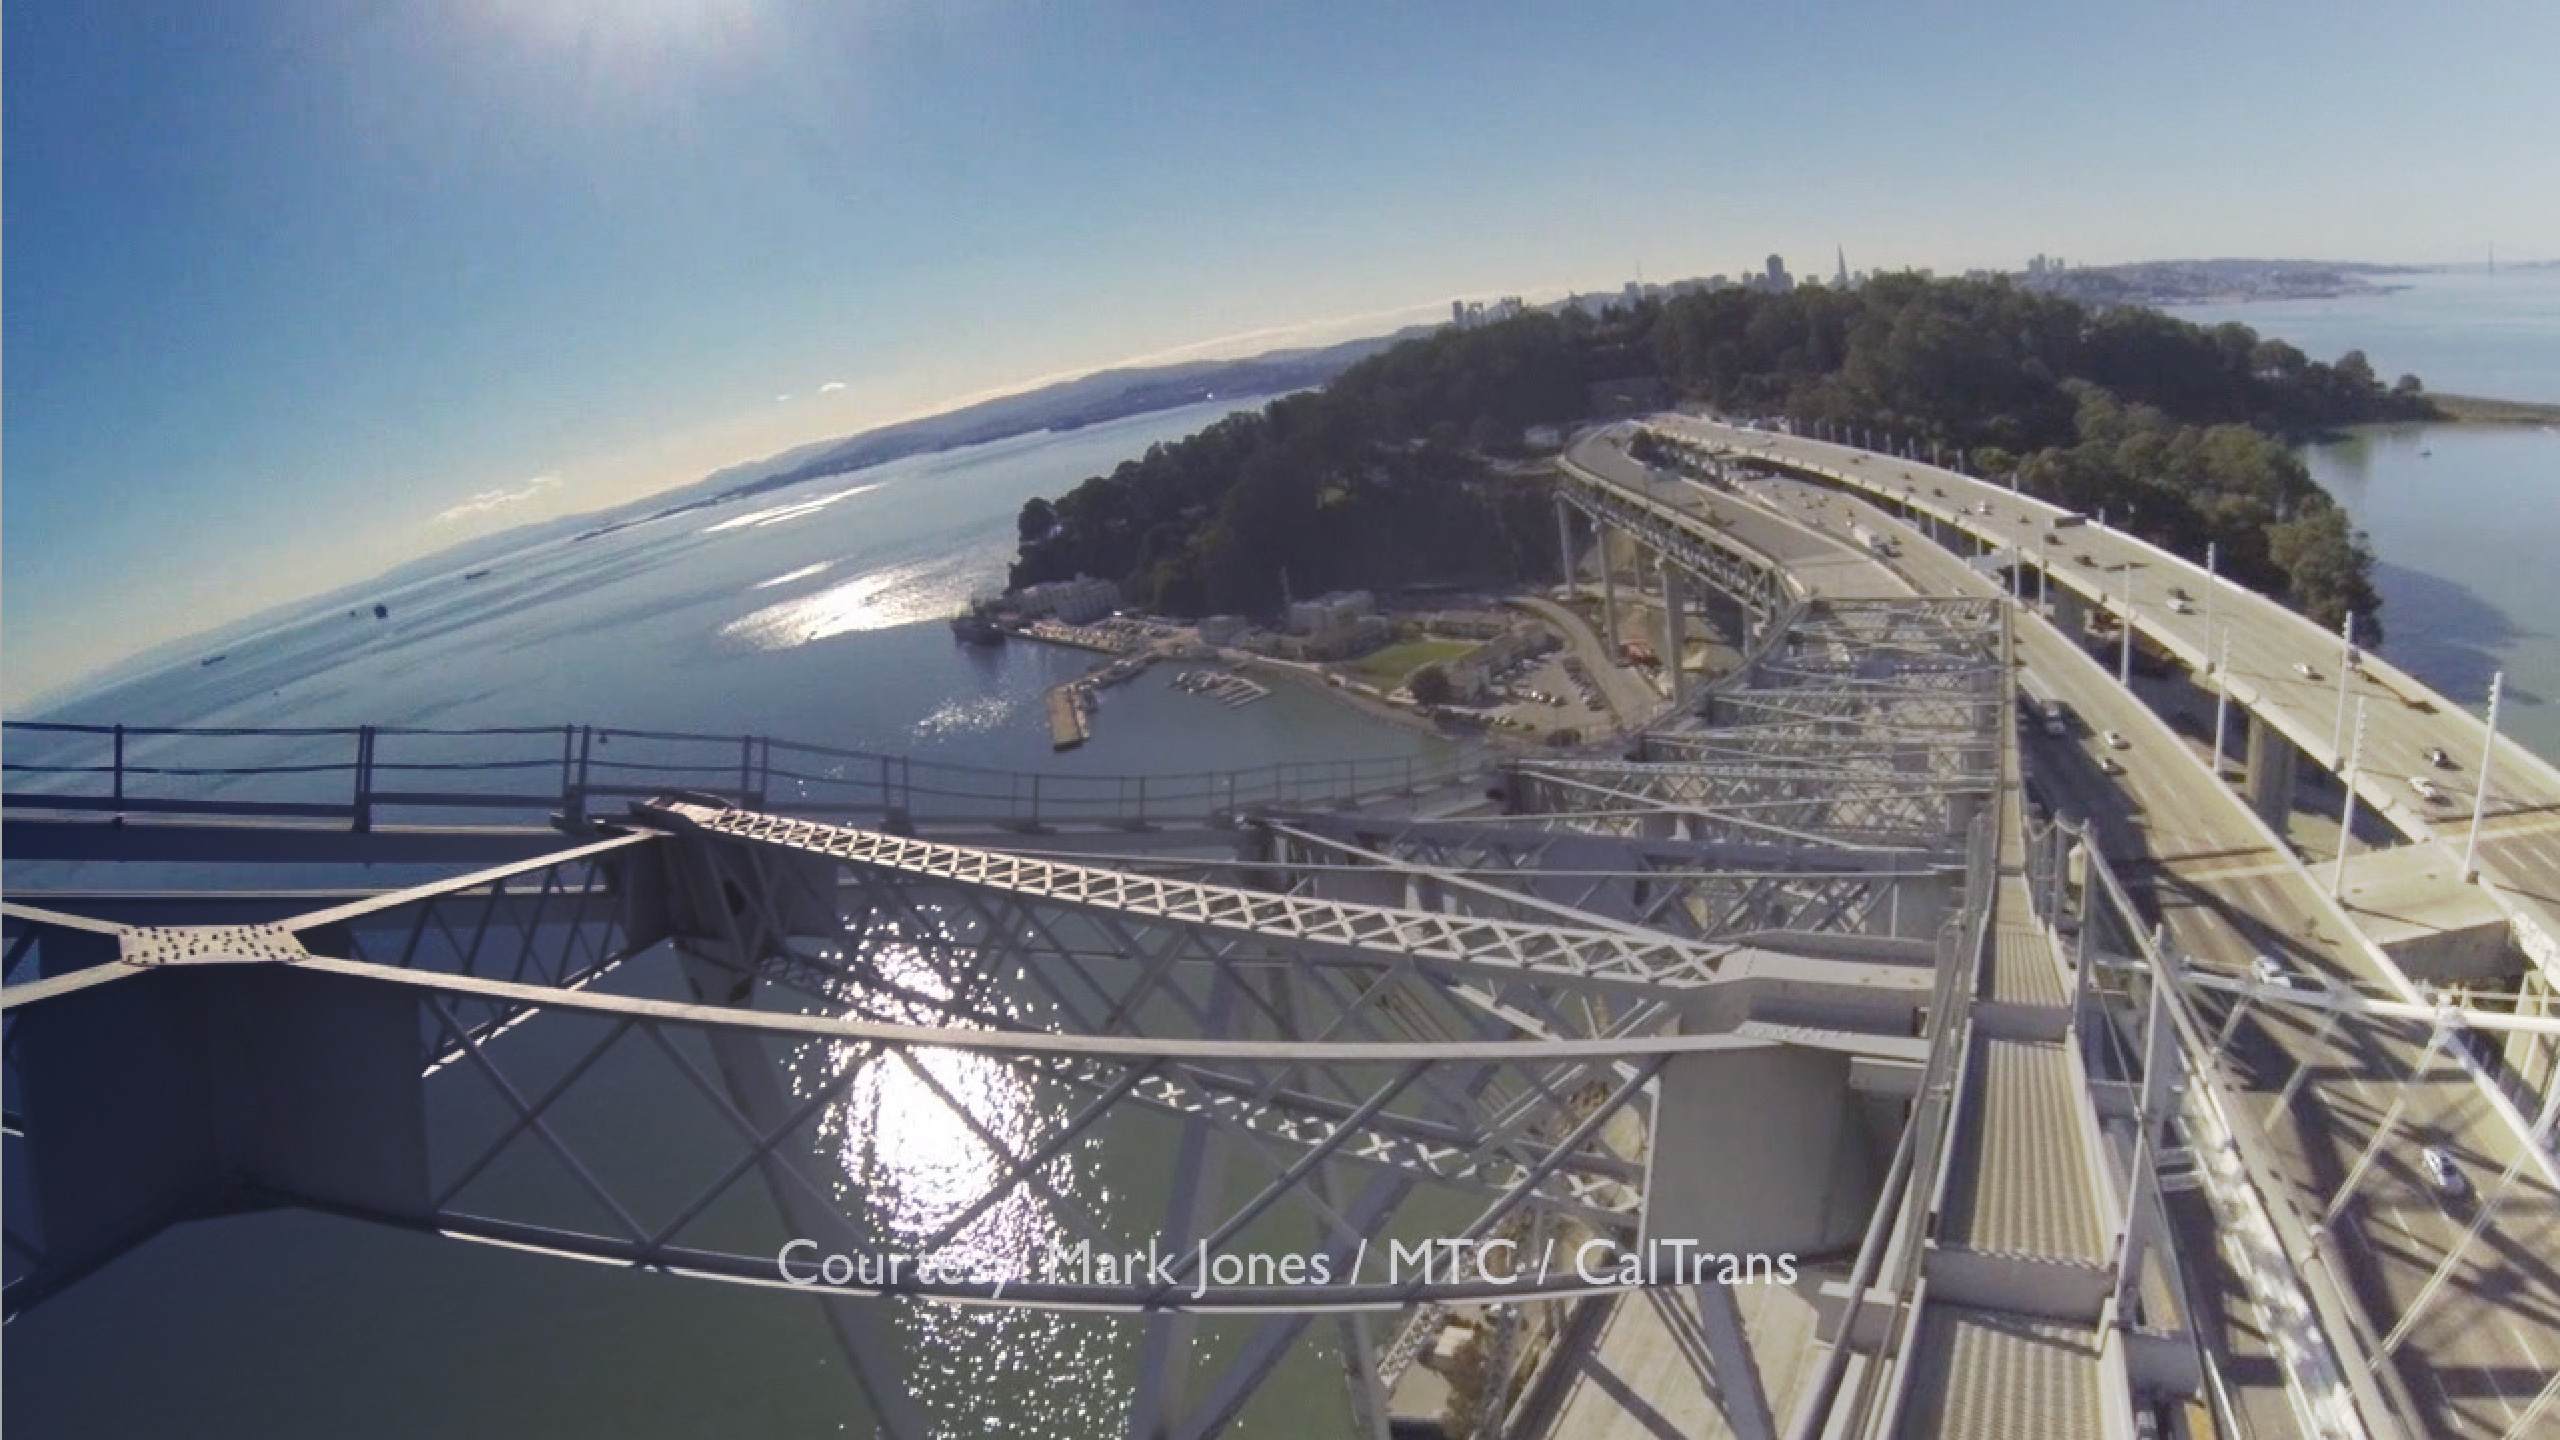
But, blend modes don’t need to be black and white. This gradient flows from dark blue to medium gray, then rotated to match the angle of the sky.
Look at how the Overlay effect darkens the sky and shifts the focus of the scene to the bridge itself.
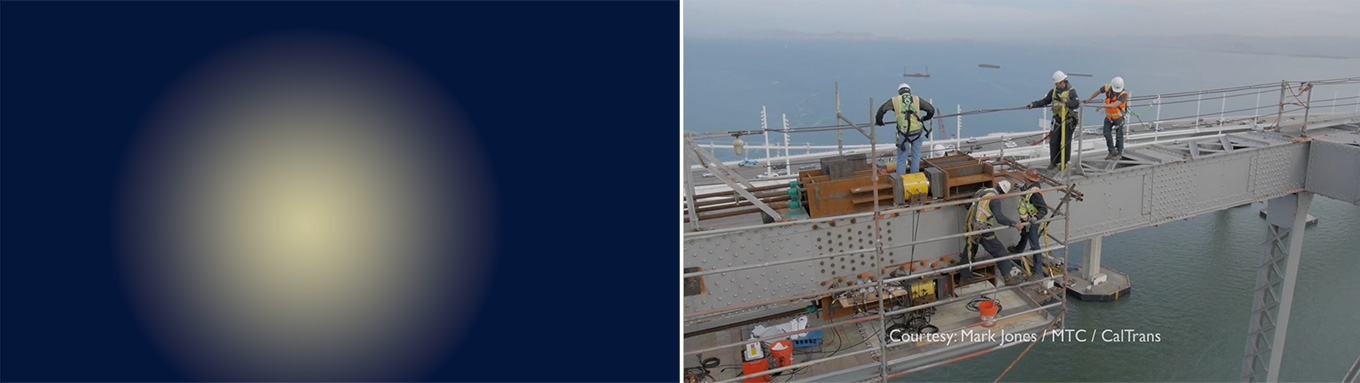
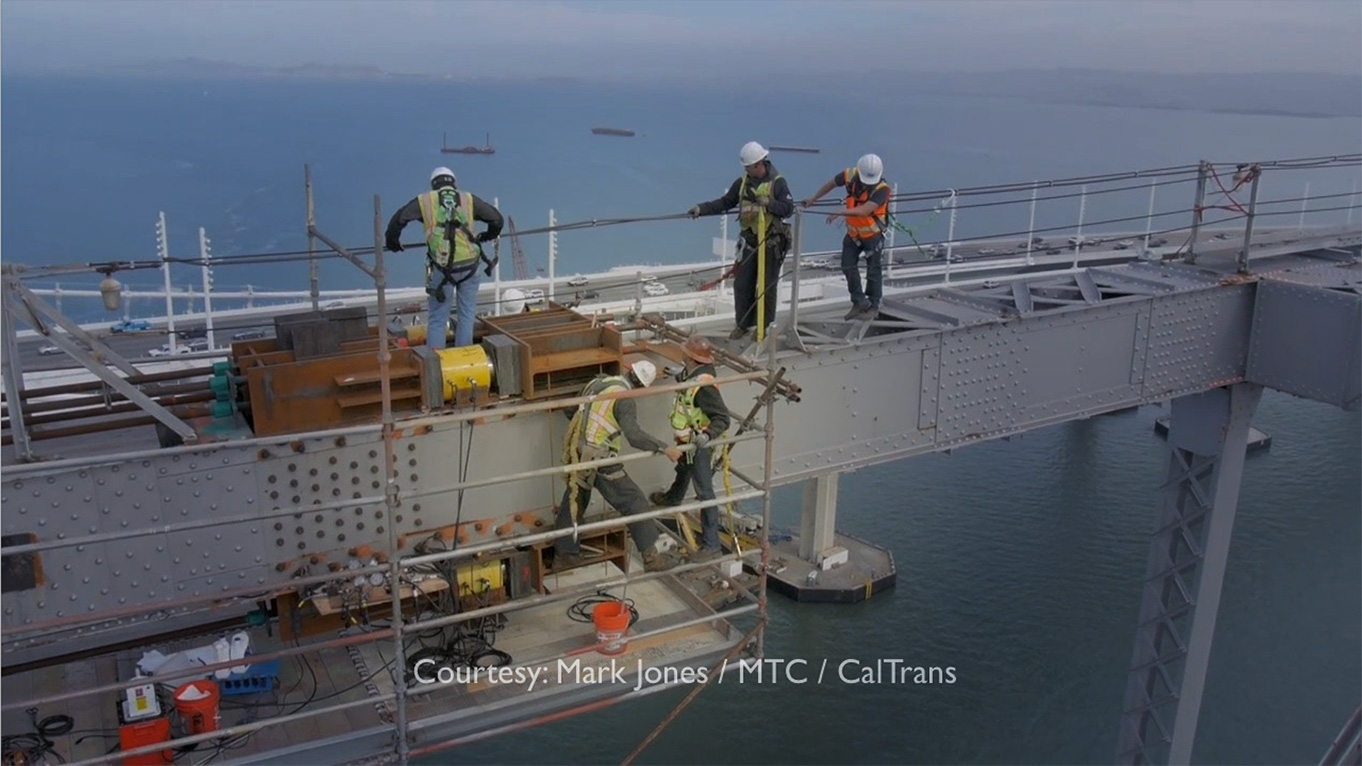
Let’s try a dark blue to pale yellow radial gradient, with the hot spot placed on the two men working on the side of the bridge. This uses the Overlay blend mode, with the opacity of the gradient reduced to 75%. The eye goes to that which is brighter and warmer. While the shadows of the two men reinforce the warmth of the hot spot without calling attention to it.
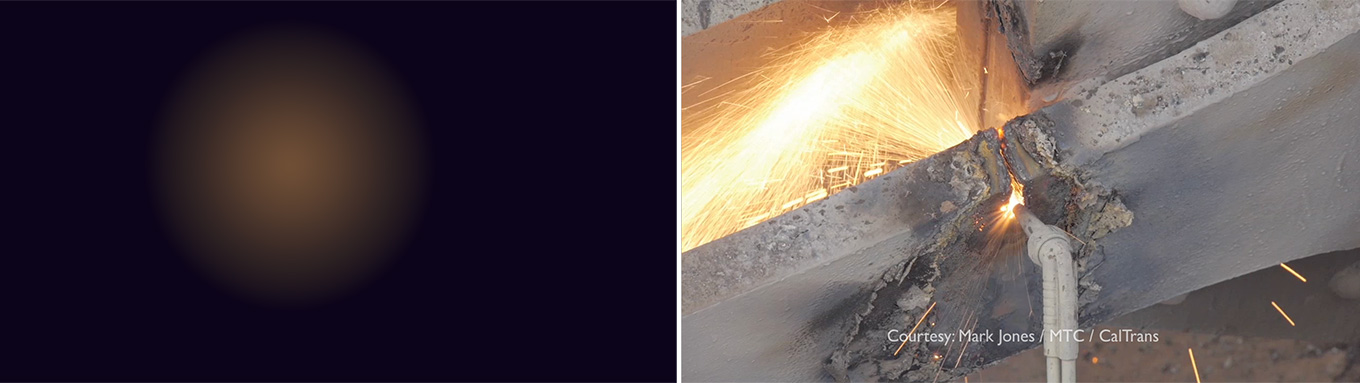
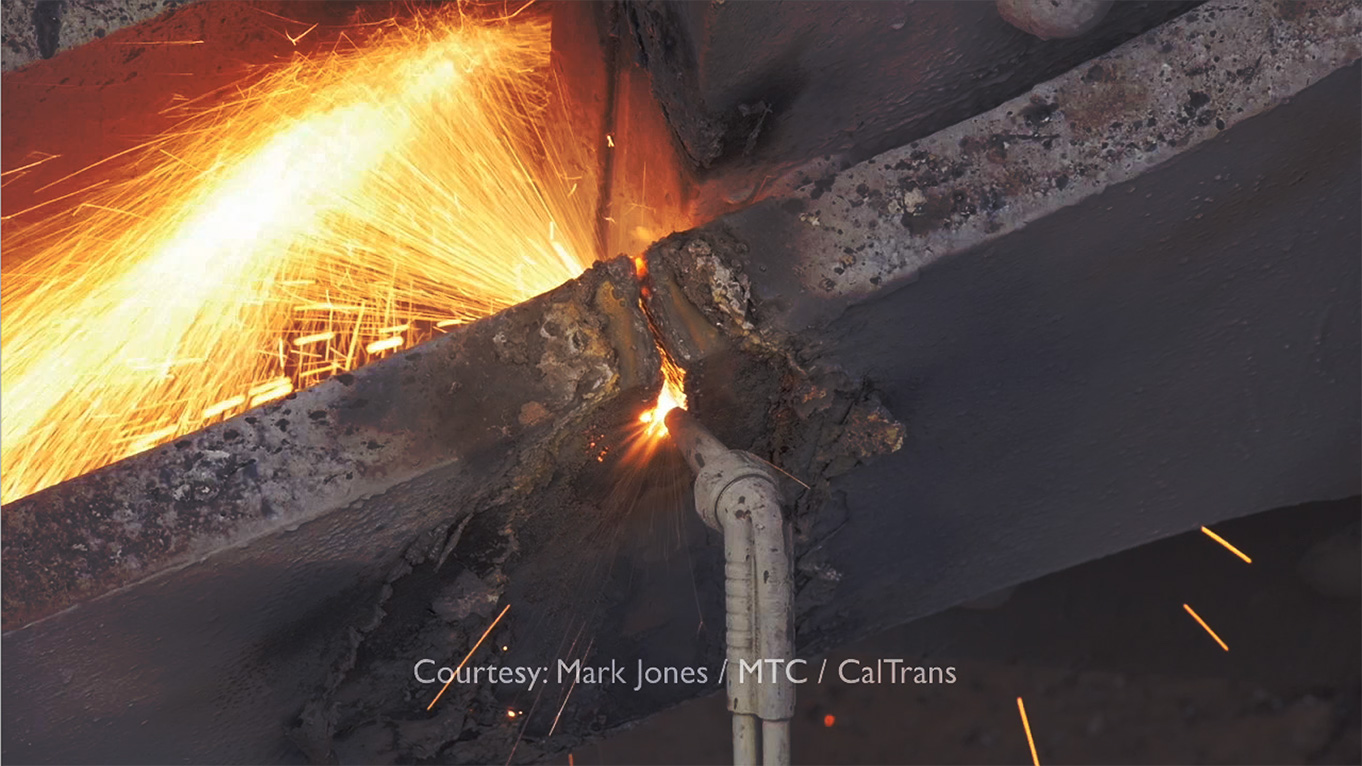
Let’s go for some drama. A dark bluish black to dark orange radial gradient, with its opacity faded to 60%, using an Overlay blend mode. The steel beams disappear in the drama of the flame and sparks.
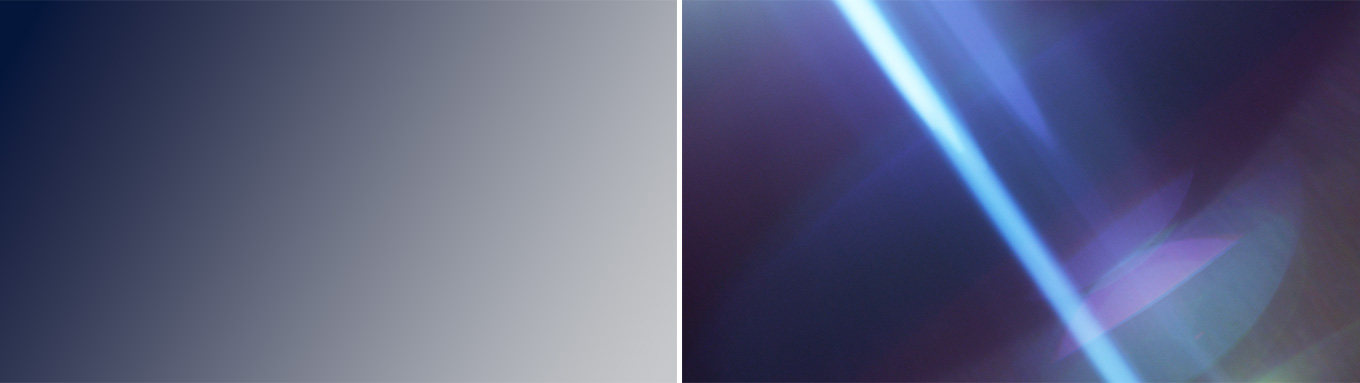
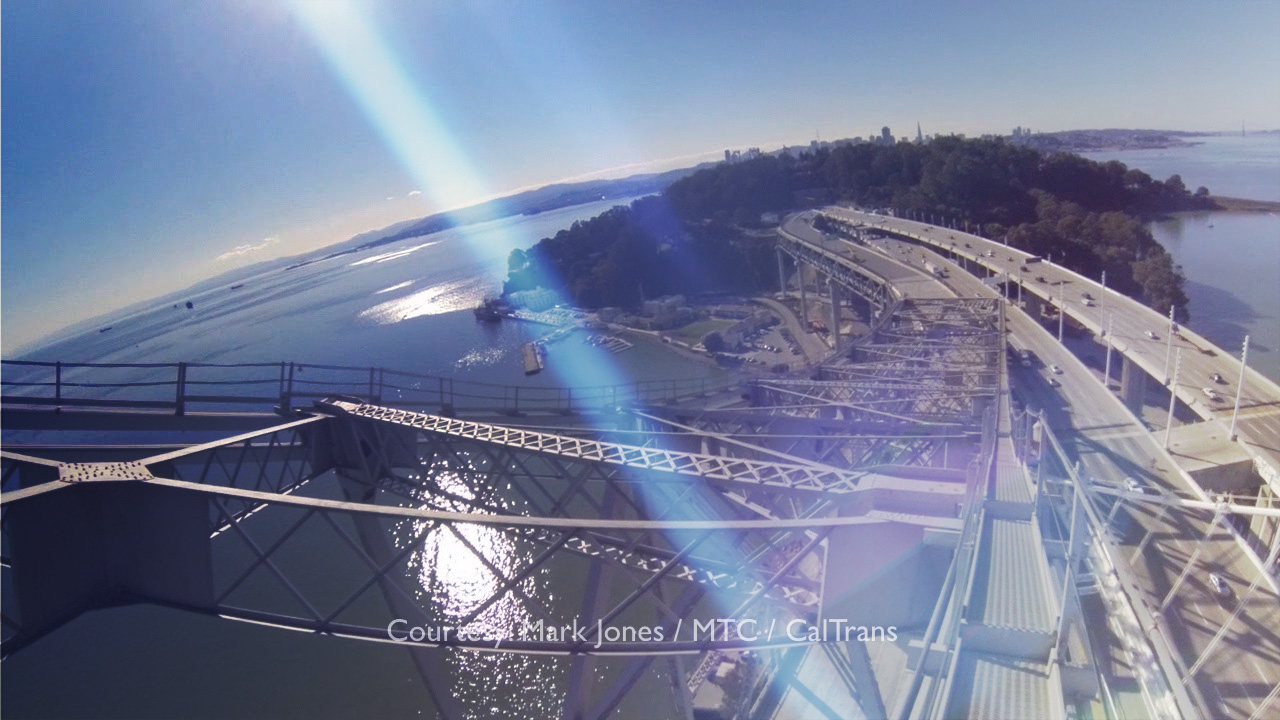
Finally, let’s get carried away. This is a three clip stack, starting with a lens flare from Rampant Design Tools, set to 80% Opacity. Lens flares look best using the Screen blend mode. Under the lens flare is the gradient applied using an Overlay blend mode.
Finally, at the bottom of the stack is the image. To compensate for lightening caused by the lens flare, I lowered the mid-tone grayscale values of the background image a bit. Since the angle of the flare matches the angle of the sun, the entire shot looks normal – but much more dramatic than the source image itself.
Blend modes provide endless options to improve your images and, best of all, they are easy to apply and quick to render.
EXTRA CREDIT
In general, blend modes work best:
And thanks, Mark, for sharing your videos. It looked like an exciting shoot!

2,000 Video Training Titles
Edit smarter with Larry Jordan. Available in our store.
Access over 2,000 on-demand video editing courses. Become a member of our Video Training Library today!
Subscribe to Larry's FREE weekly newsletter and
save 10%
on your first purchase.
7 Responses to Captivating Blend Mode Effects
Pretty cool set of tips…….!!!!
My favorite application of blend modes is to duplicate a video track, add gaussian blur to the top track, then change the blend mode and adjust opacity to taste, to get a nice diffuse lens softening effect that simulates the old black promist filters we used to employ. You can do this with more than two layers as well, if you want to use one layer to hype the colors on the bright side or via added saturation or tinting. You can spend hours playing with it.
Mark:
Smile… Once I discovered blend modes I think I lost track of two whole days just playing.
Thanks for your tip.
Larry
We still use 1/8 and 1/4 Promist, Hollywood Bl Magic and Glimmer Glass. With the ridiculous lens sharpness/camera resolution we deal with now they are indispensable : )
Oooooo.. I sense I’m about to fall into the rabbit hole..
Thanks for this, Larry – I can’t wait to start experimenting!
Responding to Mark’s cool technique, I wonder what blend mode he used. Also, is there a one step method in FCPX for both duplicating and placing a clip on top of its original?
Brian:
Most likely a Screen. And when you press Option and drag a clip, you’ll make a copy of it.
Larry