
 HEVC (also called “H.265”) is new with macOS High Sierra and Apple Final Cut Pro X 10.4. However, by default, none of the Sharing/Export settings inside FCP X support HEVC.
Instead, we need to change preferences inside FCP X to allow us to export a project using the HEVC codec.
CHANGE PREFERENCES
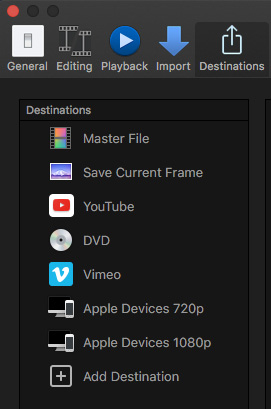
To start, go to Final Cut Pro > Preferences > Destinations. None of the default settings will output HEVC.
Instead, add the HEVC settings using the Compressor Settings menu.
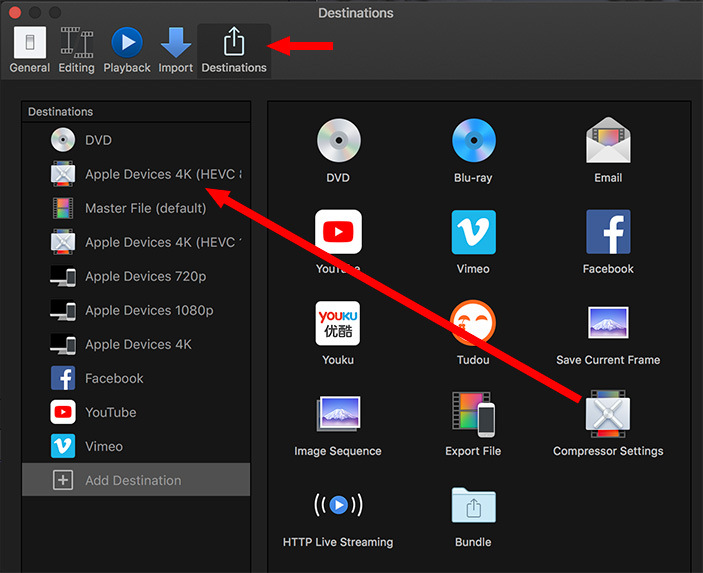
Drag the Compressor Settings icon from the right side to the left.
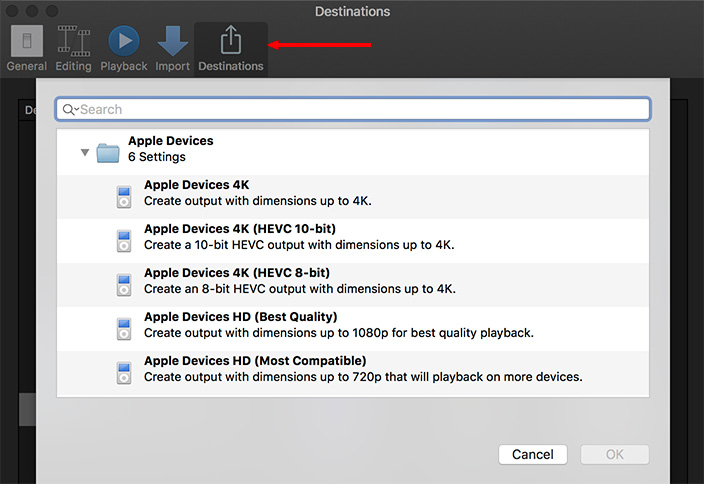
This opens a panel allowing us to choose which Compressor setting to import. There are only two HEVC settings – both in Apple Devices:
Select the setting you want to use, then click OK. For this example, I’ll add both; which means I need to drag the Compressor Settings icon across twice.
NOTE: On older systems, such as my 2013 27″ iMac, which don’t support 8-bit hardware acceleration, this 8-bit option is missing. Both options are there on my 2017 iMac.
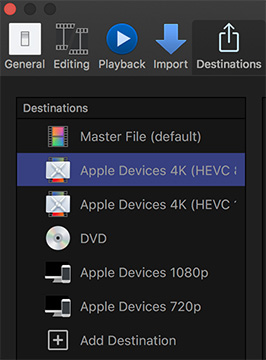
Here’s how I rearranged my settings after adding the two new options; the 8-bit option is highlighted in blue.
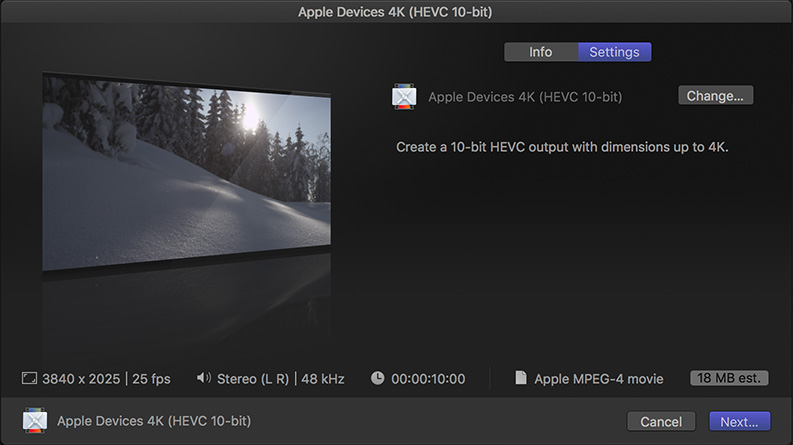
NOTE: Neither the 8-bit, nor 10-bit, options have any user-adjustable settings. If you want to tweak, you’ll need to use Compressor itself to compress the file.
COMPRESSING A FILE
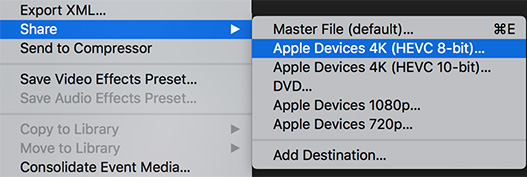
When the time comes to export an HEVC version of your project or clip, select it from the File > Share menu.
As with all files in FCP X, exporting happens in the background. This means that if you do any editing or file playback, all background processes stop until you are done. This will materially affect how long it takes to export a file.
THE RESULTS
Exporting an HEVC file takes a LONG time!
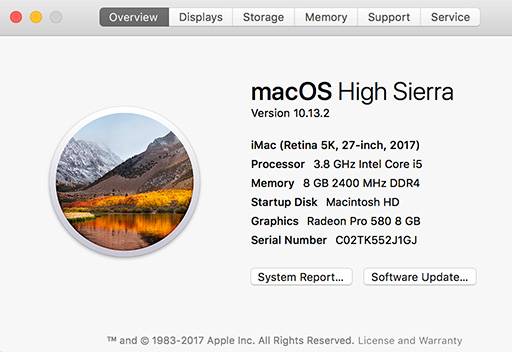
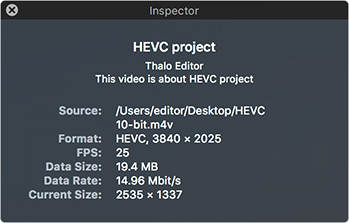
These are the specs for my 2017 iMac, which supports hardware acceleration. Leaving FCP X in the foreground and doing no editing of any sort:
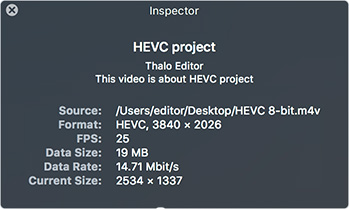
NOTE: Hardware acceleration only supports 8-bit compression.
SIDENOTE
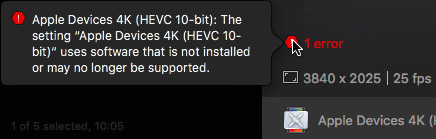
After exporting a file and quitting FCP X, when I restarted the application, I got this error message. To fix it, I deleted the existing compression setting in Preferences, then re-installed it using the Preferences menu as described above.
It worked fine after that.
SUMMARY
We are in the very beginning stages of practical support for HEVC. From an image quality point of view, there’s no real difference between H.264 and HEVC. So, for existing workflows, stay with H.264. H.264 is also supported by just about everything.
Where smaller file sizes are critical and you don’t need to reach the mass audience, HEVC can save download time. However, you need to allow plenty of extra time for compression.
If you plan to do lots of HEVC compression, my recommendation is to export a master file from FCP X, then compress the file separately using Compressor. This provides the fastest export from FCP X, with Compressor offering more controls over the exact compression settings for your file.

2,000 Video Training Titles
Edit smarter with Larry Jordan. Available in our store.
Access over 2,000 on-demand video editing courses. Become a member of our Video Training Library today!
Subscribe to Larry's FREE weekly newsletter and
save 10%
on your first purchase.

21 Responses to Configure Final Cut Pro X to Output HEVC (H.265)
← Older Comments-
 dada64 says:
August 30, 2019 at 10:08 pm
← Older CommentsI came across a weird import problem of a Quicktime export clip encoded in H.265. Your tip on changing the extension did the trick. Thanks!