 Keywords became useful with the 10.2 update to Final Cut Pro X. However, I’ve discovered that many users still don’t know how to use them. In looking back over my records, the last time I wrote about these was five years ago. So, let’s get up-to-date.
Keywords allow us to label a clip, or portion of a clip, so that we can find it when we need it again later; quickly, easily and with a great deal of specificity.
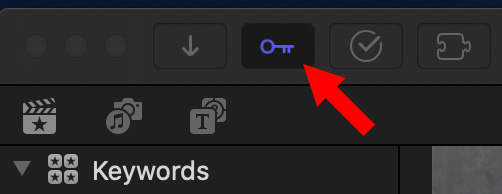
You access the Keywords menu by clicking the Key icon at the top left corner of the Final Cut interface (shortcut: Cmd + K).

This displays the keyword text entry box.
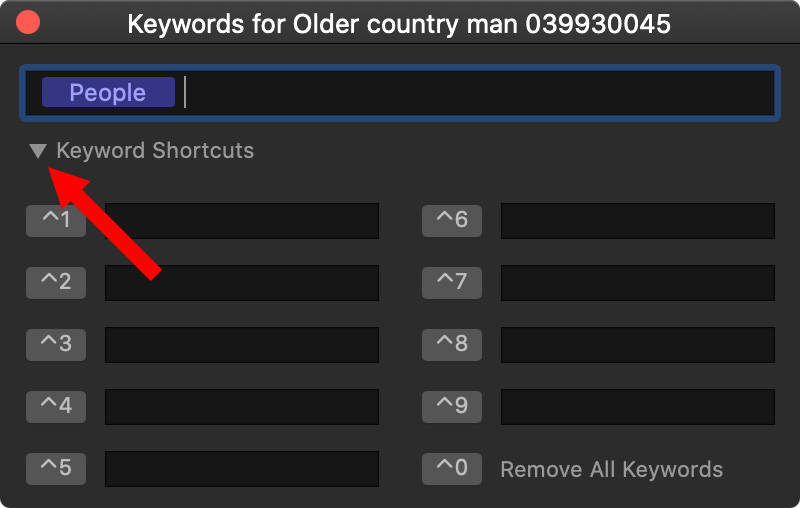
Twirl the arrow down to reveal up to nine presets – each with its own keyboard shortcut – for keywords that you use frequently. By default, these populate as you enter keywords, but you can change their contents at any time simply by typing in the text box you want to assign to that shortcut.
NOTE: To remove a keyword preset, highlight it and click the big Delete key (above the Return key). To remove keywords associated with a clip, click the icon next to Remove Keywords.
ADDING KEYWORDS

To add a keyword, select one or more clips to which you want to apply the keyword, open the Keyword window and enter the text you want to use. You can add multiple keywords to the selected clips by separating each word (or short phrase) with commas.
It is a good idea to keep keywords short, but you don’t need to make these so cryptic that you forget what they mean by the next day. Common punctuation is generally OK.
NOTE: I find it most useful to select multiple clips that need the same keyword and apply them all at once rather than applying keywords a single clip at a time.
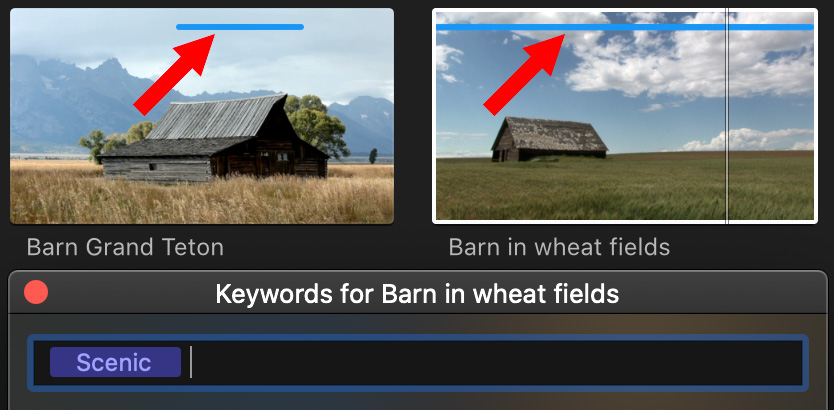
An especially useful feature of keywords is that you can apply them to a portion of a clip. This means you can use keywords, instead of adding clips into a timeline, to highlight your selects.
When a keyword is applied to a clip, or portion of a clip, a blue bar appears at the top of the clip in the Browser, as you can see in the screen shot above.
NOTE: When applying an existing keyword, you only need to type the first few letters and the rest of the word instantly appears.
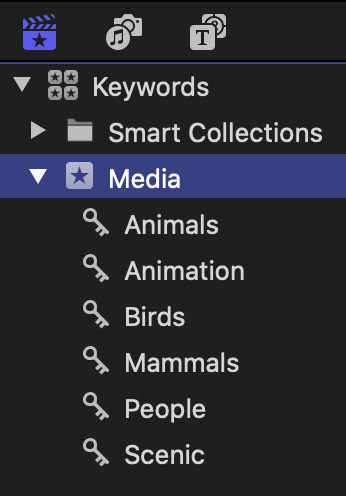
As you create keywords, they are listed in a “Keyword Collection” on the left side of the Browser interface.
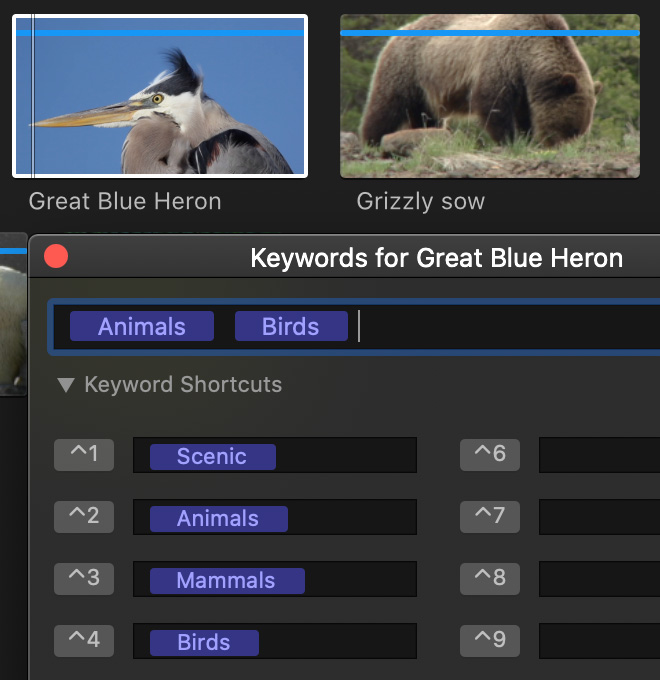
You can assign multiple keywords to the same clip, or range. Here, for example, I’ve assigned both “Animals” and “Birds”to the Great Blue Heron clip on the left; see how it is selected, but the bear clip is not.
NOTE: If you create keywords automatically during import, these will be applied to the entire clip and searchable just as any keywords you create manually.
QUICK SEARCH
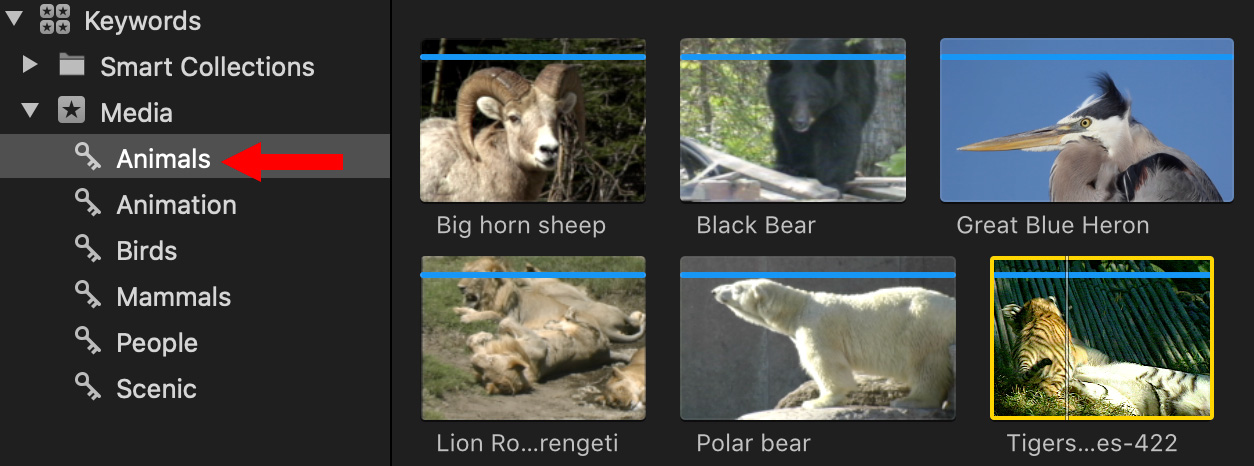
The fastest way to see all the clips, or ranges, matching a specific keyword is to click the Keyword Collection name on the left. Only those clips containing that keyword are displayed. (The rest are still in your Library, just hidden due to the search.)
To cancel the search, which allows you to see all your clips again, click the name of the Event holding the media.
NOTE: Quick Searches are specific to a single Event folder.
ADVANCED SEARCH

However, the real power of keywords becomes visible when you click the Magnifying Glass at the top of the interface, then the Search “clapper slate” that appears under it.
NOTE: To search all clips in a Library, select the Library name on the left before choosing this option.
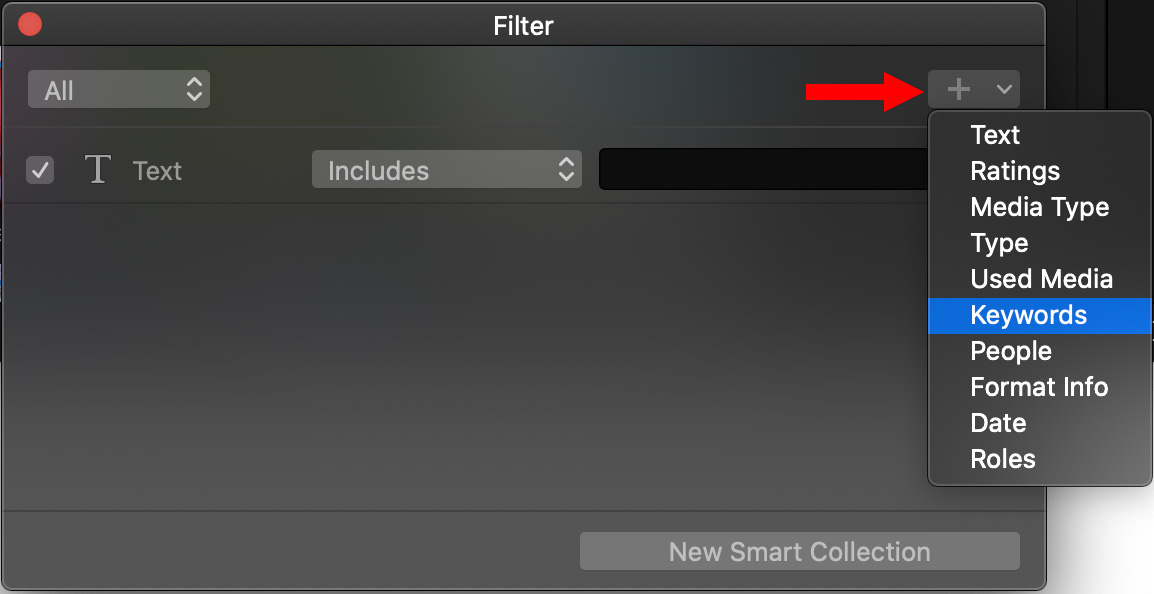
From the Plus icon in the top right corner, select Keywords. (This search menu allows you to search on multiple criteria – I’ll write more about this in a future article.)
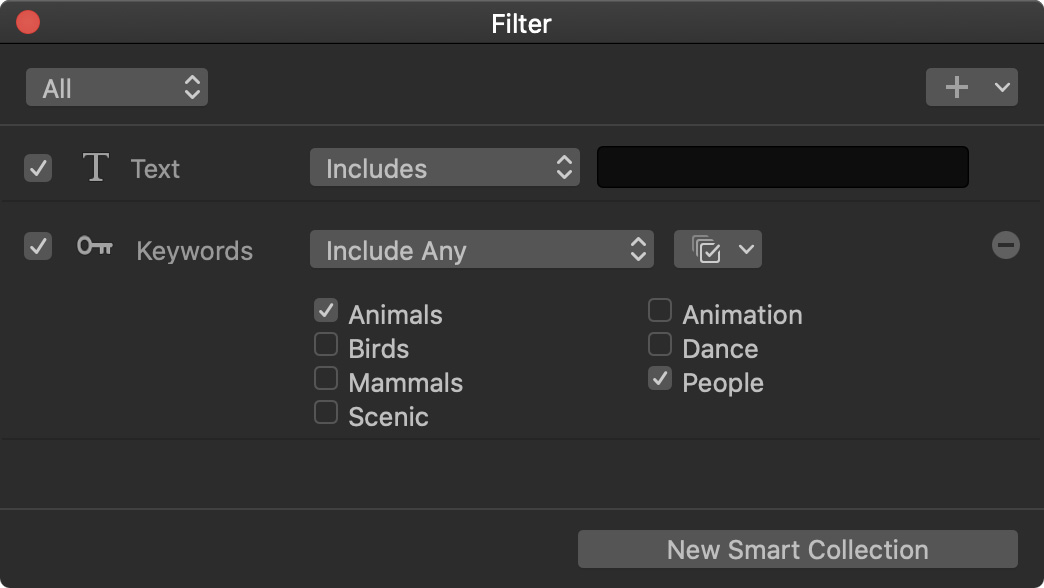
This Keyword filter window allows you to search on multiple keywords at the same time. For example, to find all clips that contain keywords for either People OR Animals, check those two categories. (The default search is a Boolean “or,” meaning Final Cut will look for “people” OR “animals” as keywords. That’s what the menu “Include Any” means.”)
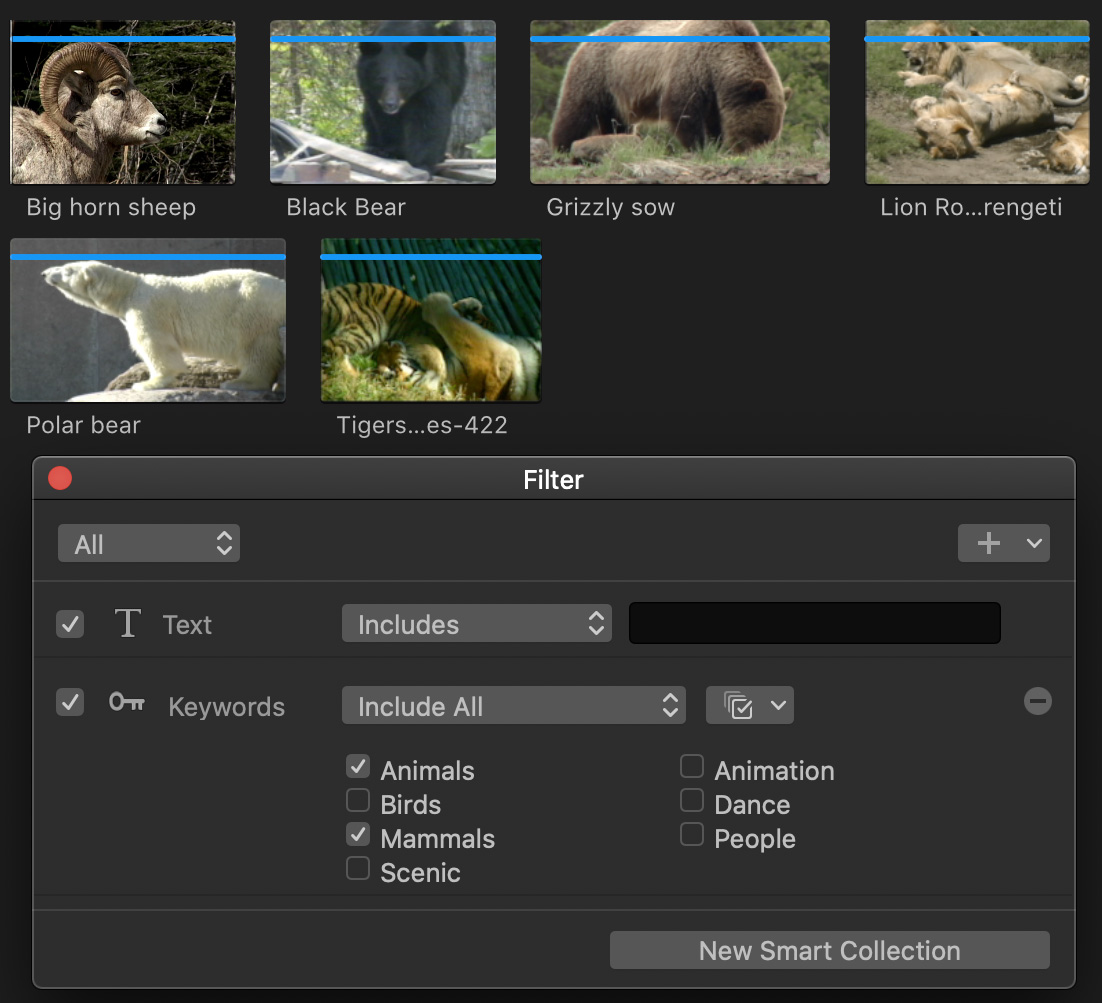
To get more specific, change “Include Any” to “Include All.” This means that only clips that contain Animals AND Mammals will be shown. In this screen shot, no birds or people are shown.
NOTE: What made keywords useable back with the 10.2 update is that this box containing keywords was able to be resized. This made working with lots of keywords, which is typical of longer projects, extremely useful.
Keywords are fast, flexible and, because they can include both ranges and clips, very granular when you need to track specific detail. I find myself using them even on smaller projects.
EXTRA CREDIT
![]()
If you have a search that you like, click New Smart Collection to save it.
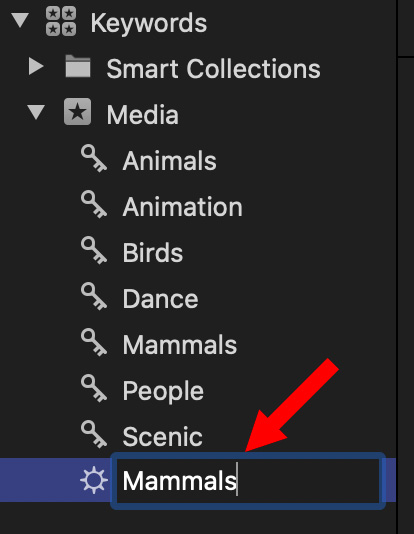
It appears as an Untitled search on the left which you can then rename, as I did here to “Mammals.” Smart Collections are dynamic, as you add new clips that meet its criteria, the search automatically updates.
2,000 Video Training Titles
Edit smarter with Larry Jordan. Available in our store.
Access over 2,000 on-demand video editing courses. Become a member of our Video Training Library today!
Subscribe to Larry's FREE weekly newsletter and
save 10%
on your first purchase.
4 Responses to Use Keywords to Find the Clips You Need in FCP
Hi Larry. I use keywords all of the time when do interview pieces. I also add notes in “comments”. The frustration I face is when I go to use Keywords the arrow doesn’t automatically twirl down so I have to select each clip and twirl the arrow down to see my notes. I see the note for the full clip, but not for the keyword part of the clip unless I twirl the arrow open. Does that make sense? If so, any solution?
Thank you.
Keywords are one of the most important features of FCP and sets it apart from other editing programs. I use them a lot! To separate A-roll (dialog) from B-roll.
For one client, I separate interviews, Narration, Cameras, stills, radio recordings with Keywords. I also have keywords for the same lines the People say so I can choose who says it best.
Favorites I reserve for b-roll.
Alan:
Another solid tip. Thanks!
Larry