 You know the drill: Someone got carried away making things “neat” and ran all your mic cables next to the power cables. Now you’ve got audio hum in all your scenes.
Adobe Audition has a great hum removal tool and, while it can be used by any NLE, it is easiest from inside Premiere.
GET STARTED

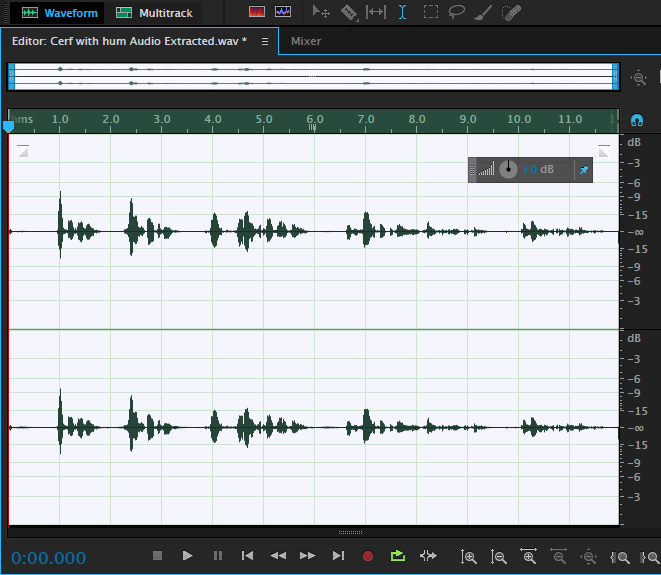
Here’s the offending clip. Buried in some very loud hum is our interview; the audio is so low that it barely peaks above the waveform.

Select the clip you want to fix in the Timeline and choose Edit > Edit in Adobe Audition > Clip.
NOTE: If you want to move your entire project to Audition, for example to do the final audio mix, select Edit > Edit in Adobe Audition > Sequence. Personally, I love the smooth integration between Audition and Premiere.
CLEAN IT UP
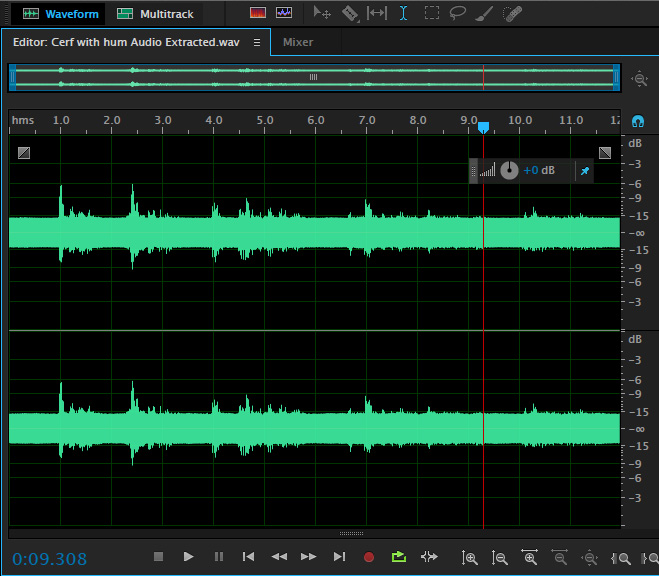
In just a second or so, the clip is displayed in Audition’s Waveform Editor. This is the perfect place to clean up a single clip because any changes you make are immediately saved into the clip. The Waveform Editor does what’s called “destructive” editing,” in that the changes are saved directly into the clip. (See the Summary below for the reason why this isn’t as bad as it sounds.)
NOTE: For final mixes or multiple clips, though, the Multitrack Editor is the better choice because it allows non-destructive editing, which means you can change your mind later without damaging the clip.
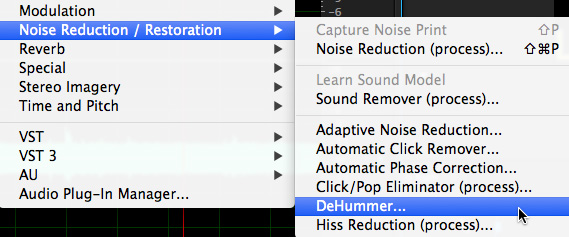
With the clip you want to correct open in the Waveform Editor, choose Effects > Noise Reduction/Restoration > DeHummer.
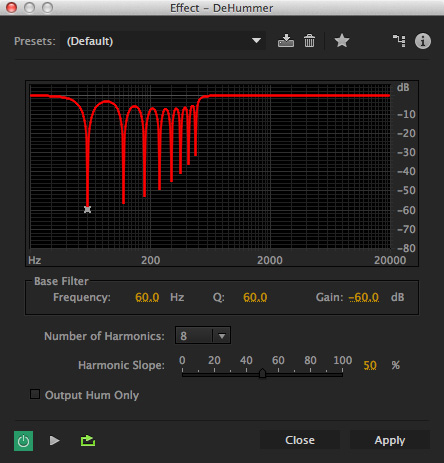
This opens the controls window for DeHummer.
Generally, there are only two settings here that you need to adjust:
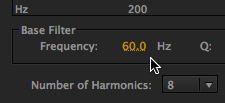
Set the frequency to match the frequency of your electrical power source. In North America, set this to 60 Hz. For most of the rest of the world, set this to 50 Hz.
However, most hum is not a pure tone centered on 60 Hz (or 50 Hz, depending). Most often, hum generates harmonics, which occur at mathematically precise intervals above the base frequency.
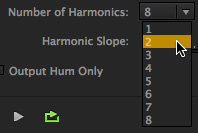
Change the number of harmonics to the smallest number that still eliminates the hum. The reason this helps is that not all hum fills all harmonics. If there is no harmonic hum, there is no reason to reduce the frequencies of these other sounds that exist at that harmonic frequency.
I’ve found that I can get good to excellent results by reducing the number of harmonics to between 1 and 3. However, your results will vary and each audio clip has the potential to be different.
When the settings are complete, click Apply in the lower right corner. Almost immediately the hum is gone and you can clearly hear the dialog that was damaged by the hum.
GET IT BACK
To return the cleaned-up file back to Premiere is fast and easy. Choose File > Save.

Switch back to Premiere and the old clip is instantly updated with the new, cleaned-up clip.
SUMMARY
In addition to its speed and simplicity, this round-trip clean-up has one more benefit: It does not alter the original source file. Instead, Premiere creates a copy of the source file (called an “extracted” file) and sends that copied file to Audition for repair.
This means that if you ever need to access the original media, you still can.
EXTRA CREDIT
You can use this technique to remove hum from any clip edited in any NLE. The only change is that you need to import the clip manually into Audition, clean it up, save it, then import the cleaned-up clip back into your NLE.
2,000 Video Training Titles
Edit smarter with Larry Jordan. Available in our store.
Access over 2,000 on-demand video editing courses. Become a member of our Video Training Library today!
Subscribe to Larry's FREE weekly newsletter and
save 10%
on your first purchase.
3 Responses to Adobe Audition: Remove Hum
[…] hums and background noise, so I followed two tutorials on how to remove background noises and hums in Audition to clean up the audio before adding it to my video […]
How am I supposed to instruct Audacity to identiy noise profile and then reduce hum when there aren’t 15 seconds worth of silence in a recording?
Irinea:
Good question. Contact the folks at Audacity and see what they say.
Larry