 Motion has a full range of lights and, more importantly, lighting presets that can add drama and visual interest to any scene – especially one that involves 3D objects. The only problem is that, by default, Motion leaves the “house lights” on, which pretty much washes out any drama created by your custom lighting.
Let me show you how to add dramatic lighting to your project.
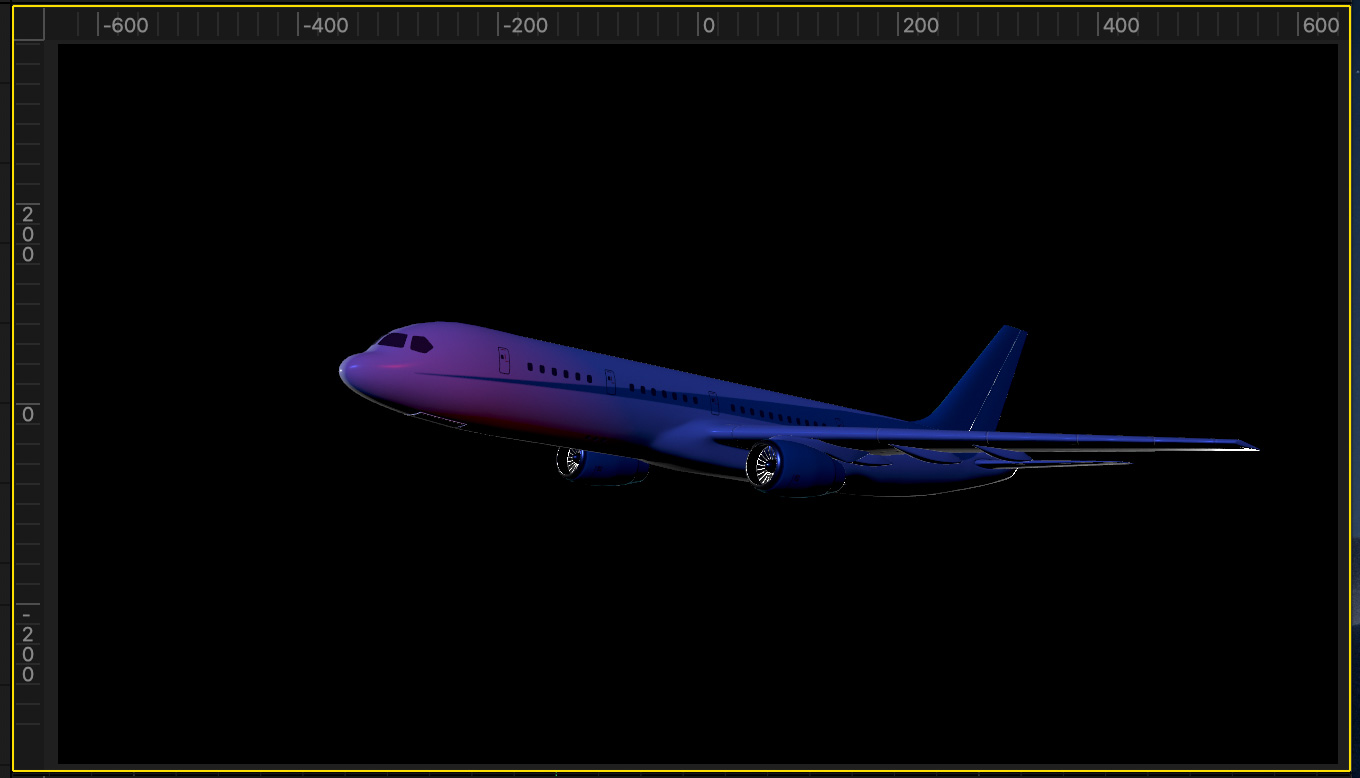
Before we start, here’s where we are going!
ADD THE ELEMENT TO LIGHT
Just as in live production, before you can light anything, you first need figure out what it is you are lighting. In this example, I’ll light one of the new 3D objects.
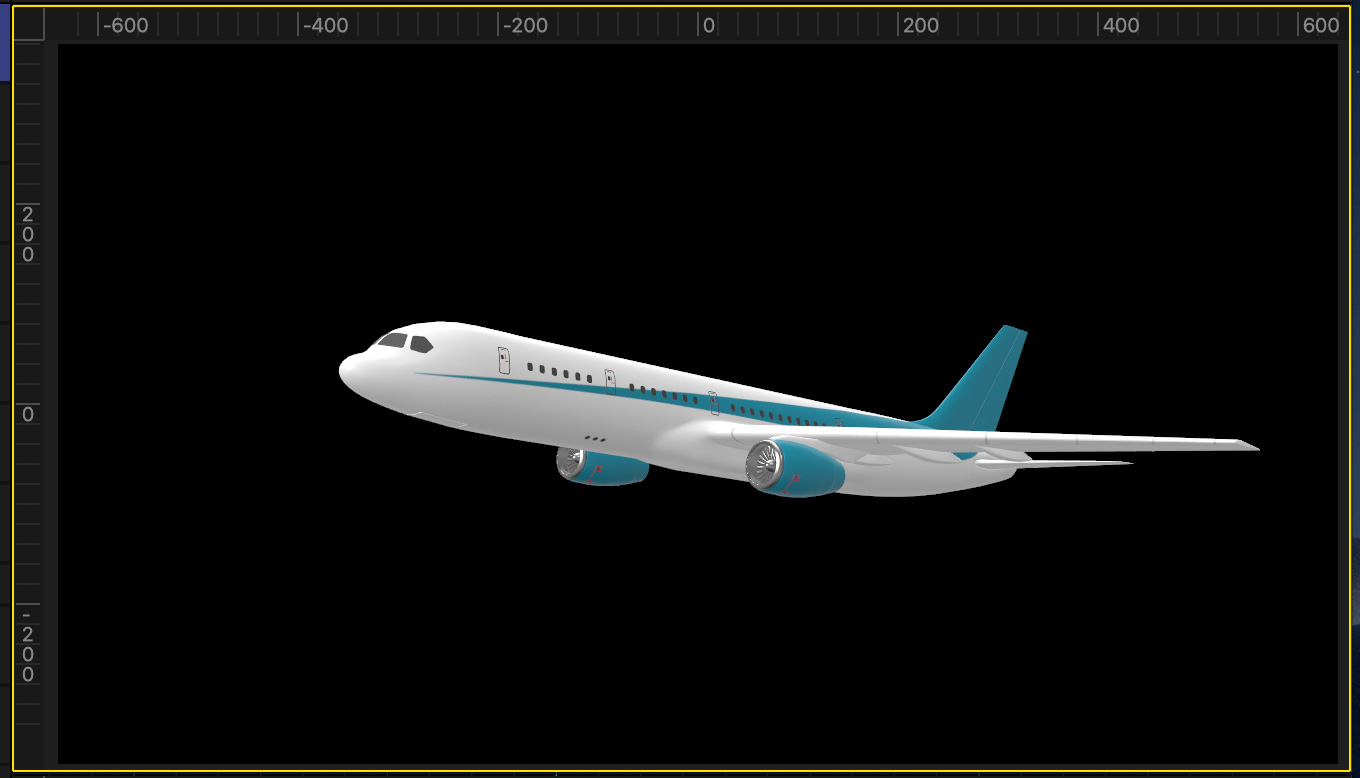
Start by adding a 3D object to your project. For this example, I’m using Library > 3D Objects > Airplane because is it mostly white, which reflects light well and has an interesting, non-geometric, shape.
NOTE: You can, of course, work with 2D video and other elements. 3D objects are just more fun.
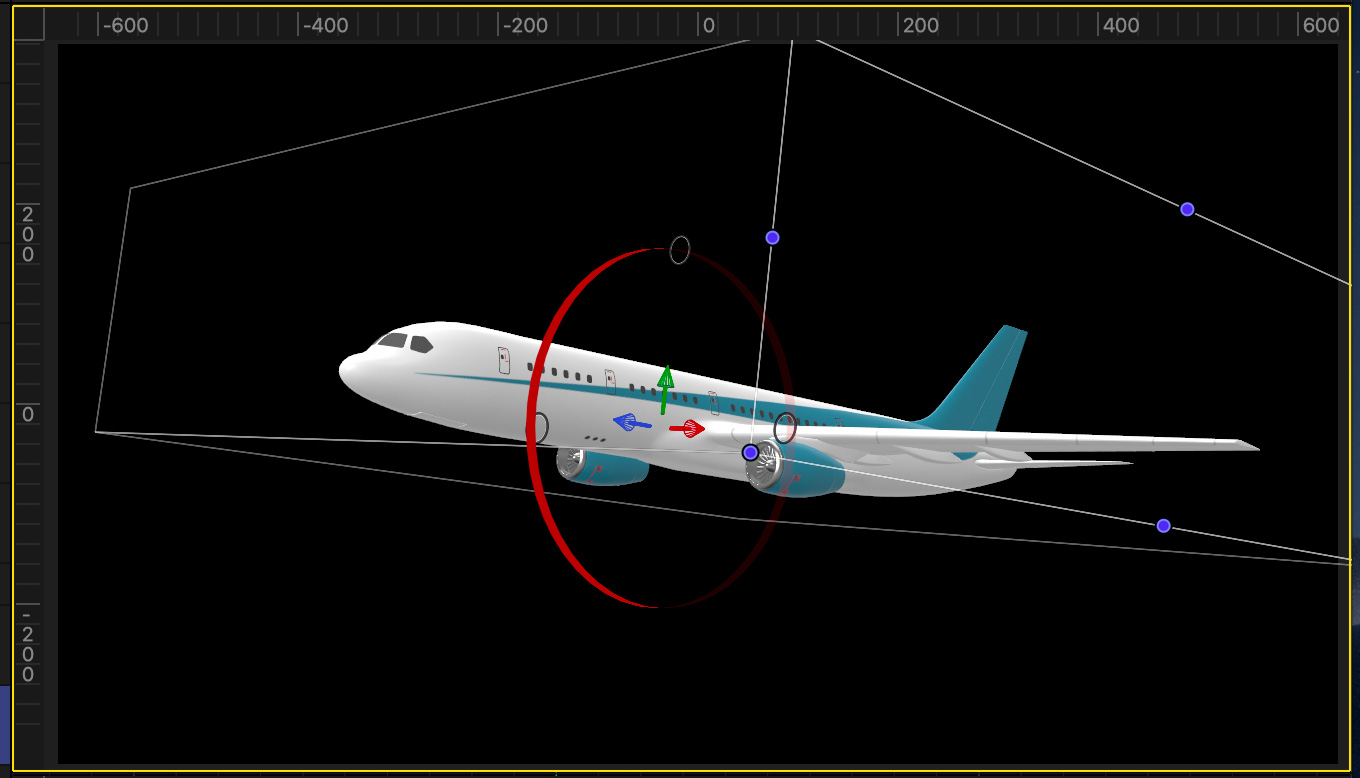
Select the Airplane in the Layers panel, then, using the 3D Transform tool (Shortcut: Q), position the plane as you want.
ADD THE LIGHTS
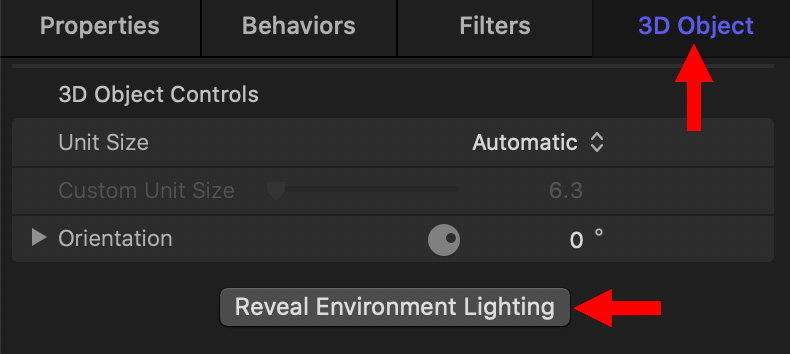
Again, just as in live production, we need to turn off the “house,” or room lights, in order to see the results of our own lighting. To do this in Motion, select the 3D object in the Layers panel.
Then, go to Inspector > 3D Object and click the Reveal Environment Lighting button.

Scroll down toward the bottom – the Rendering section – and drag the 3D Object Environment slider to 0.
Oh, dear! The 3D object disappeared. Not to panic. It’s still there – you just turned the lights out. (If you get scared in the dark, set this to around 5. This gives you enough light to see the object. You can always remove this light later.)
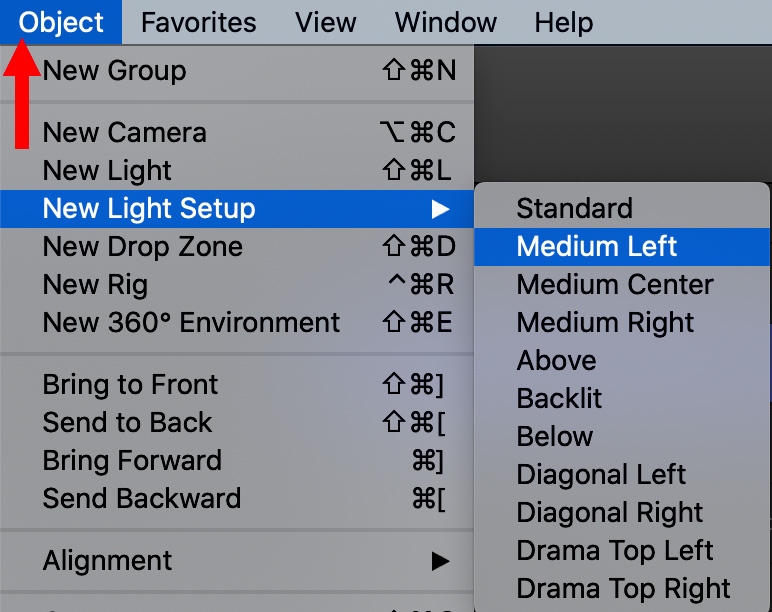
Now, add a light setup. In this example, I used Medium Left, but you can use whatever setup you like: Object > New Light Setup > Medium Left.
NOTE: You can always add individual lights, but a lighting setup adds multiple lights in correct positions all at once, while still leaving each light fully adjustable.

When you add lights to a 2D project, this warning appears, because lights and cameras can only be added to 3D projects. Go ahead and switch your project to 3D. Nothing will change – except the spatial environment for both lights and cameras.
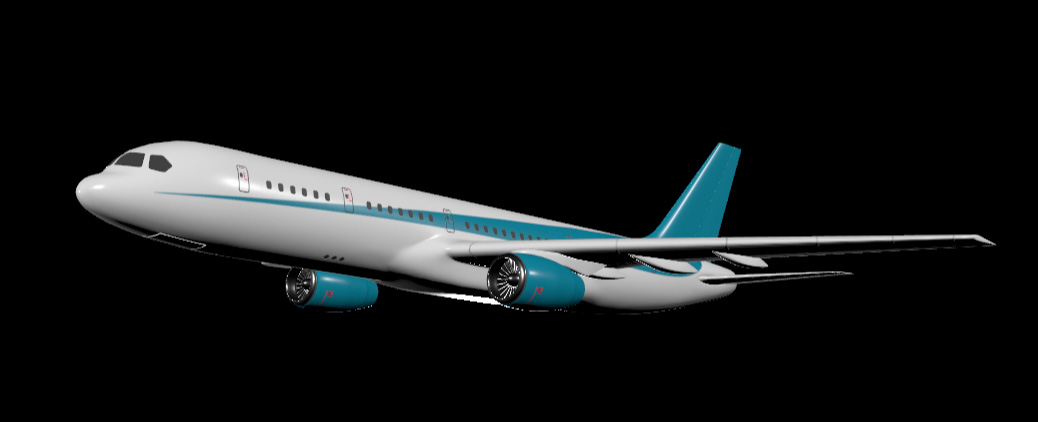
Here’s what the plane looks like with the Medium Left lighting setup at default settings, and the environmental lights turned off. This is better than flat lighting – by a lot. But we can do a lot more.
ADJUST THE LIGHTS
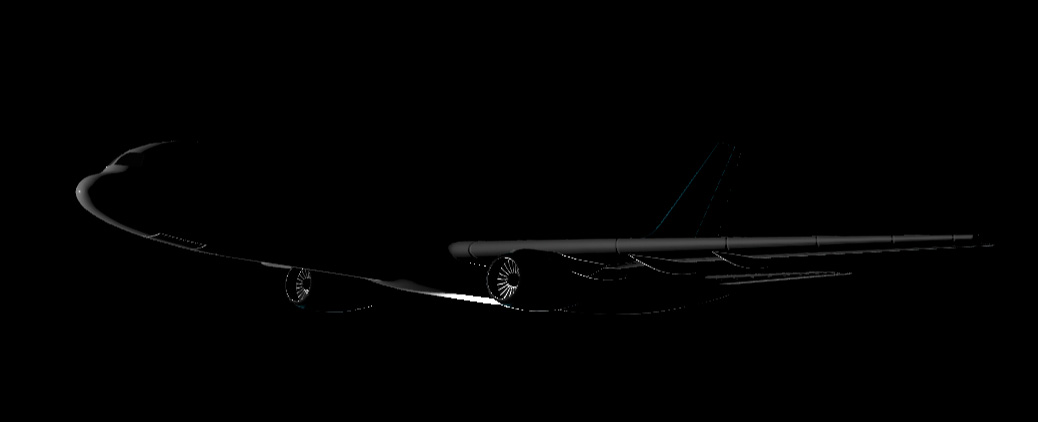
Four lights were added:
In the screen shot above, I turned off Fill Right and Key Light. The two remaining lights provide depth and dimensionality to the 3D object.
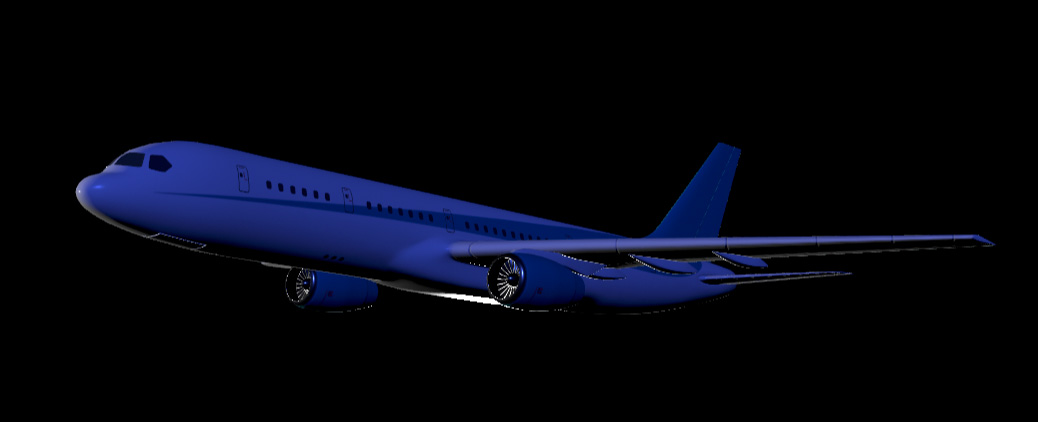
Enable (check) the Key Front light, then select it in the Layers panel.
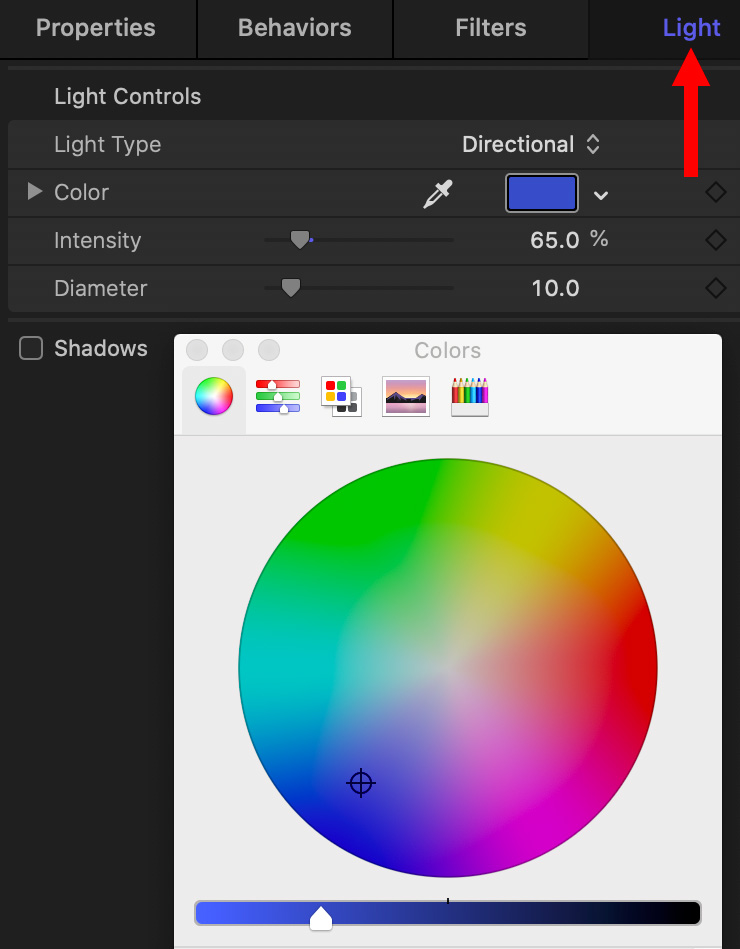
Go to Inspector > Light and adjust the color to get an effect you like. For me, I wanted the feeling of the plane flying at night, so I went with a dark blue.
All I did in this menu was to change the color of the light.
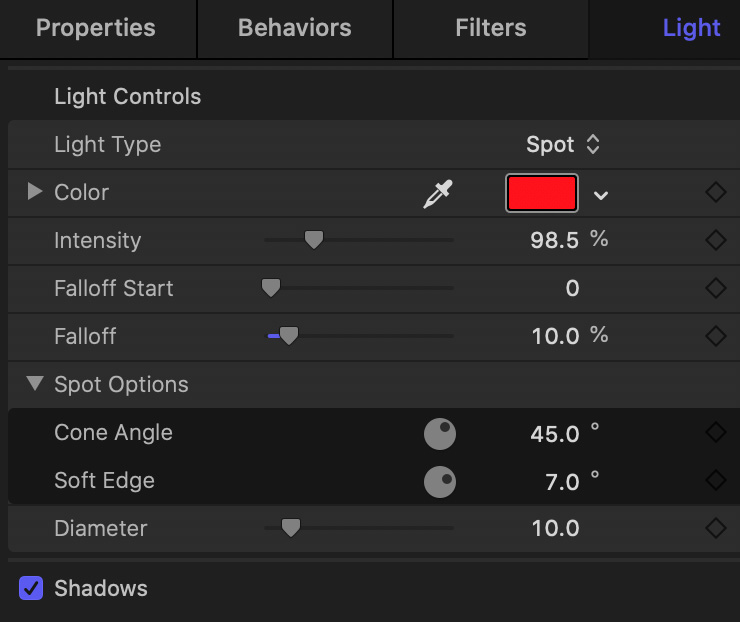
Finally, let’s add a color accent. Enable and select the Fill Right light. Here I changed a number of settings, the three most important are:
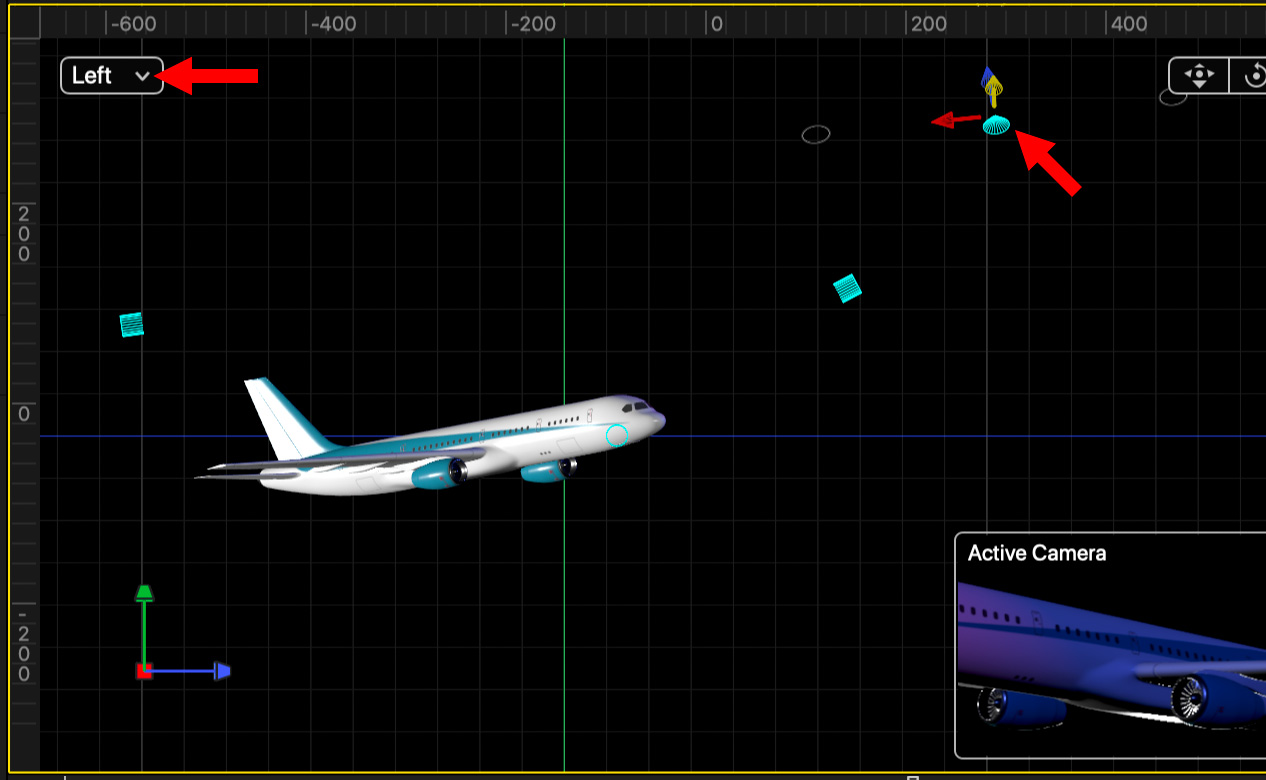
Then, I switched the View to Left so that I could see the position of the light in space (right red arrow). Using the 3D Transform tool, I moved the light around until it gently lit the nose of the plane.
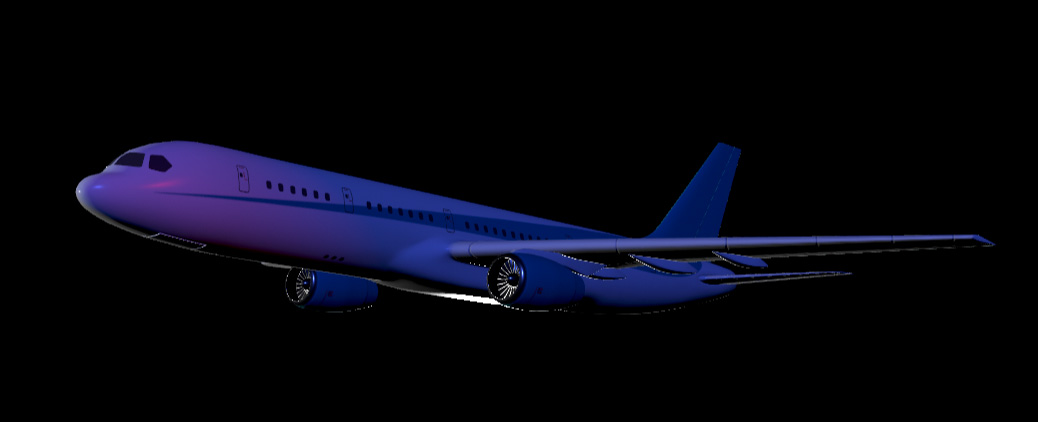
Which, if you ask me, is a pretty darn cool effect.
EXTRA CREDIT
Every light can be animated with Behaviors or keyframes, including colors. As well, the camera can be animated as well.
2,000 Video Training Titles
Edit smarter with Larry Jordan. Available in our store.
Access over 2,000 on-demand video editing courses. Become a member of our Video Training Library today!
Subscribe to Larry's FREE weekly newsletter and
save 10%
on your first purchase.