 One of the goals in the latest updates to Adobe’s Creative Cloud software is to move access to tools in other applications into Premiere Pro.
NOTE: Here’s a webinar I recently presented covering all the latest features in this update.
One of the more intriguing is the Convolution Reverb effect. What this does is allow you to copy the reverb characteristics of one audio file into another audio file. One example of this might be when recording audio in an ADR booth – which has a very tight, dead sound – to match that to audio recorded in a gym, which has a very live reverberant sound. Or matching audio recorded on a green stage to the sounds of, say, a cavern.
This makes this a very useful tool for ADR, green screen and re-recording work.
GET AN IMPULSE
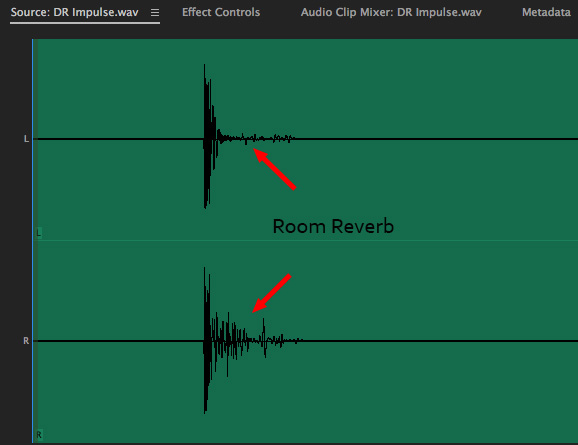
First, you need to record an “impulse” sound of the room who’s reverberation you want to apply to other audio clips. This screen shot illustrates that impulse files are short – 2-5 seconds – with a sharp sound near the beginning and plenty of tail to record all the reverb.
NOTE: This technique only works with mono and stereo files. My recommendation is to record impulse files both as mono and stereo.
The easiest way to do this is to record a hand-clap, or other sharp sound, that is loud enough to create reverb within the space. You want to record this using the best mics and highest audio quality you can afford. At a minimum I would recommend 48 kHZ sampling, 16-bit depth saved as a WAV or AIF file. While higher bit rates are desirable, recording in 24- or 32-bit depth will better capture the sound of the room.
This impulse file now becomes the input for this effect. Clearly label it, because you can reuse these as many times as you want.
BIG NOTE: An impulse file matches reverb, which is not the same as room tone. It is still a GREAT idea to record a minute’s worth of room tone at the same time as you record an impulse file. This provides maximum flexibility to shape the sound during the final audio mix.
CREATE THE EFFECT
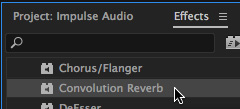
In Premiere, go to Effects > Audio Effects and drag the Convolution Reverb effect on top of the clip, or clips, who’s audio characteristics you want to change.
NOTE: You can also use this as a mixer effect in Premiere.
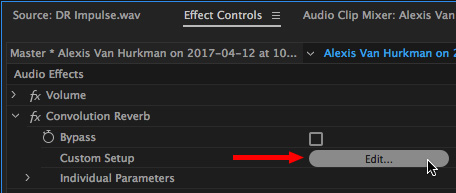
Select the clip, then, in Effect Controls click the Edit button inside the Convolution Reverb effect. This opens the effect interface.
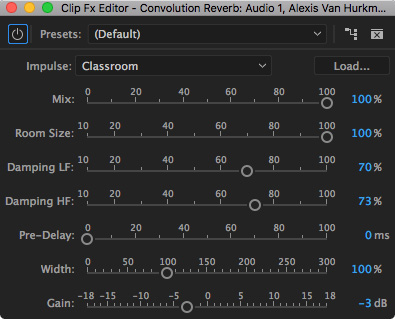
DON’T PANIC!
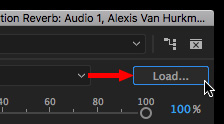
Click the Load button in the top right corner and select the Impulse file stored on your hard disk, NOT inside the Project folder, that you want to apply to the effect.
Then, and this is the creative part, drag the sliders until your reverb sounds the way you want. As a starting suggestion, I recommend:
SUMMARY
You can find many impulse files on the web using a Google search – though not all will be in a format supported by Audition.
This is a great technique to match the “sound” of a room. And, once you start to play with this effect, you’ll discover all kinds of interesting things you can do with it. Create the room interior of the next Martian explorer en route to the red planet, anyone?
2,000 Video Training Titles
Edit smarter with Larry Jordan. Available in our store.
Access over 2,000 on-demand video editing courses. Become a member of our Video Training Library today!
Subscribe to Larry's FREE weekly newsletter and
save 10%
on your first purchase.
One Response to Adobe Premiere Pro: Match the “Sound” of a Room
Thank you very much. Your article was very helpful for me.