 Final Cut Pro is designed to fit the entire interface on a singe monitor, from a 13″ MacBook Pro to a 27″ iMac. Unlike Premiere, you can’t move interface elements to different positions on the screen.
Still, there are lots of hidden interface options in the application. Here are about two dozen hidden interface goodies. See how many of these you already know.
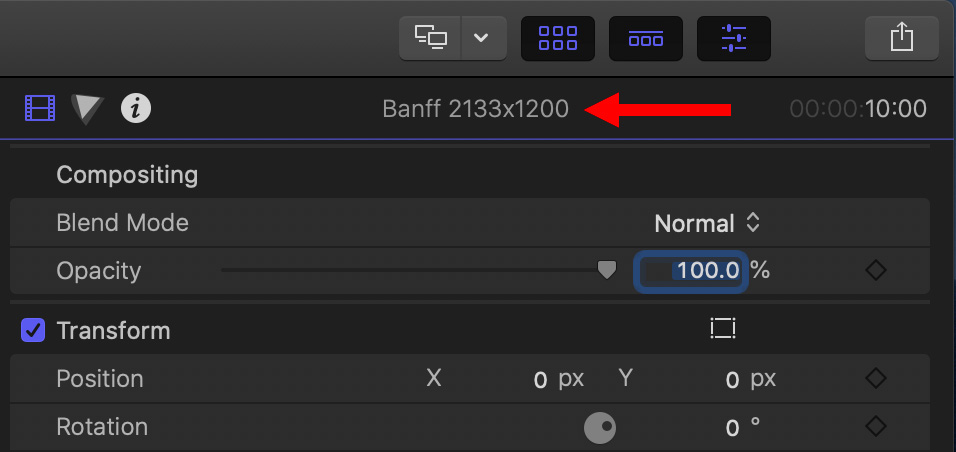
Open the Inspector (Shortcut: Cmd + 4). Then, double-click the file name at the top of the Inspector. This toggles the display from half-height to full-height or back.
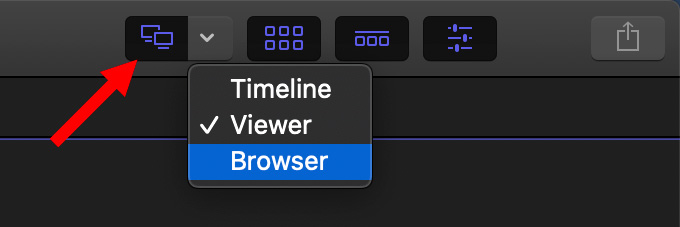
If you have two computer monitors connected to your system, this icon appears. Click it and the selected option in the down-pointing arrow will appear on your second monitor.
NOTE: I’m a happy user of an LG HDR 4K 27″ monitor. Here’s a review.
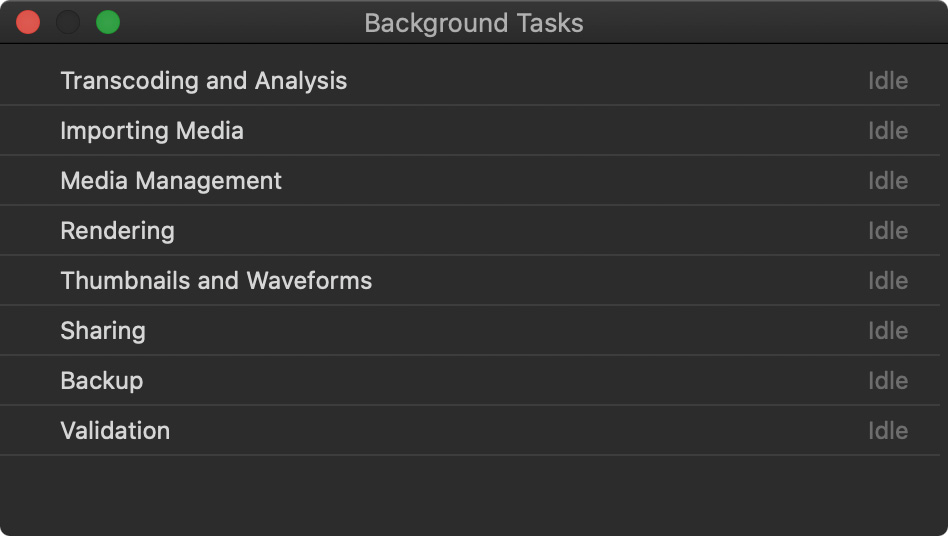
(Floating Background Tasks window)
There are three floating interface elements in Final Cut, which can be moved wherever you need. These are:

(Floating source timecode window)
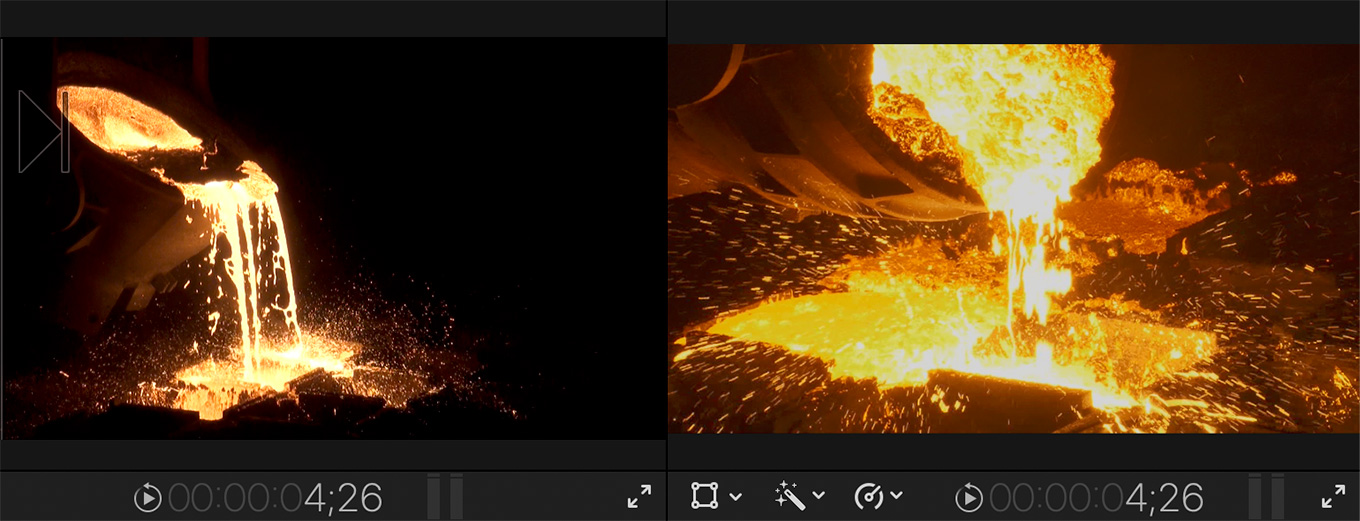
If you have a large enough monitor, enable the Event Viewer (Shortcut: Control + Cmd + 3). This displays whatever clip is selected in the Browser and provides a way to compare the Browser clip with the Timeline clip. (Drag the vertical dividing line between the two monitors to change the image size.)
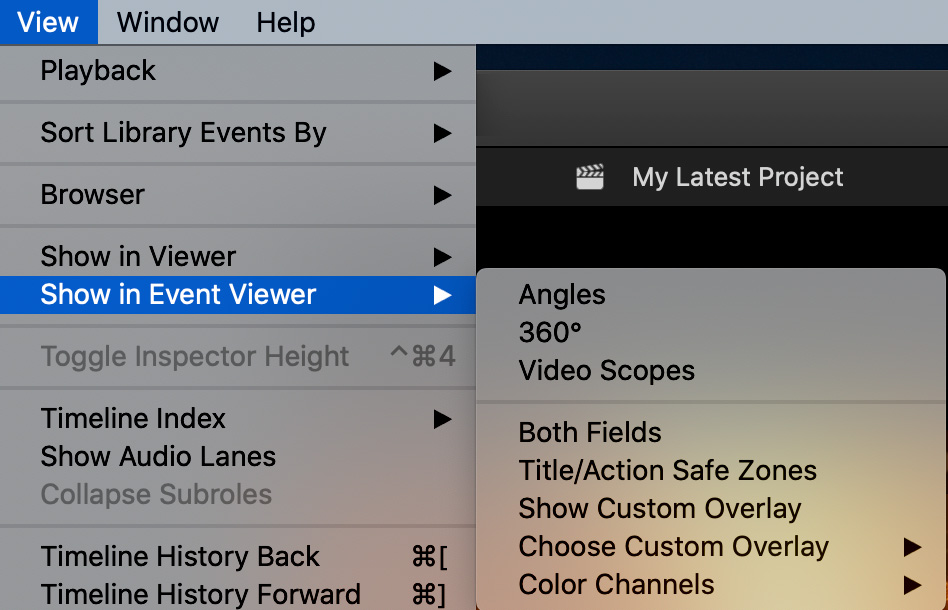
Just as you have display options for the Viewer, you also have options for the Event Viewer. The one I find most useful is custom overlays. Go to View > Show in Event Monitor to see your choices.
NOTE: Here’s a tutorial on how custom overlays work.
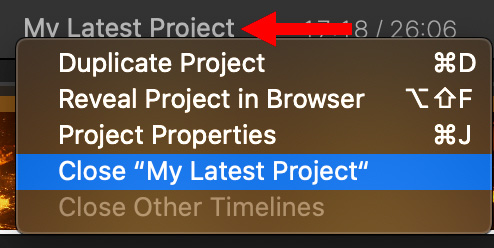
Click the name of the project in the top center of the Timeline to reveal more project options.
NOTE: Don’t use this to duplicate a project. Instead, use Edit > Snapshot Project.
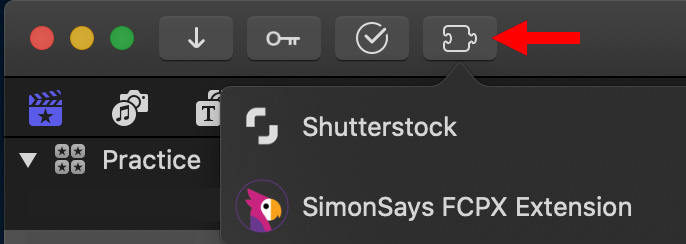
There are a variety of extension plug-ins for Final Cut. When you install at least one, this icon appears. Click it to display that particular extension.
NOTE: Here’s a tutorial on FCP extensions.
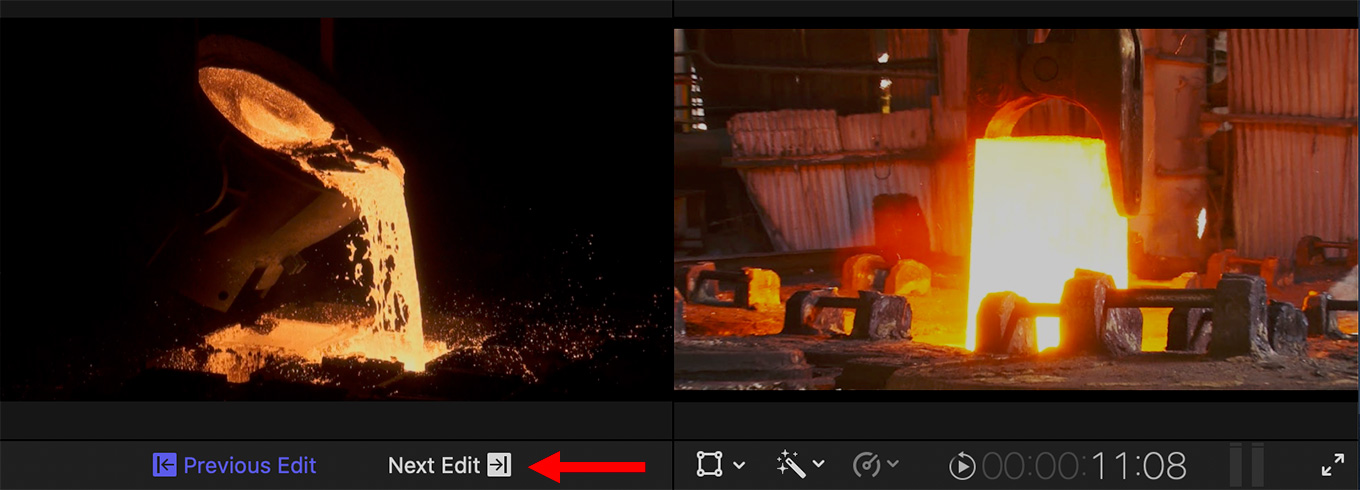
The Comparison view (Shortcut: Control + Cmd + 6) compares the image under the playhead with the Out of the previous clip or the In of the next clip. This is especially useful for smoothing the color grade between shots.
NOTE: Here’s a tutorial on how to use Comparison View.

The Timeline History arrows (Shortcuts: Cmd + [ -or- Cmd + ] ) quickly switch the open project in the timeline to one you opened earlier or later than the current project. Click and hold one of the arrows to see a list of recently opened projects.
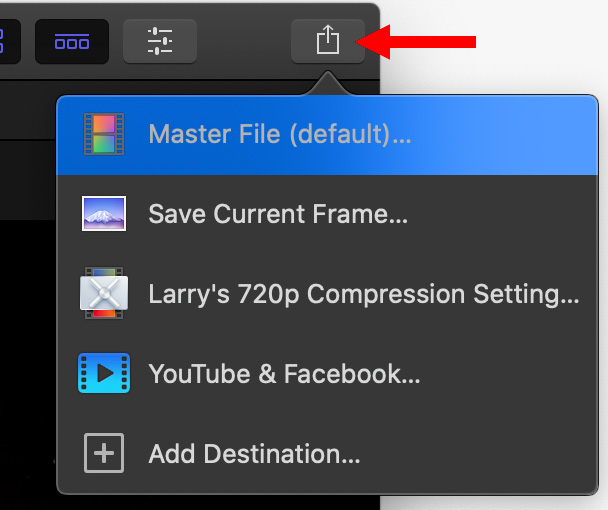
The Share icon, in the top right corner of the Final Cut interface, is a fast way to export a project.
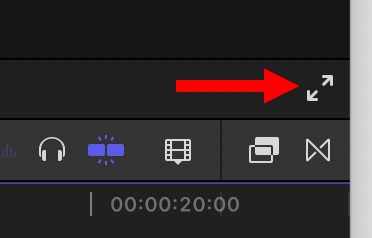
These double-arrow icons are a fast way to expand the Viewer to full-screen. Press ESC to return to normal.

Click this down-pointing arrow, next to the editing icons, to switch between editing audio and video, just video, or just audio.
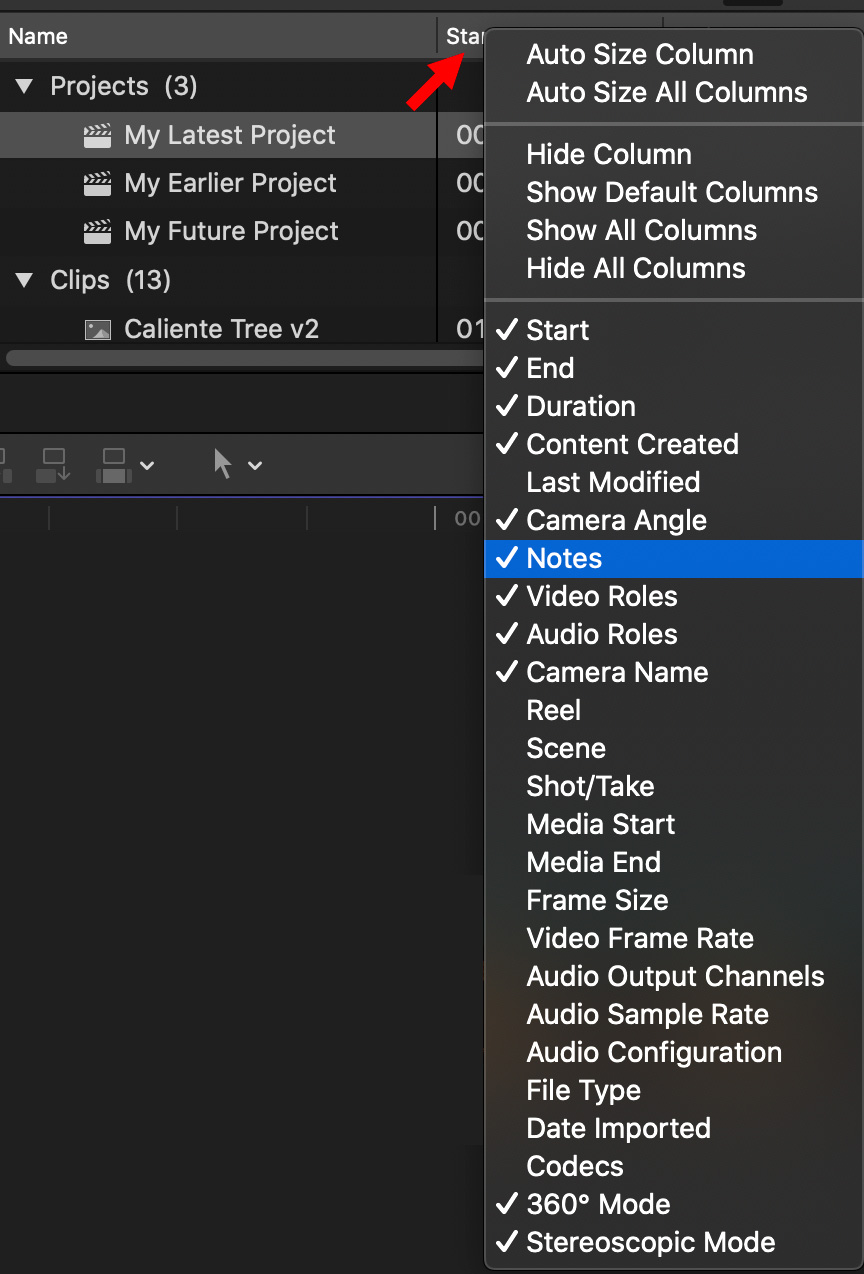
When in list view in the Browser, Control-click any column header except the Name column, to reveal other metadata options to display in the Browser. Like a spreadsheet, drag any column header left or right to change its location.
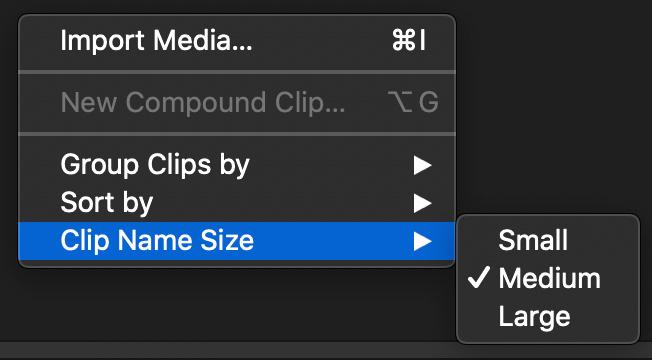
Control-click anywhere inside the Browser to reveal a variety of display options for clips in the Browser.
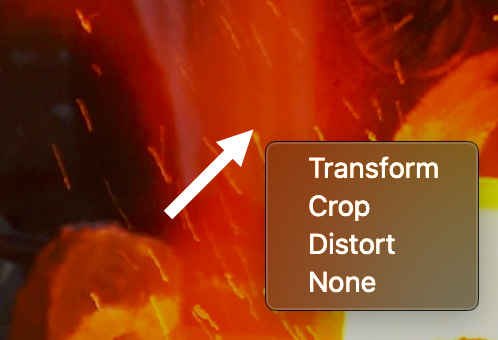
Control-click anywhere in the Viewer to reveal a faster way to access Inspector controls.
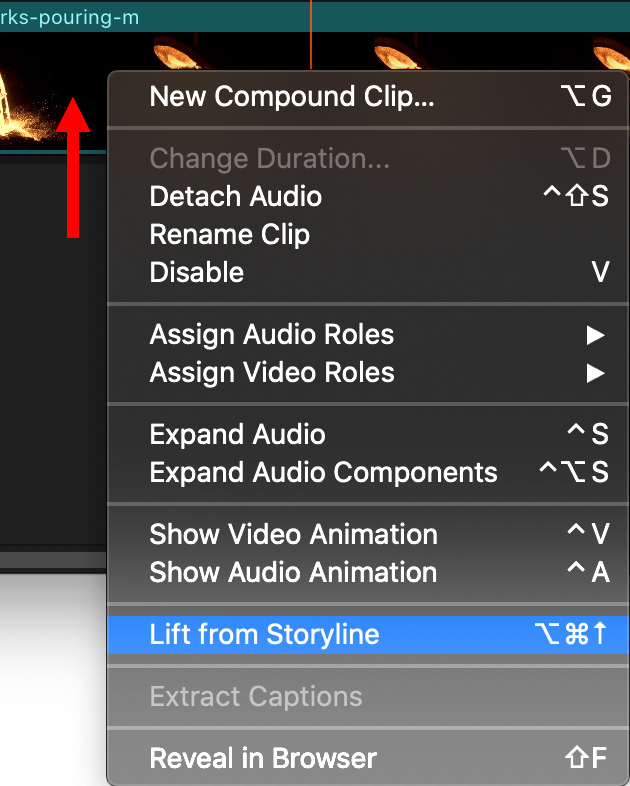
Control-click any clip in the Timeline to reveal more clip options.
EXTRA CREDIT
Apple has scattered interface options throughout Final Cut. Share your favorites, or latest discoveries, in the comments.
7 Responses to Final Cut Pro: Hidden Interface Secrets
Good stuff, Larry! Many of these I knew and use, but some I had forgotten about or never realized where an option! Tips like these are often some of the most helpful…thanks for keeping us in-the-know!
Here are two keyboard shortcuts which I just recently found which selects clips up or down. Really useful for the 3D videos I am currently editing.
Select the clip above the current timeline selection at the skimmer or playhead location
Command ⌘-Up Arrow
Select the clip below the current timeline selection at the skimmer or playhead location
Command ⌘-Down Arrow
Bruce:
Cool! Thanks.
Larry
Thank you Larry, I eagerly await your newsletter each week as it always contains something of interest and these tips are an example. Brilliant.
Cliff:
Yay! I’m glad you enjoy them.
Larry
Filter HUD (New Library Collection)
Dhas:
I’m not sure what you are referring to. Would you please explain a bit more?
Larry