
[jwplayer api_key="kbBMBJTjKc9WLL2/3VpmkSznwdzzqjAKHc08xw==" file="https://d900066ubkwab.cloudfront.net/Webinar196_FCPX_Color.mp4?Expires=1784646482&Key-Pair-Id=APKAIKDB332HYGG7URHA&Signature=JhbcSMgo2C3Cf8XPIYmuZzYonSUsUEsRluIJS8VIptBNpG3xHIJSiN1NF7dmrsDAwfxuQ9vmP9VHAv0tZVczf6PRyDTKvIGhDj2ACKEXygYTCL2UFH60nje0EumC5sIGYAHdgtALKJb59RdMo2AWUJ5yDAVB05W74Yoiom6Ax2U_" tracks='{ "file": "https://dev.larryjordan.com/videos_subtitle/", "label": "English", "kind": "captions", "default": true }' height="360" width="640" controls="true" playbackratecontrols="true"]
COURSE DESCRIPTION
Your edit is done. Now its time to make your images look “perfect.” That’s where color correction and grading come in. In this week’s presentation, Larry Jordan offers an overview of the color tools inside Final Cut Pro X that can help you make your images look great.
In this session, you’ll learn:
If color is a mystery to you, or the only color tool you know is the automatic color corrector, then this presentation can change your life. Learn how the color tools work in Final Cut and you’ll never be embarrassed by your images again.
AUDIENCE LEVEL
This intermediate-level course is designed for editors with a basic knowledge of Final Cut Pro X. Color correction experience is not required. (This session is delivered as a QuickTime movie.)
SPECIAL FEATURE
To help you quickly find the information you need, we included chapter markers in the downloaded QuickTime movie for easy navigation. Click here to learn how to display them in your download.
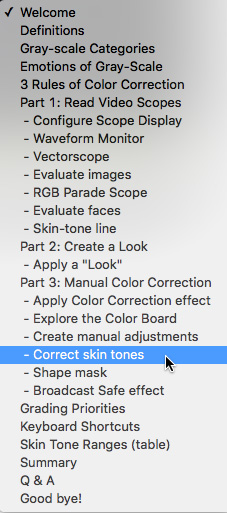
CONTENT OUTLINE
Orientation
Part 1: Use Video Scopes to Evaluate Images
Part 2: Create a “Look”
Part 3: Manual Color Correction
Wrap-up

