
![]() I thought it would be fun to create an animated holiday greeting. Now, the cynical amongst us might say that I should have done this a month ago. But, I was too busy.
I thought it would be fun to create an animated holiday greeting. Now, the cynical amongst us might say that I should have done this a month ago. But, I was too busy.
Besides, today is Christmas eve. It’s the perfect time.
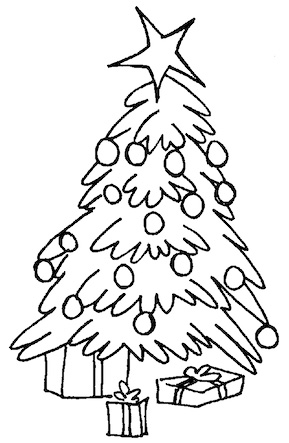
Here’s my starting image.

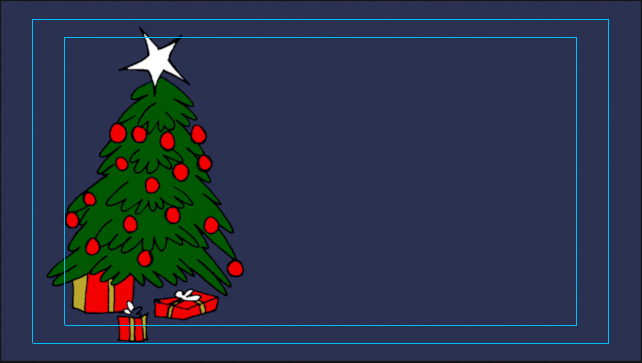
After a little coloring work in Photoshop, it looks like this. (Um, I’m pretty good at this paint-by-numbers stuff.)
There are three layers: dark background, tree and presents, and the star. While we could make anything on the tree twinkle, I’ll focus on the star.
Here we are in Motion. I imported this as “All Layers” so each Photoshop layer is separate.
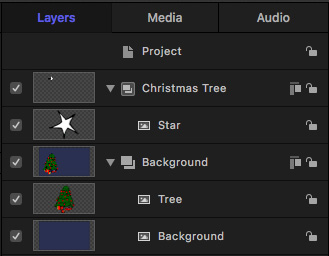
Here’s what the Layers panel looks like. I renamed the groups and, as I don’t need to change the tree or background, they are grouped in a single folder. Notice that I left the star as a separate layer. This allows me to modify animation settings for the star without affecting the rest of the image.

Next, I added two filters:

Because Glow is on top (first), it takes its values from the white of the star itself. Then, Colorize remaps white to any color we choose. I liked a lighter blue.
ADD SIMPLE ANIMATION
Well, it’s been about 45 minutes since I wrote that subhead. I’ve, ah, been playing. So, here’s where I am now. I selected the star and:
Next, I want to animate the color of the light, as well as the movement of the streaks radiating from the star. To do that, we are going to use a very powerful and very hidden feature of Motion: Parameter Behaviors. These are enormously fun to play with, once you know where they are lurking.
ANIMATE A PARAMETER
The first thing we’ll animate is the number of streaks that Glint is generating. So, select Glint in the Layers panel.


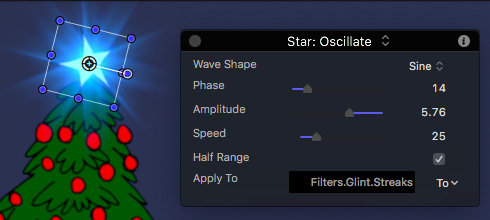
Here are the settings I used, but the best thing is to drag these settings around and see what works for you.
As you play the clip, the star rotates (Spin), while the streaks vary in size and number.
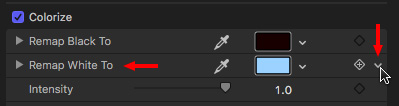
Finally, let’s vary the color of the star. Go to Inspector > Filters > Colorize and click the downward pointing arrow to the far right of the words “Remap White To.”
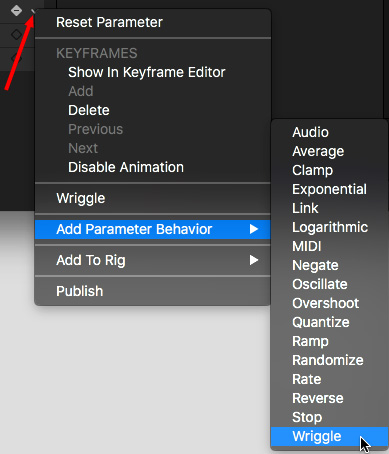
Then choose Wriggle.
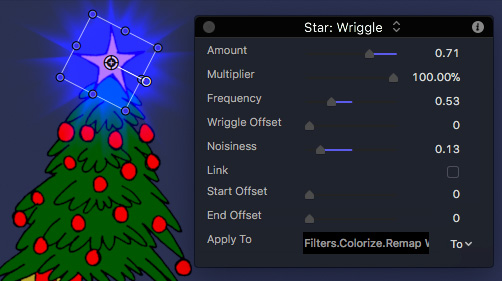
Here are the settings I used, however, as before, feel free to choose your own. I also changed the blend mode to Add and Subtract in the Inspector panel for this behavior.
ADD TEXT
The last step is to add appropriate text and we’re done.

Here’s the finished video. (Oh, yeah, I added some snow and blended it with the background using Screen.)
EXTRA CREDIT
Also, as a present from me to you, here’s a zip file of the Motion project, elements and settings, so you can play with this on your own. In the Motion project, I added snow. It seemed to fit.
Click here. Happy Holidays!

2,000 Video Training Titles
Edit smarter with Larry Jordan. Available in our store.
Access over 2,000 on-demand video editing courses. Become a member of our Video Training Library today!
Subscribe to Larry's FREE weekly newsletter and
save 10%
on your first purchase.
5 Responses to Motion 5: An Animated Holiday Greeting
Thanks, Larry. And thanks for all the great advise and tips, you had for us during the year. Happy Holidays to you too, and all the best for 2018!!
Very nice!
One question: where did you get the star? The one I found in Motion is different, no so cartoony.
Philip:
I extracted it from the original drawing using Photoshop, and included it in the Media folder with the rest of the downloads.
Larry
Thank you for taking the time to do that Larry. Your time and patience spent guiding us newbie nerds is much appreciated. Best regards, and have a happy and everlasting New Year. Barrie Furminger.
I followed it and enjoyed it very much . Thank you Larry !