 This tutorial sprang from a question that Tiberio asked:
I have a frustrating dilemma that has prolonged the editing of a recent stylistic Zoom chat. There are times I make a crop, but then I want to trim from there to make a Zoom window. FCP X does not allow this – if trim is selected after the crop, the image shrinks and it requires resizing to fit into place. I guess nobody anticipated making these kinds of Zoom videos, but it would be great if there were an easier solution.
There is a much easier solution – and provides a great deal of flexibility. Let me show you.
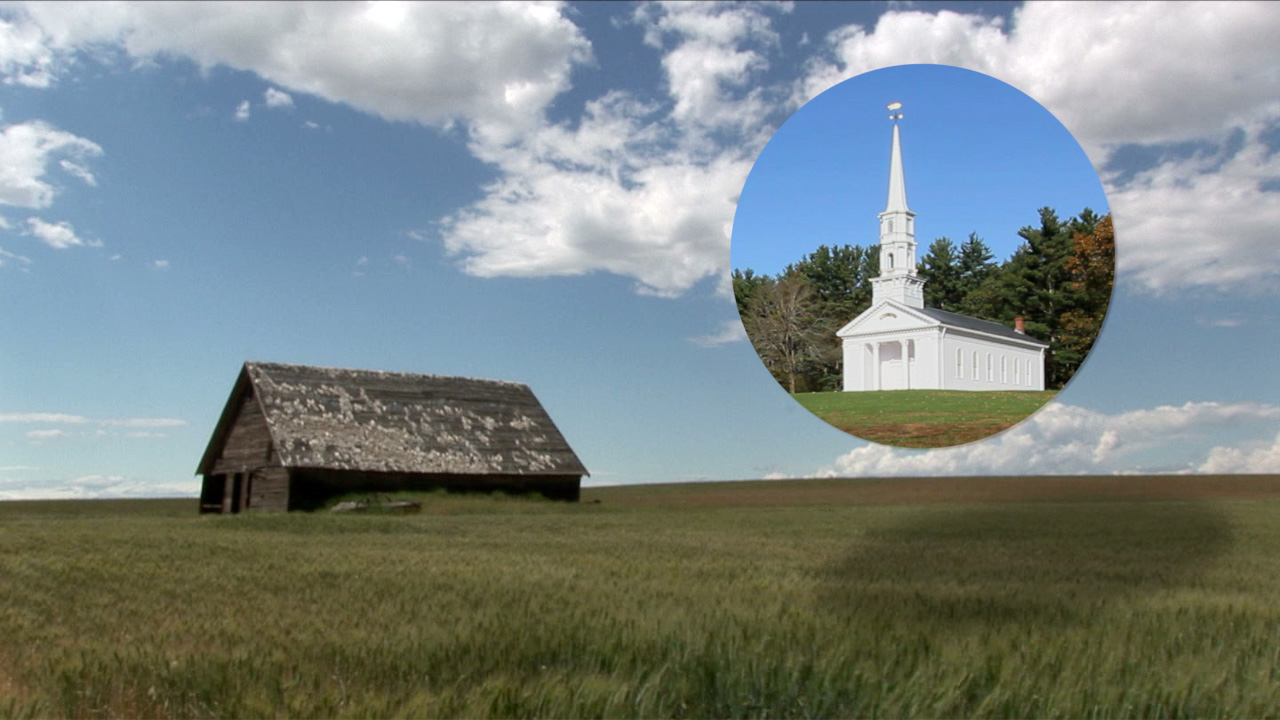
To set the stage, here is where we are going. (This type of image is a called a “composite.”)
The good news about this technique is that it can be created easily in Final Cut and supports:
There are many advantages to this technique:
Very cool.
Here’s how we’ll create this effect:
CREATE THE SHAPE
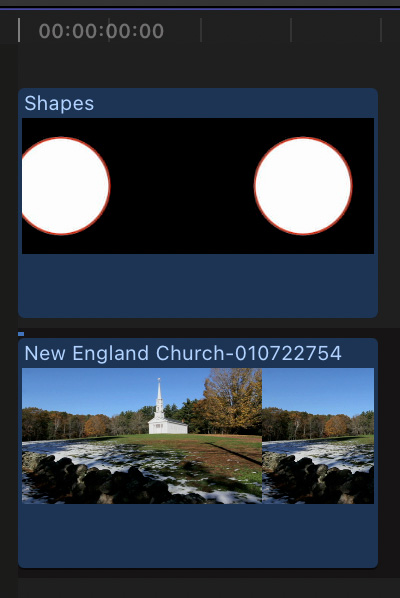
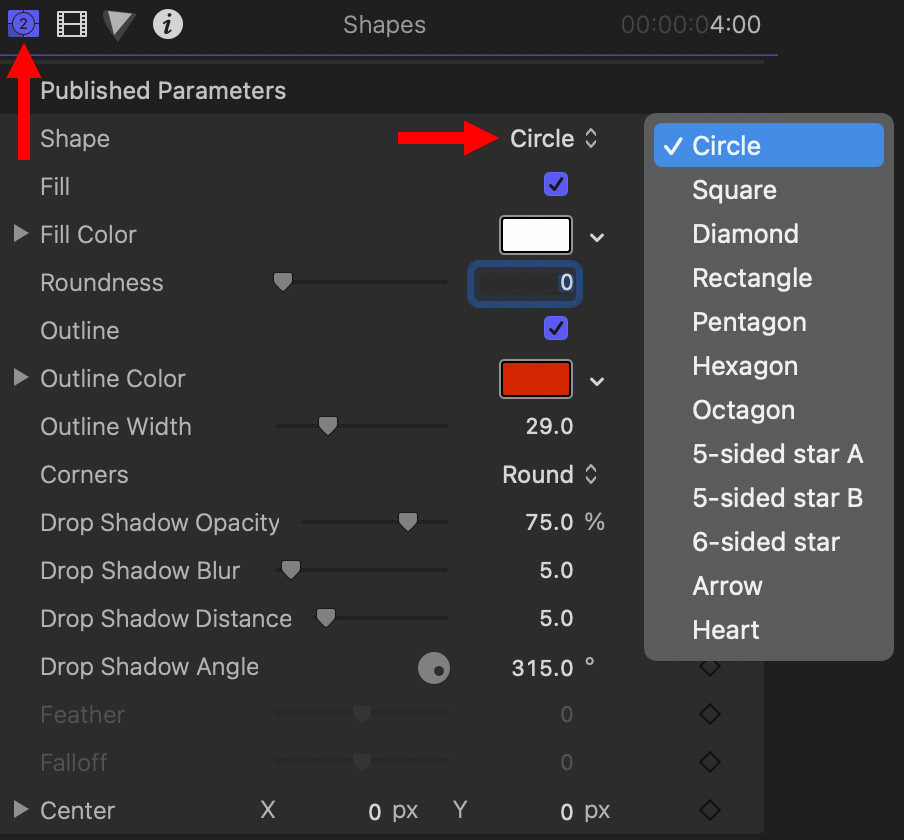
NOTE: You can also create a custom shape in Photoshop. The shape of the shape is not important. What IS important is that the shape have a transparent background. Generators include a transparent background by default.
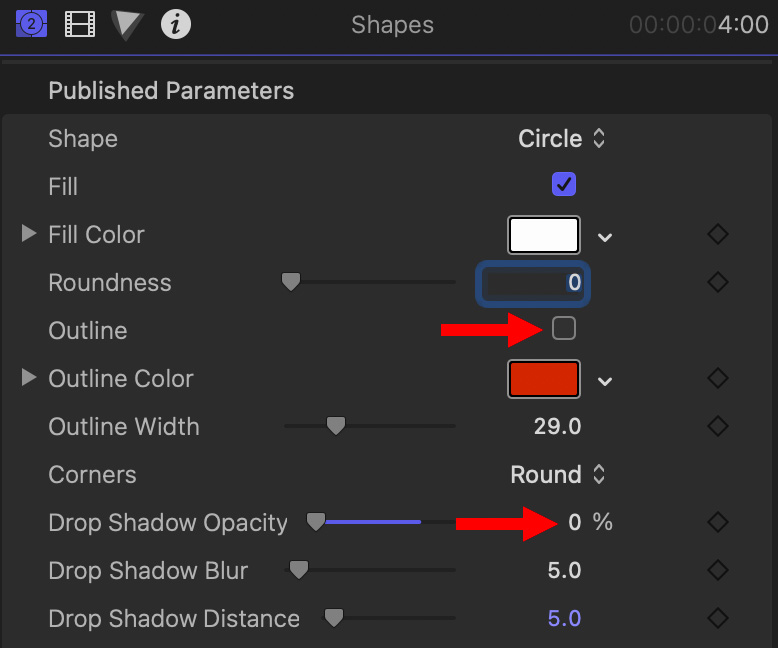
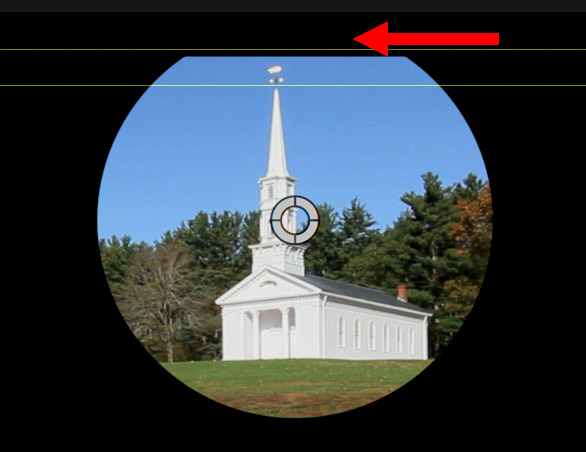
NOTE: If you are using a Photoshop image, position the shape using Video Inspector > Transform > Position.
NOTE: You can also animate movement of the insert image so that, while the shape remains stationary, the image under it is moving, growing, shrinking… whatever you want.
ADD A BACKGROUND

Select both shape and insert clips in the timeline, then choose File > New > Compound Clip. This combines the two clips into a single unit in the timeline. Name this something that makes sense to you.
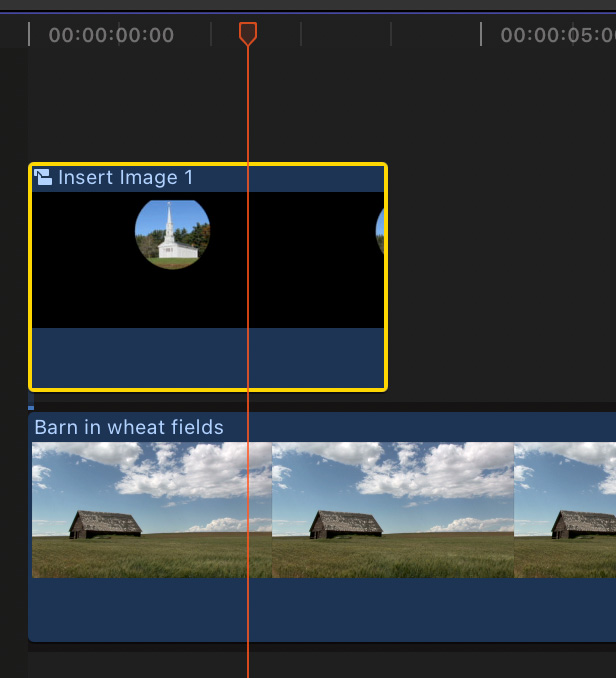
Add a background image into the Primary Storyline, then place the compound clip above it.
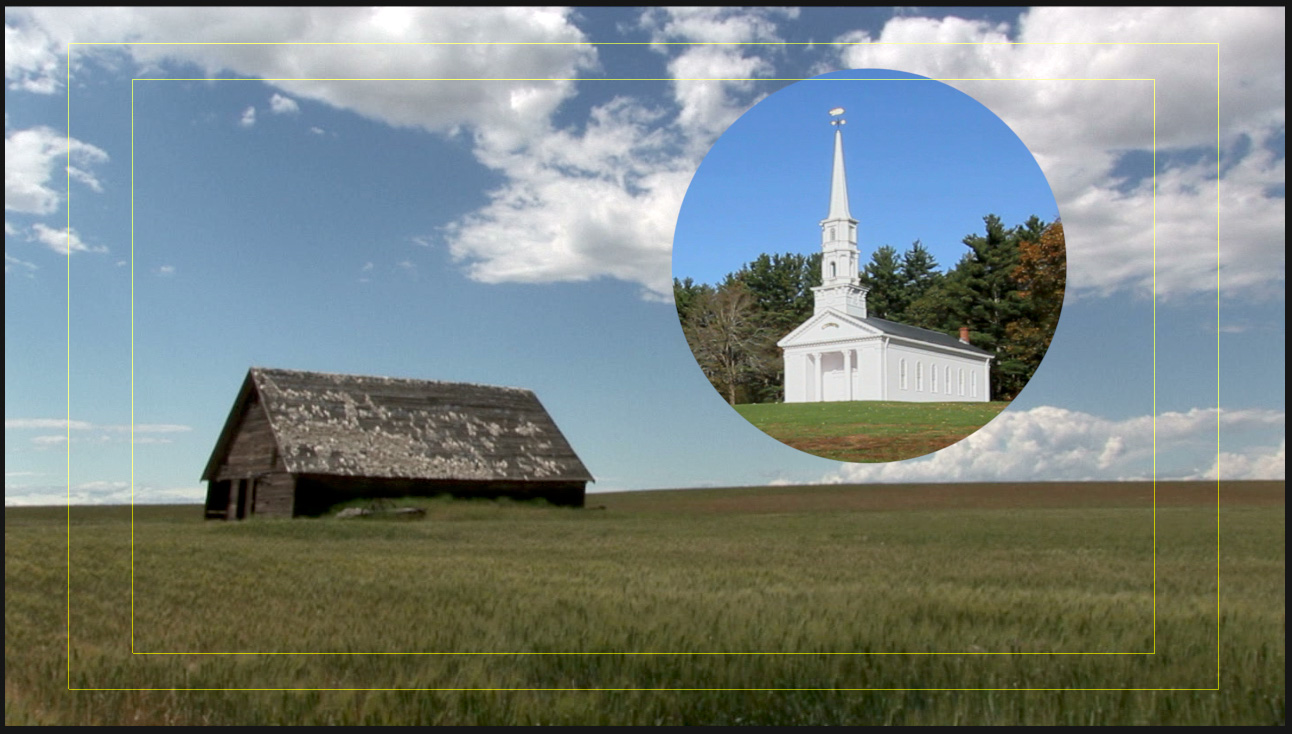
Select the compound clip, then use Video Inspector > Transform > Position to move the compound clip where you need it in the frame.
NOTE: You are moving the compound clip, NOT the images inside it.
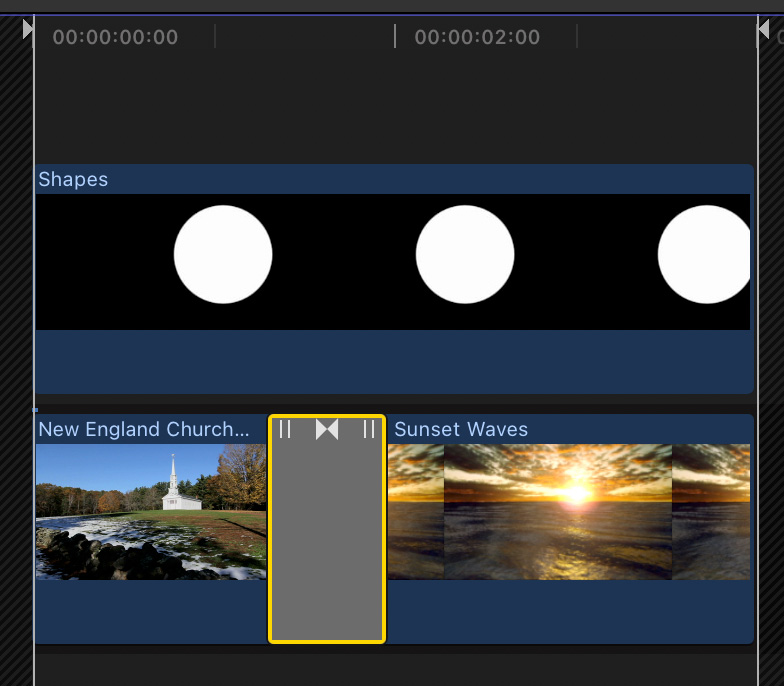
NOTE: Double-click the compound clip to edit it. In this screen shot, I added a second clip and dissolved between them. This changes the shot inside the shape, without altering the shape. You can animate these insert clips as much as you want.

To return to the project, either click the “Go Back” arrow to the left of the compound clip name, or double-click the project name in the Browser.
ADD A DROP SHADOW
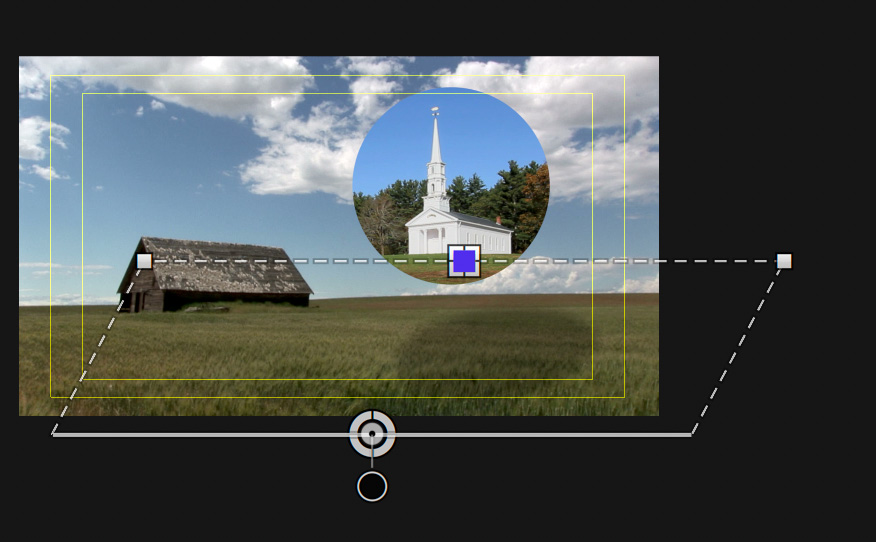
Select the compound clip in the timeline and apply Effects > Stylize > Drop Shadow. Drag the onscreen controls to change the location and perspective of the drop shadow.
In the Inspector, I also lowered Opacity to 50%.
Done.
NOTES
For some reason, the drop shadow changes position during the dissolve between insert shots. It shouldn’t. This is a bug. The only way to fix it is either not use a dissolve or not use drop shadows.
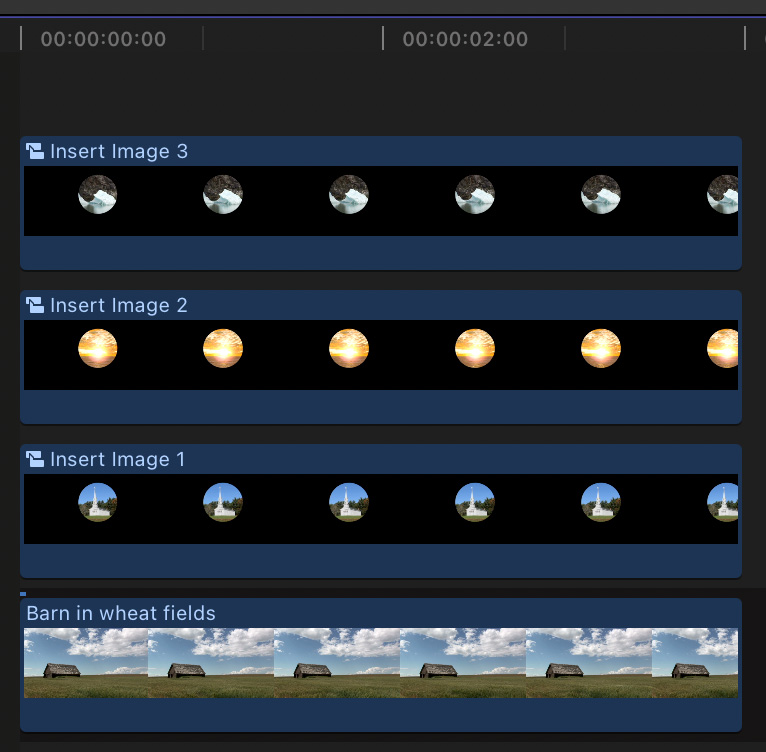
To add more images to the screen:
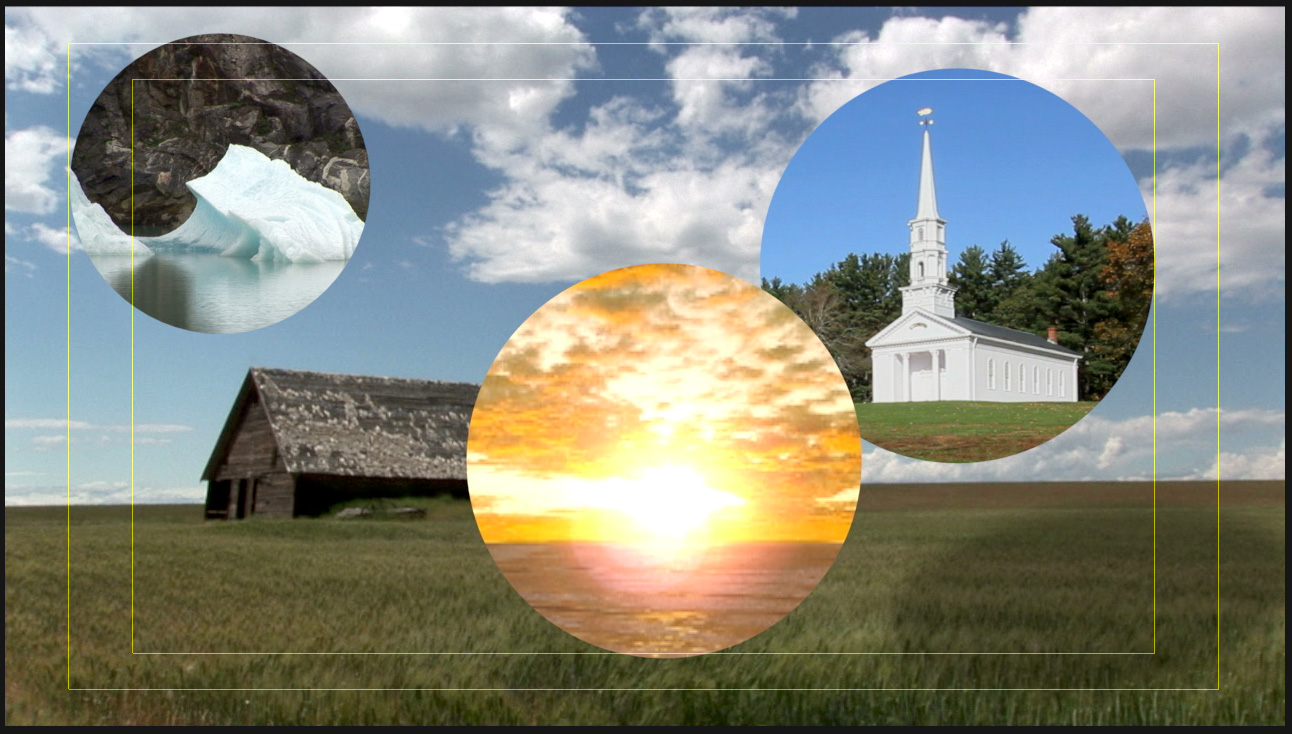
Ta-DAH! You can use this same technique to create a grid of images, or floating space bubbles, or… whatever. I like this technique a lot.
2,000 Video Training Titles
Edit smarter with Larry Jordan. Available in our store.
Access over 2,000 on-demand video editing courses. Become a member of our Video Training Library today!
Subscribe to Larry's FREE weekly newsletter and
save 10%
on your first purchase.
7 Responses to A Faster, Better Way to Combine Images in Apple Final Cut Pro
Larry,
After duplicating each compound clip in order to change the interior images, is it necessary to “Reference a New Parent Clip” so that the image changes in each aren’t duplicated?
Phillip:
When I was writing this it did not seem necessary. But I didn’t test it extensively.
Larry
I believe that when you *Duplicate* a compound clip FCP automatically associates it with a new parent clip.
Larry,
I tested it. Duplicating in the browser automatically creates a new parent clip. Duplicating in the timeline does not.
Philip:
Good to know. Thanks.
Larry
Sweet. Since new to FCPX it took me a while to uncover the controls you mentioned. Once I had the photo in the circle, I couldn’t find a simple slider tool to scale the image. Needed to type in various trial and error numbers. (unlike I’m used to in Pr). Is there a control I missed there?
Al:
Here, I think FCP does a better job with positioning than Premiere. In Premiere, the 0,0 point of every image is the top left corner; just like Photoshop. In FCP, the 0,0 point is dead center in an image. This vastly simplifies setting positions because many effects are symmetrical – -200 on one and 200 on the other, for example.
Position controls are in Video Inspector > Transform.
Larry